Ubuntu 20.04 で apt-get を使用して OpenResty をインストールする方法
本日は、Ubuntu 20.04 で apt-get を使用して OpenResty をインストールする方法をご紹介いたします。
このビデオでは、新規インストールした Ubuntu 20.04 を使用します。
openresty.org のウェブサイトで関連する説明を見つけることができます。ここでは、APT リポジトリを有効にし、OpenResty の Deb パッケージをインストールするためのすべてのコマンドを確認できます。
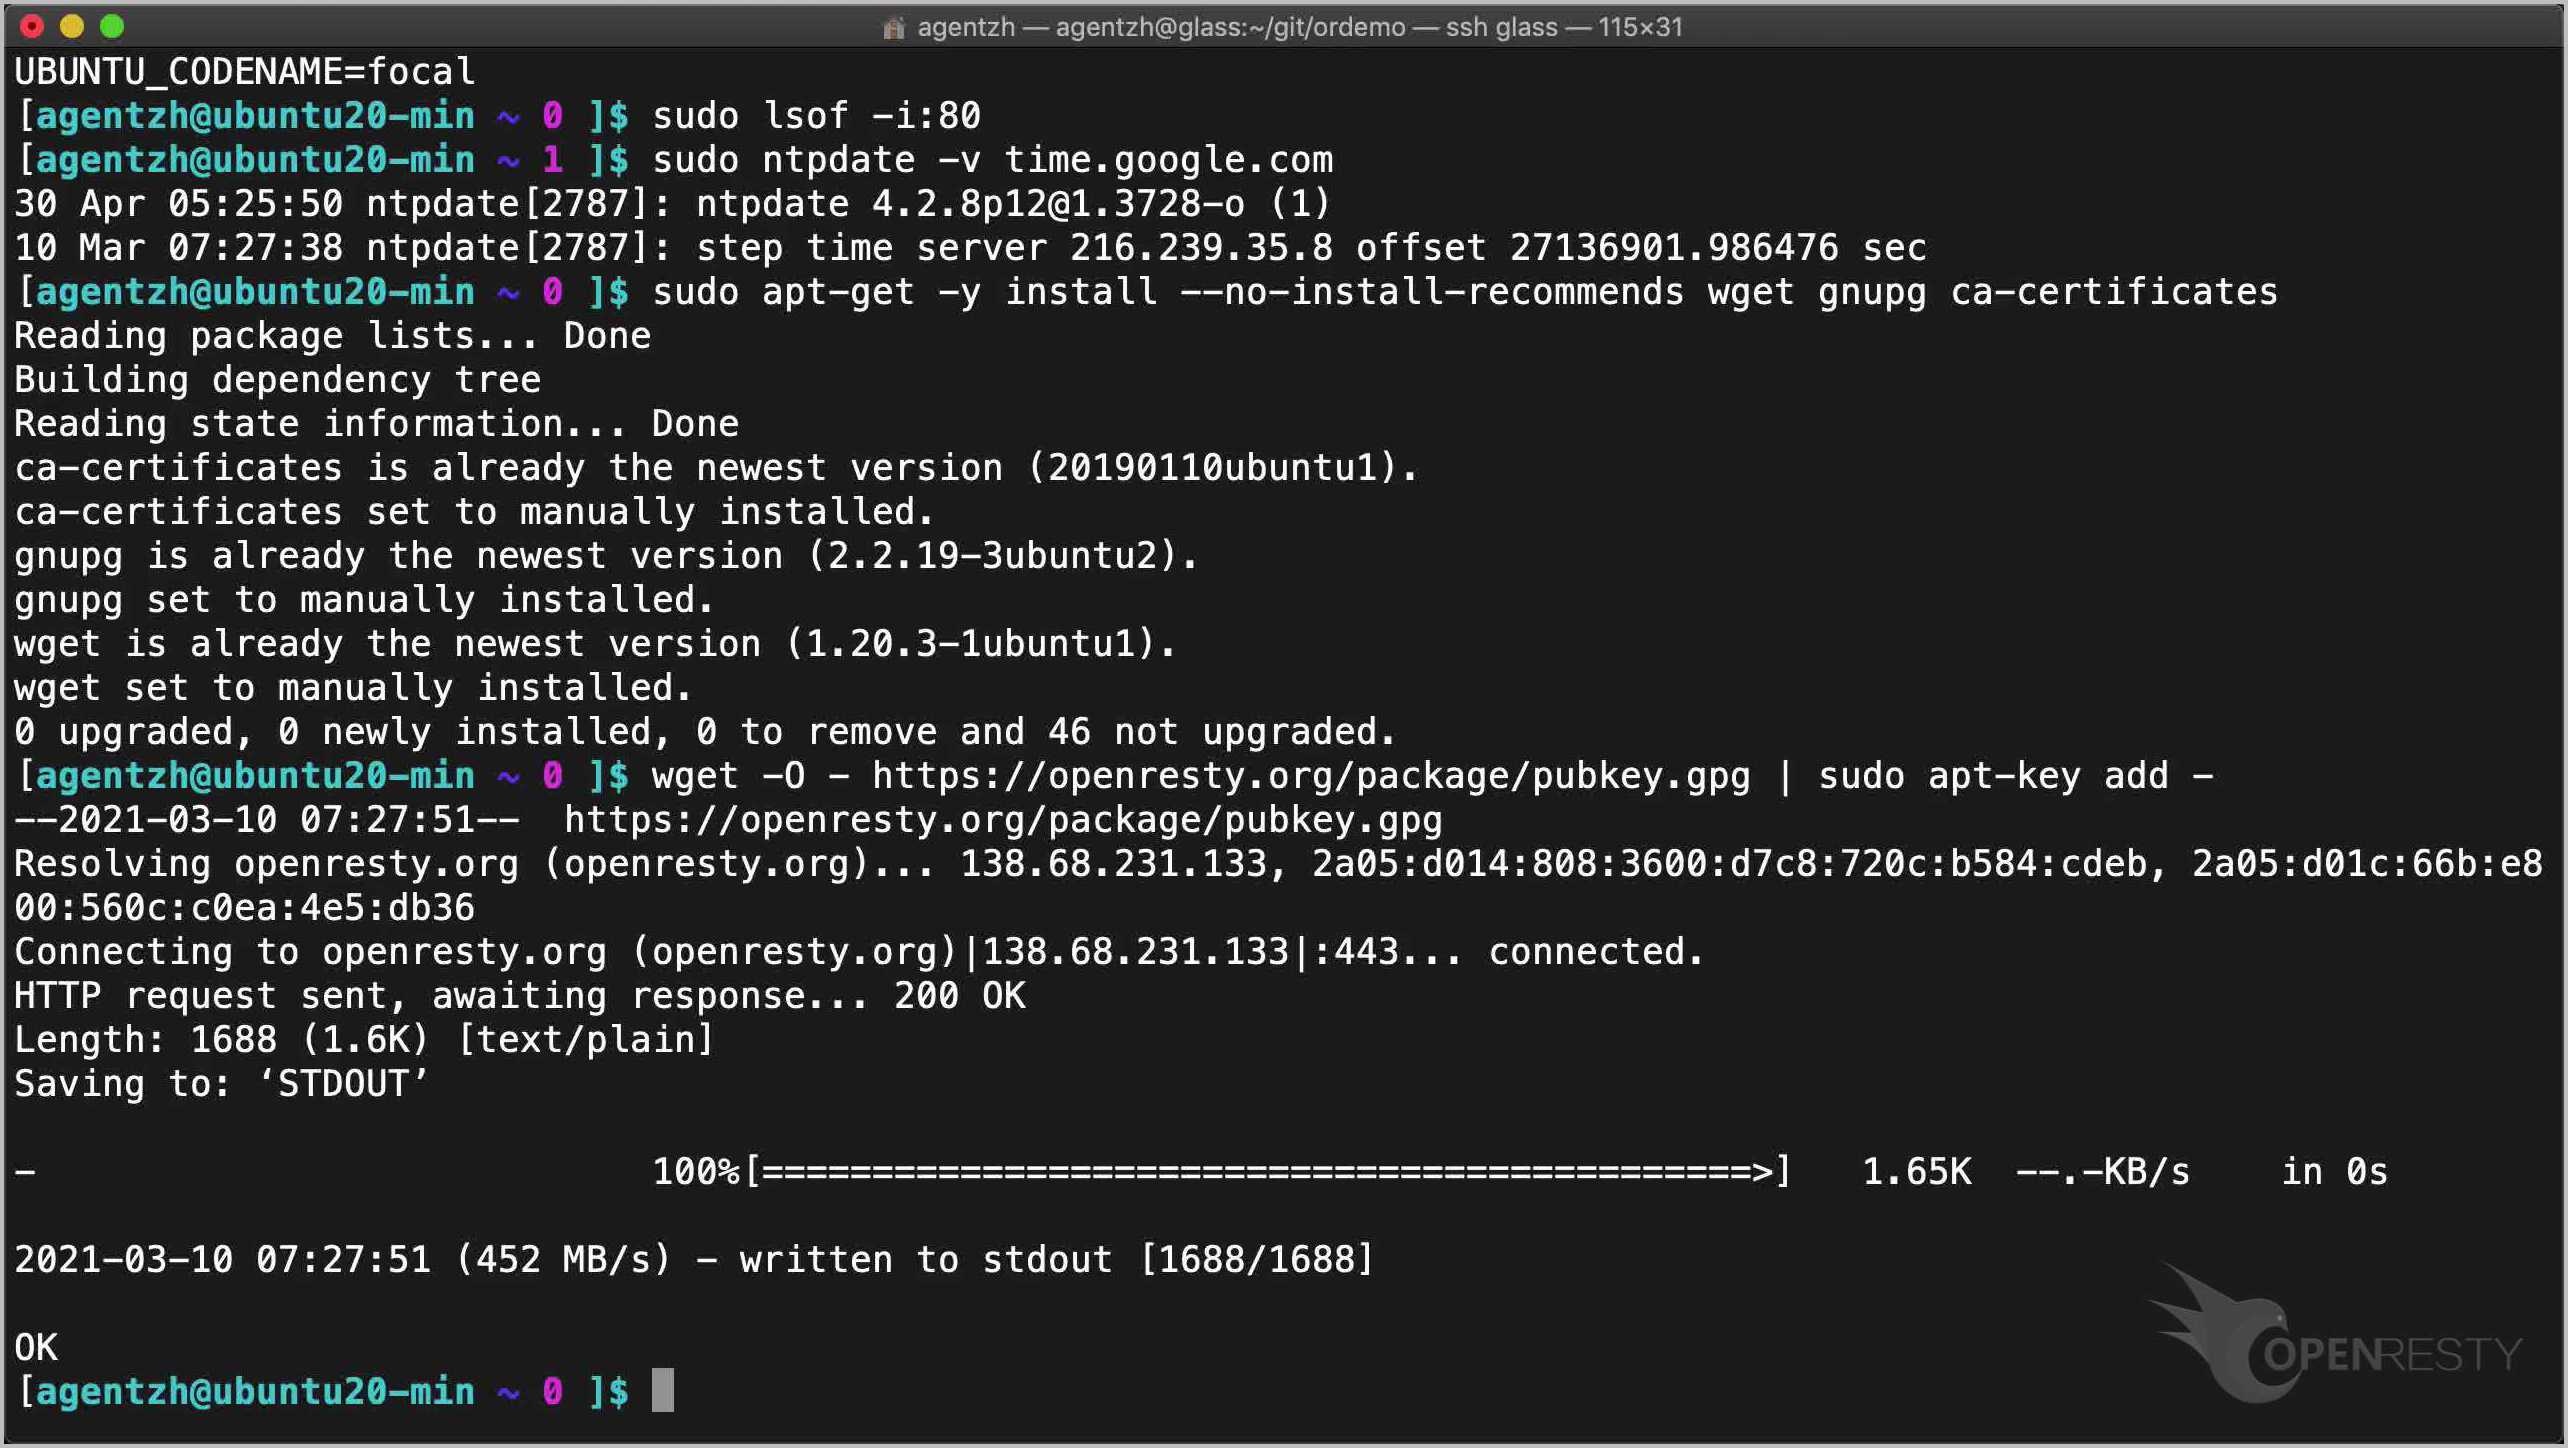
Ubuntu 20.04 システムに戻りましょう。ローカルの 80 ポートをリッスンしているサービスがある場合は、まずそれを無効にする必要があります。
sudo lsof -i:80
ここでは、そのようなサービスは存在しません。
まず、システム時刻が正確であることを確認します。
sudo ntpdate -v time.google.com
お近くの NTP サーバーを使用することをお勧めします。
必要なコンポーネントをインストールするために、GPG 公開鍵を追加する必要があります。これらは後で削除することができます。
sudo apt-get -y install --no-install-recommends wget gnupg ca-certificates
次に、GPG キーをインポートします。
wget -O - https://openresty.org/package/pubkey.gpg | sudo apt-key add -
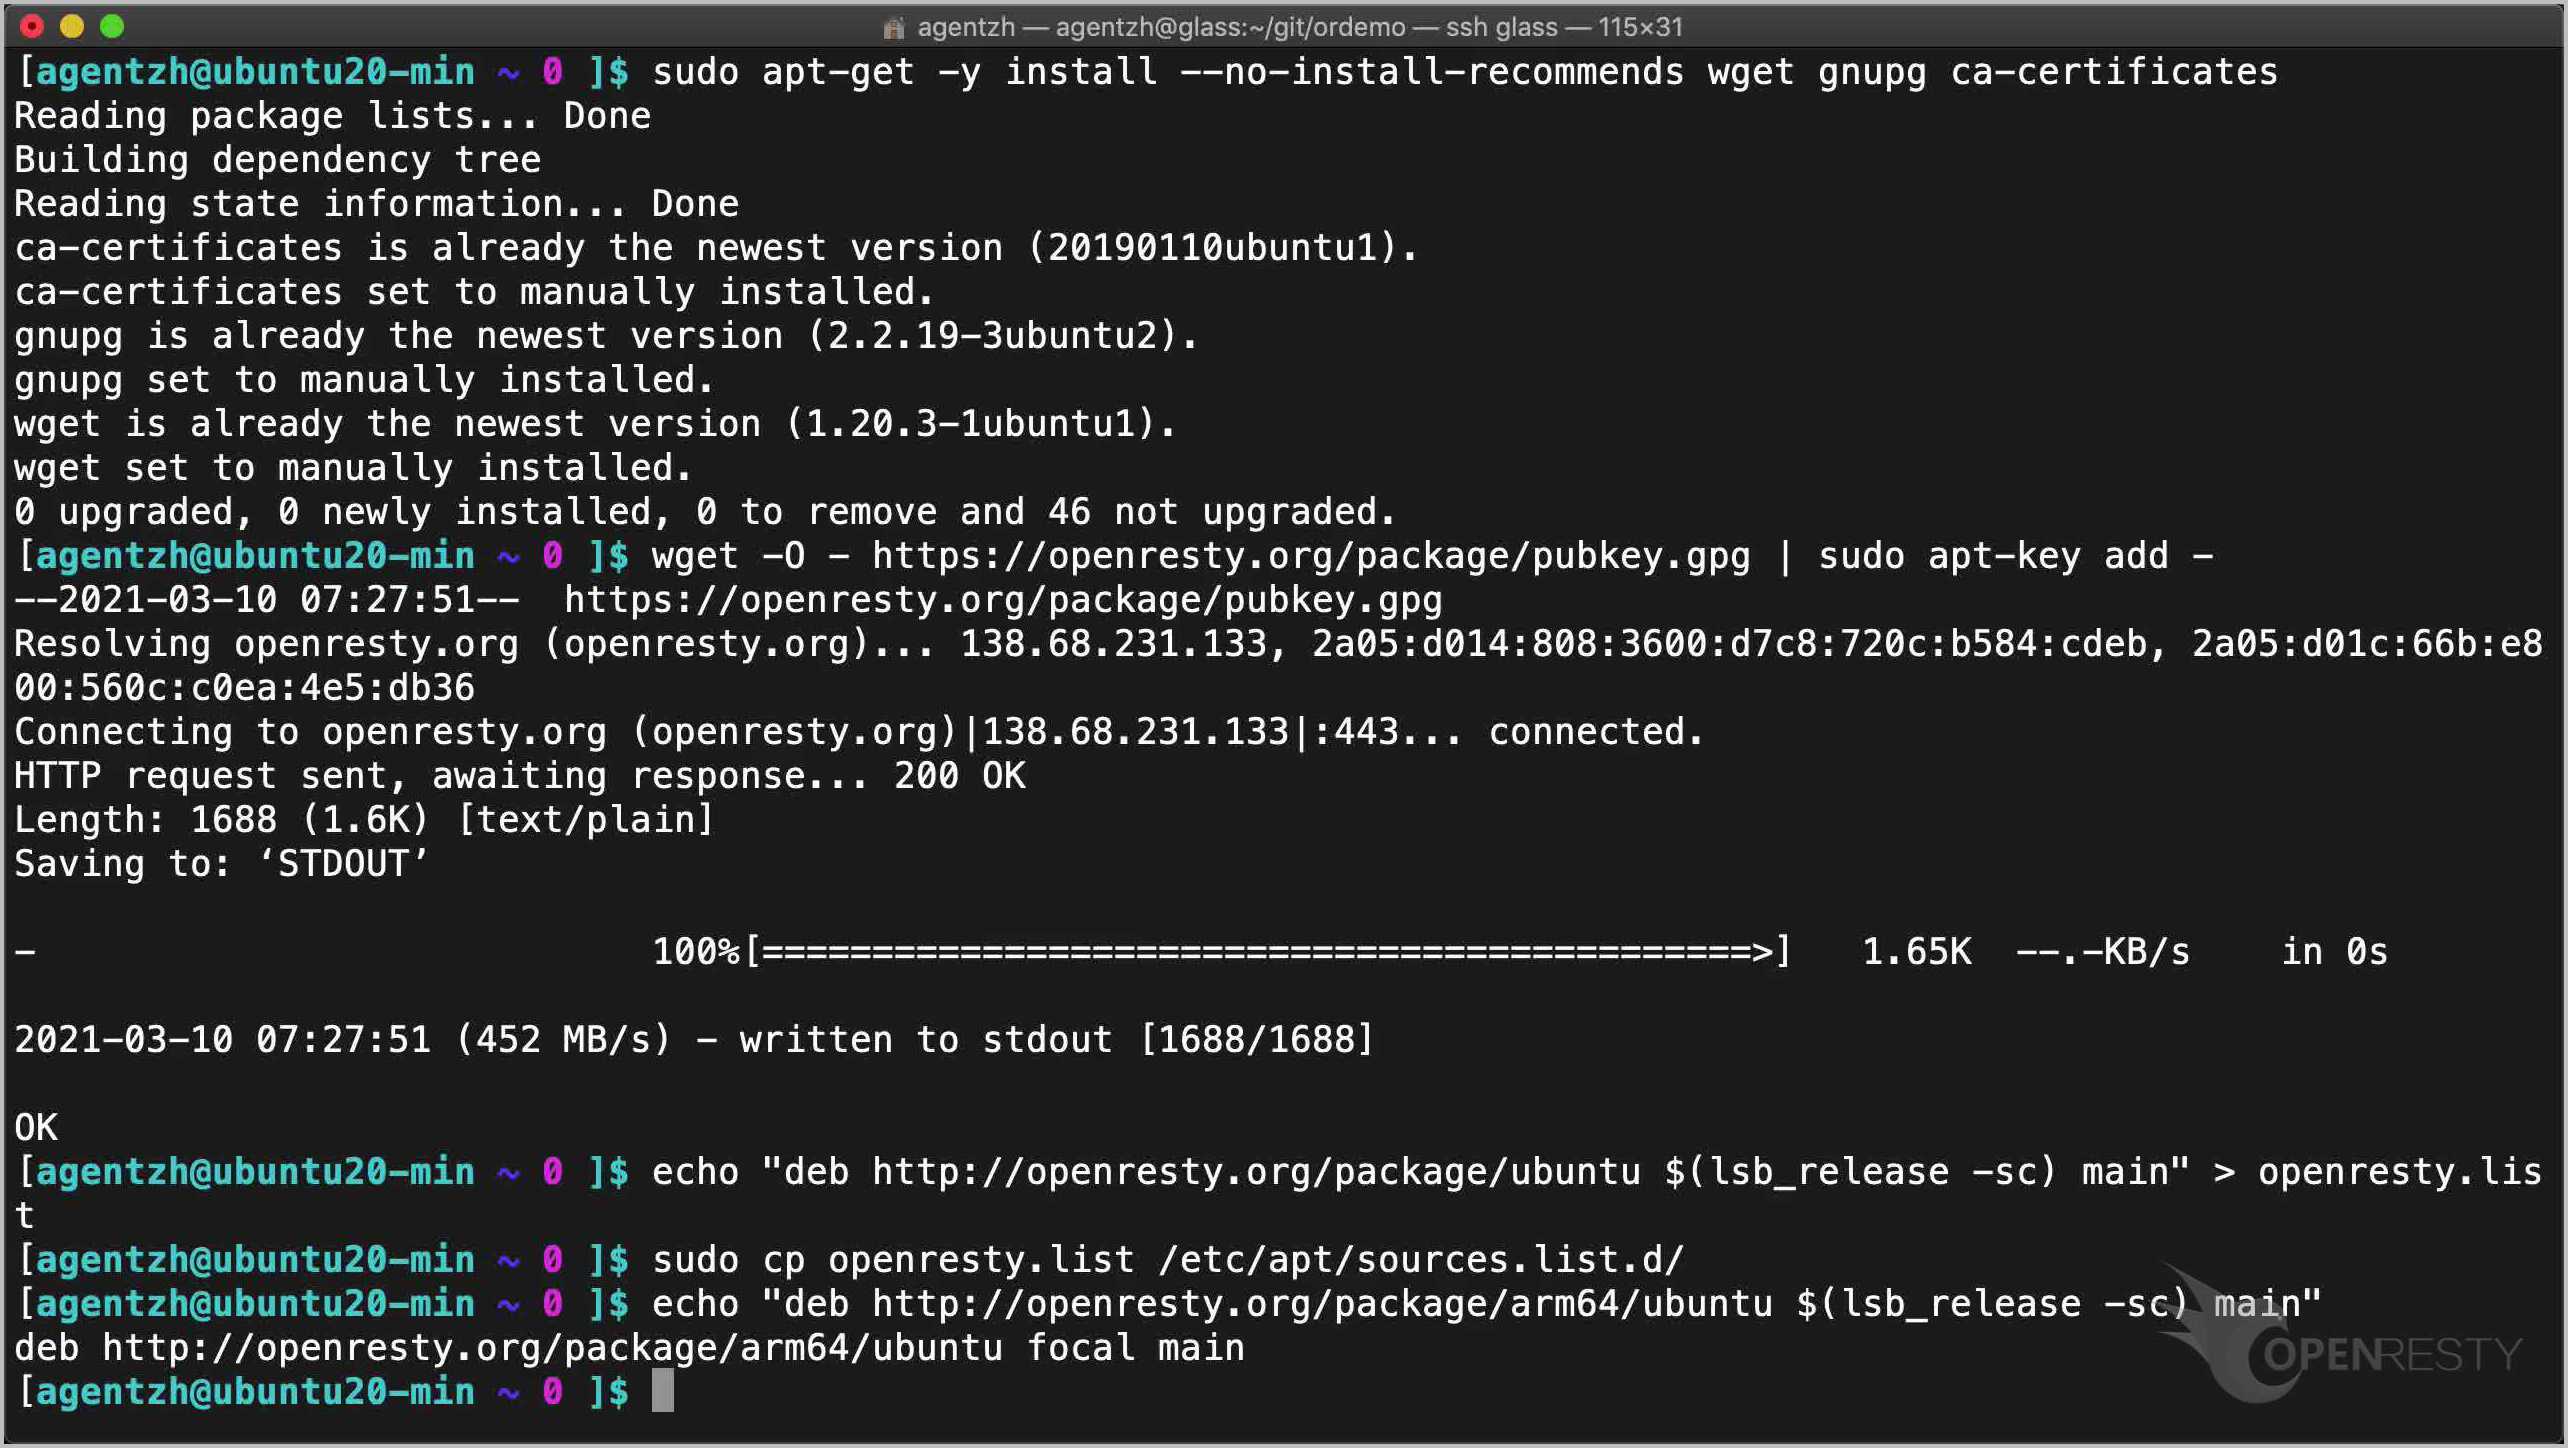
その後、公式 APT リポジトリを追加します。
echo "deb http://openresty.org/package/ubuntu $(lsb_release -sc) main" > openresty.list
sudo cp openresty.list /etc/apt/sources.list.d/
これは x86_64 または amd64 システム向けであることにご注意ください。
Aarch64 または ARM64 システムの場合は、代わりにこの URL を使用してください。
echo "deb http://openresty.org/package/arm64/ubuntu $(lsb_release -sc) main"
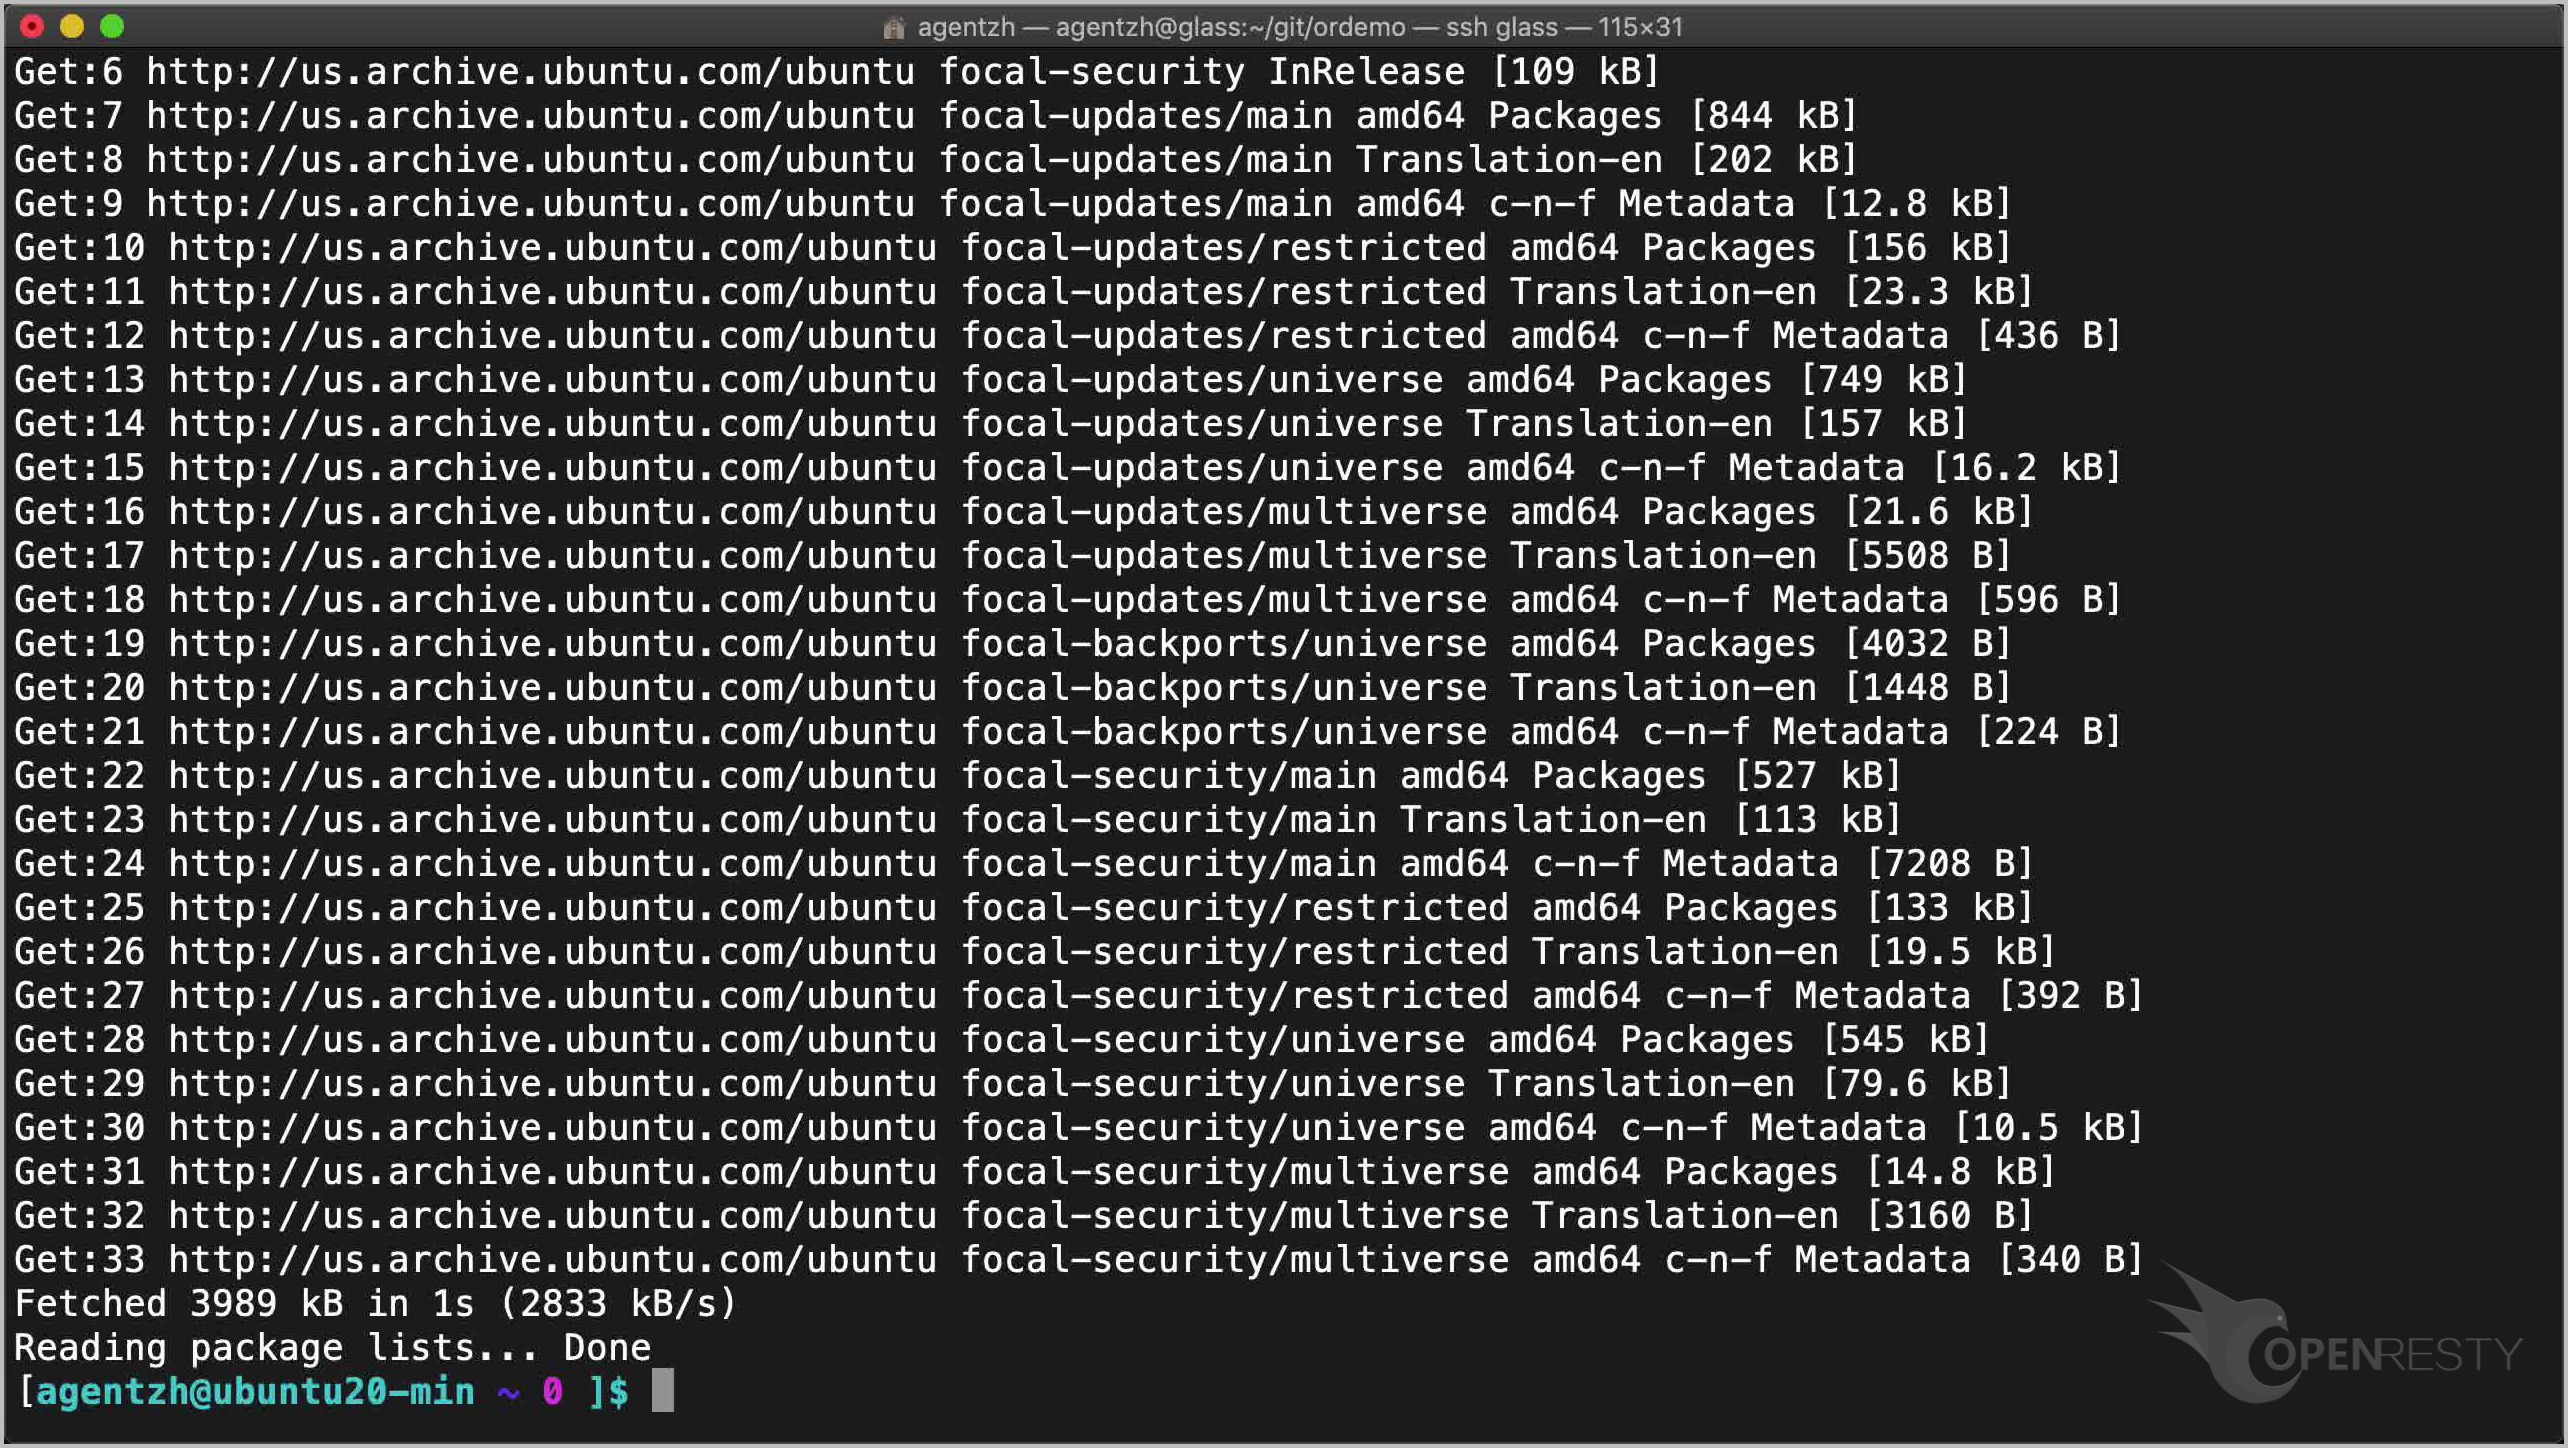
次に、APT インデックスを更新します。
sudo apt-get update
ここでは sudo が必要であることにご注意ください。
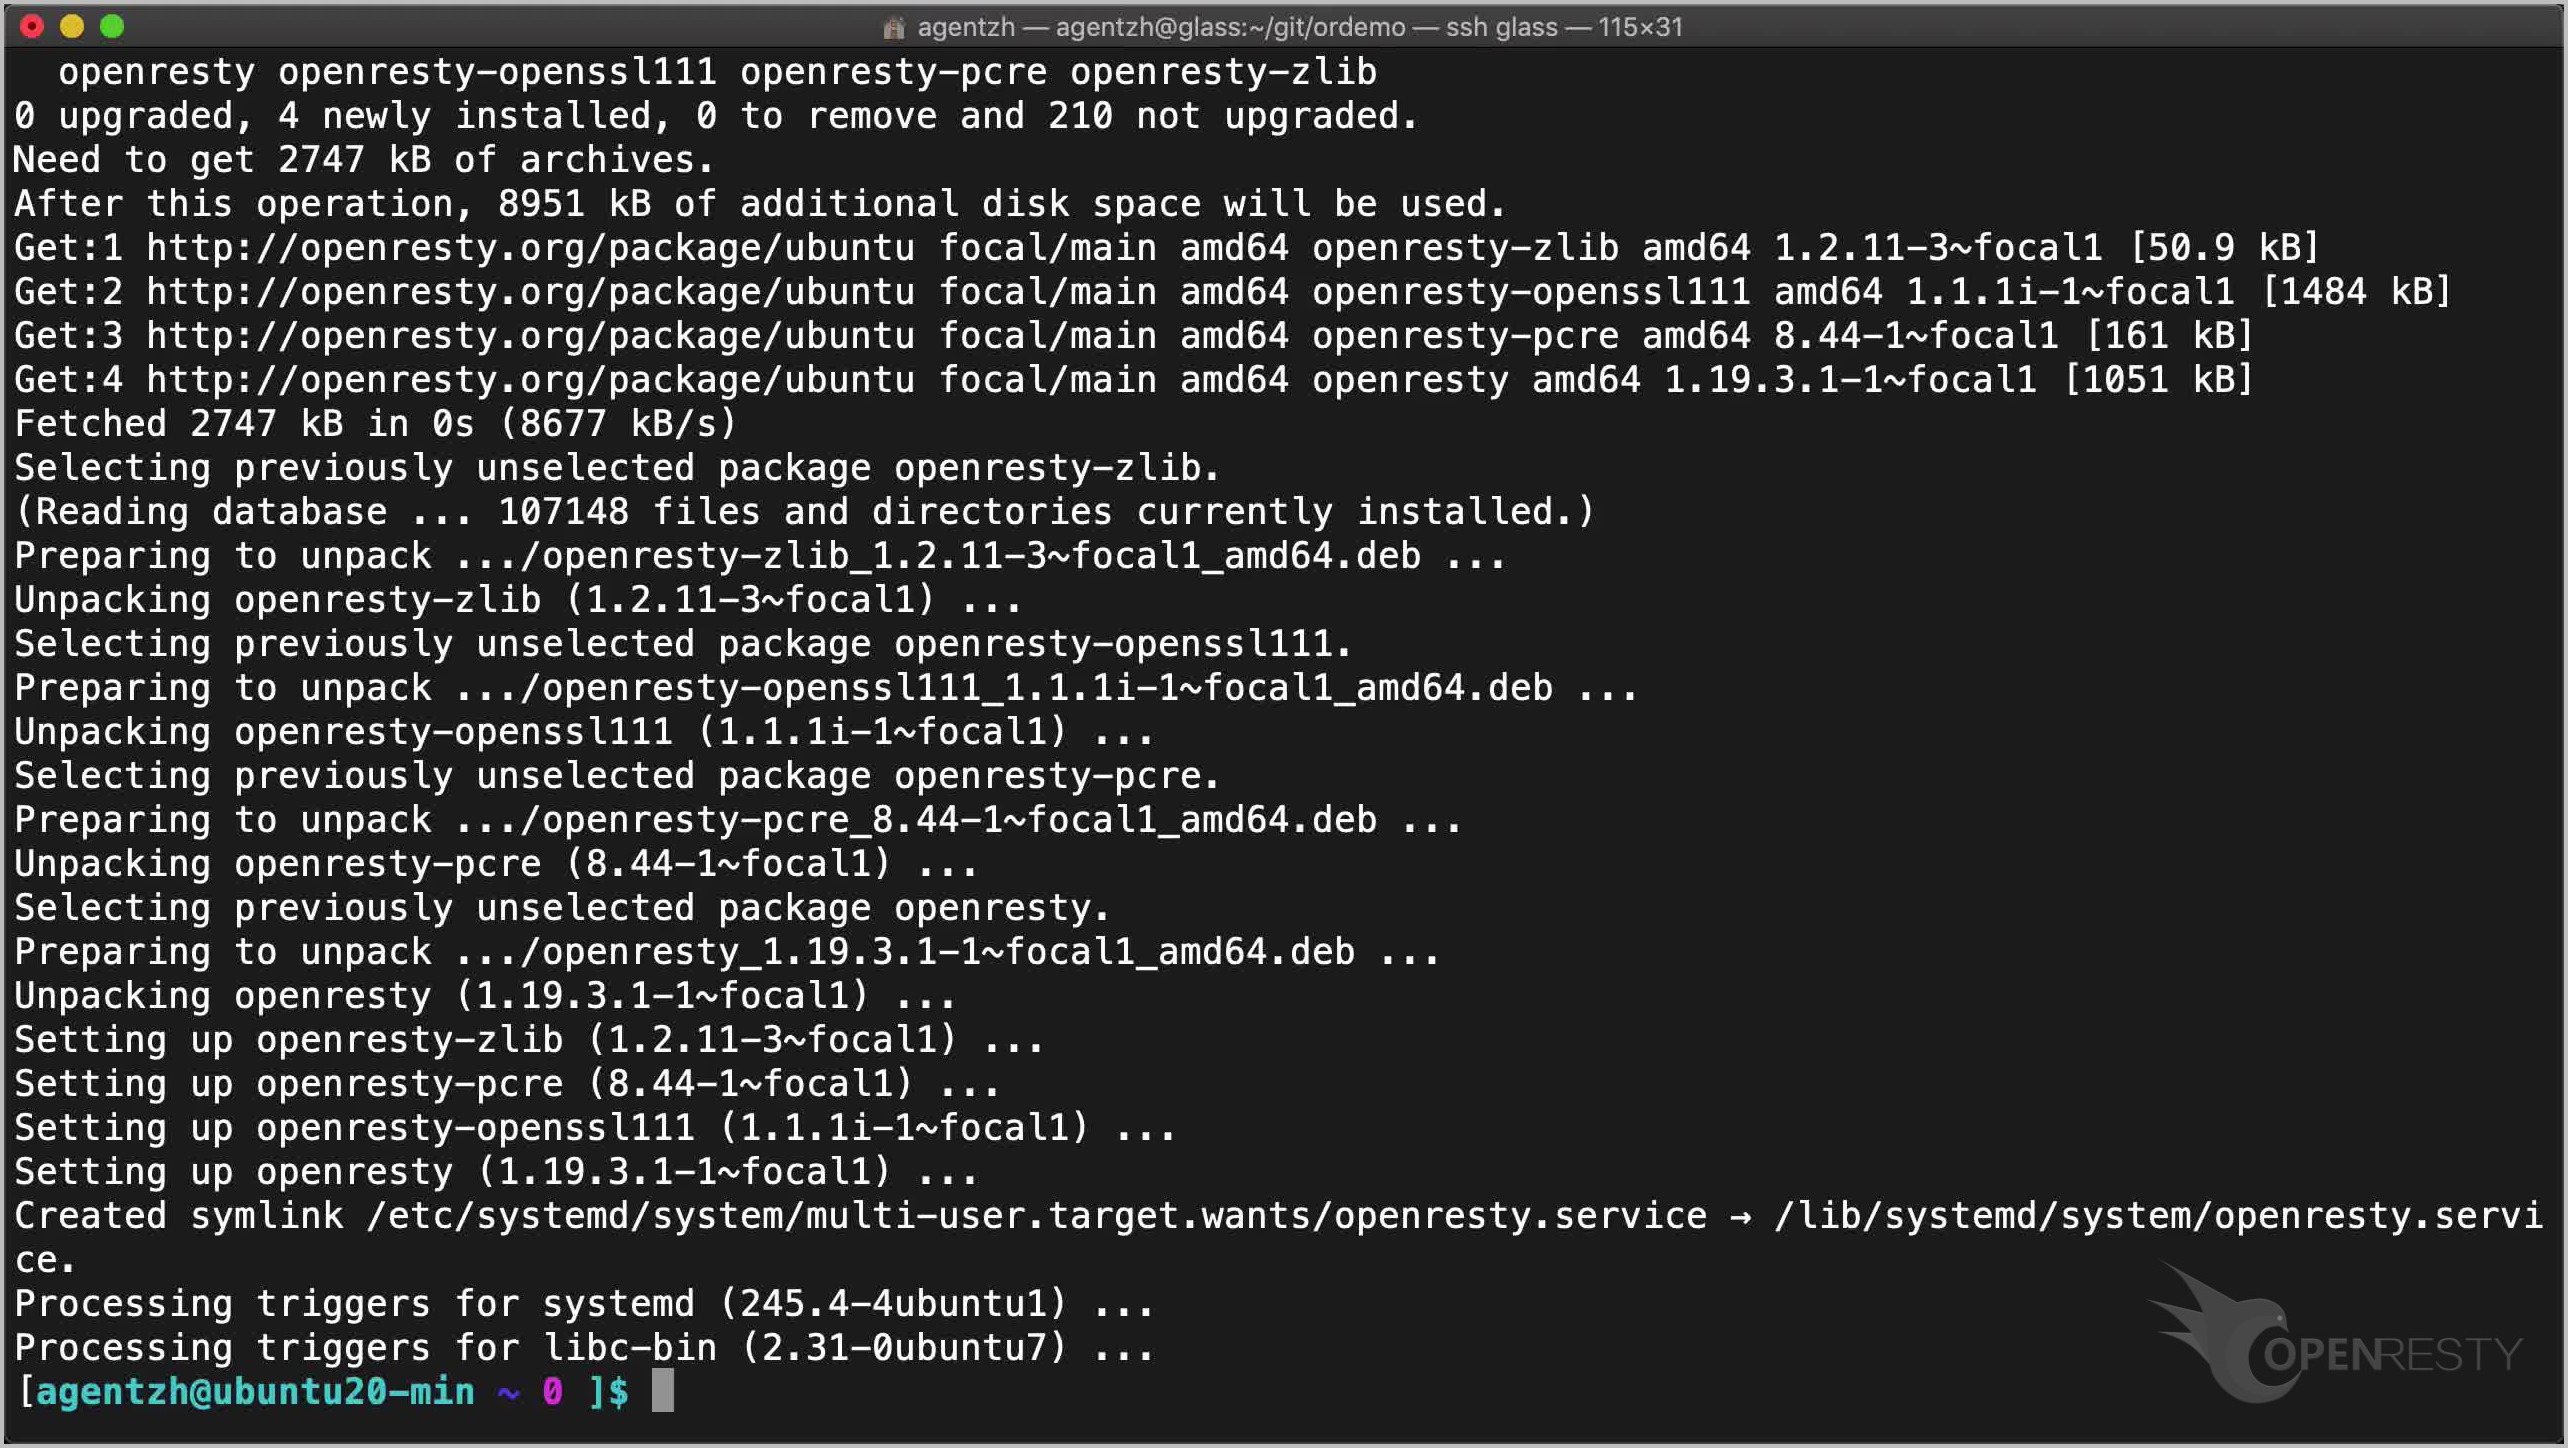
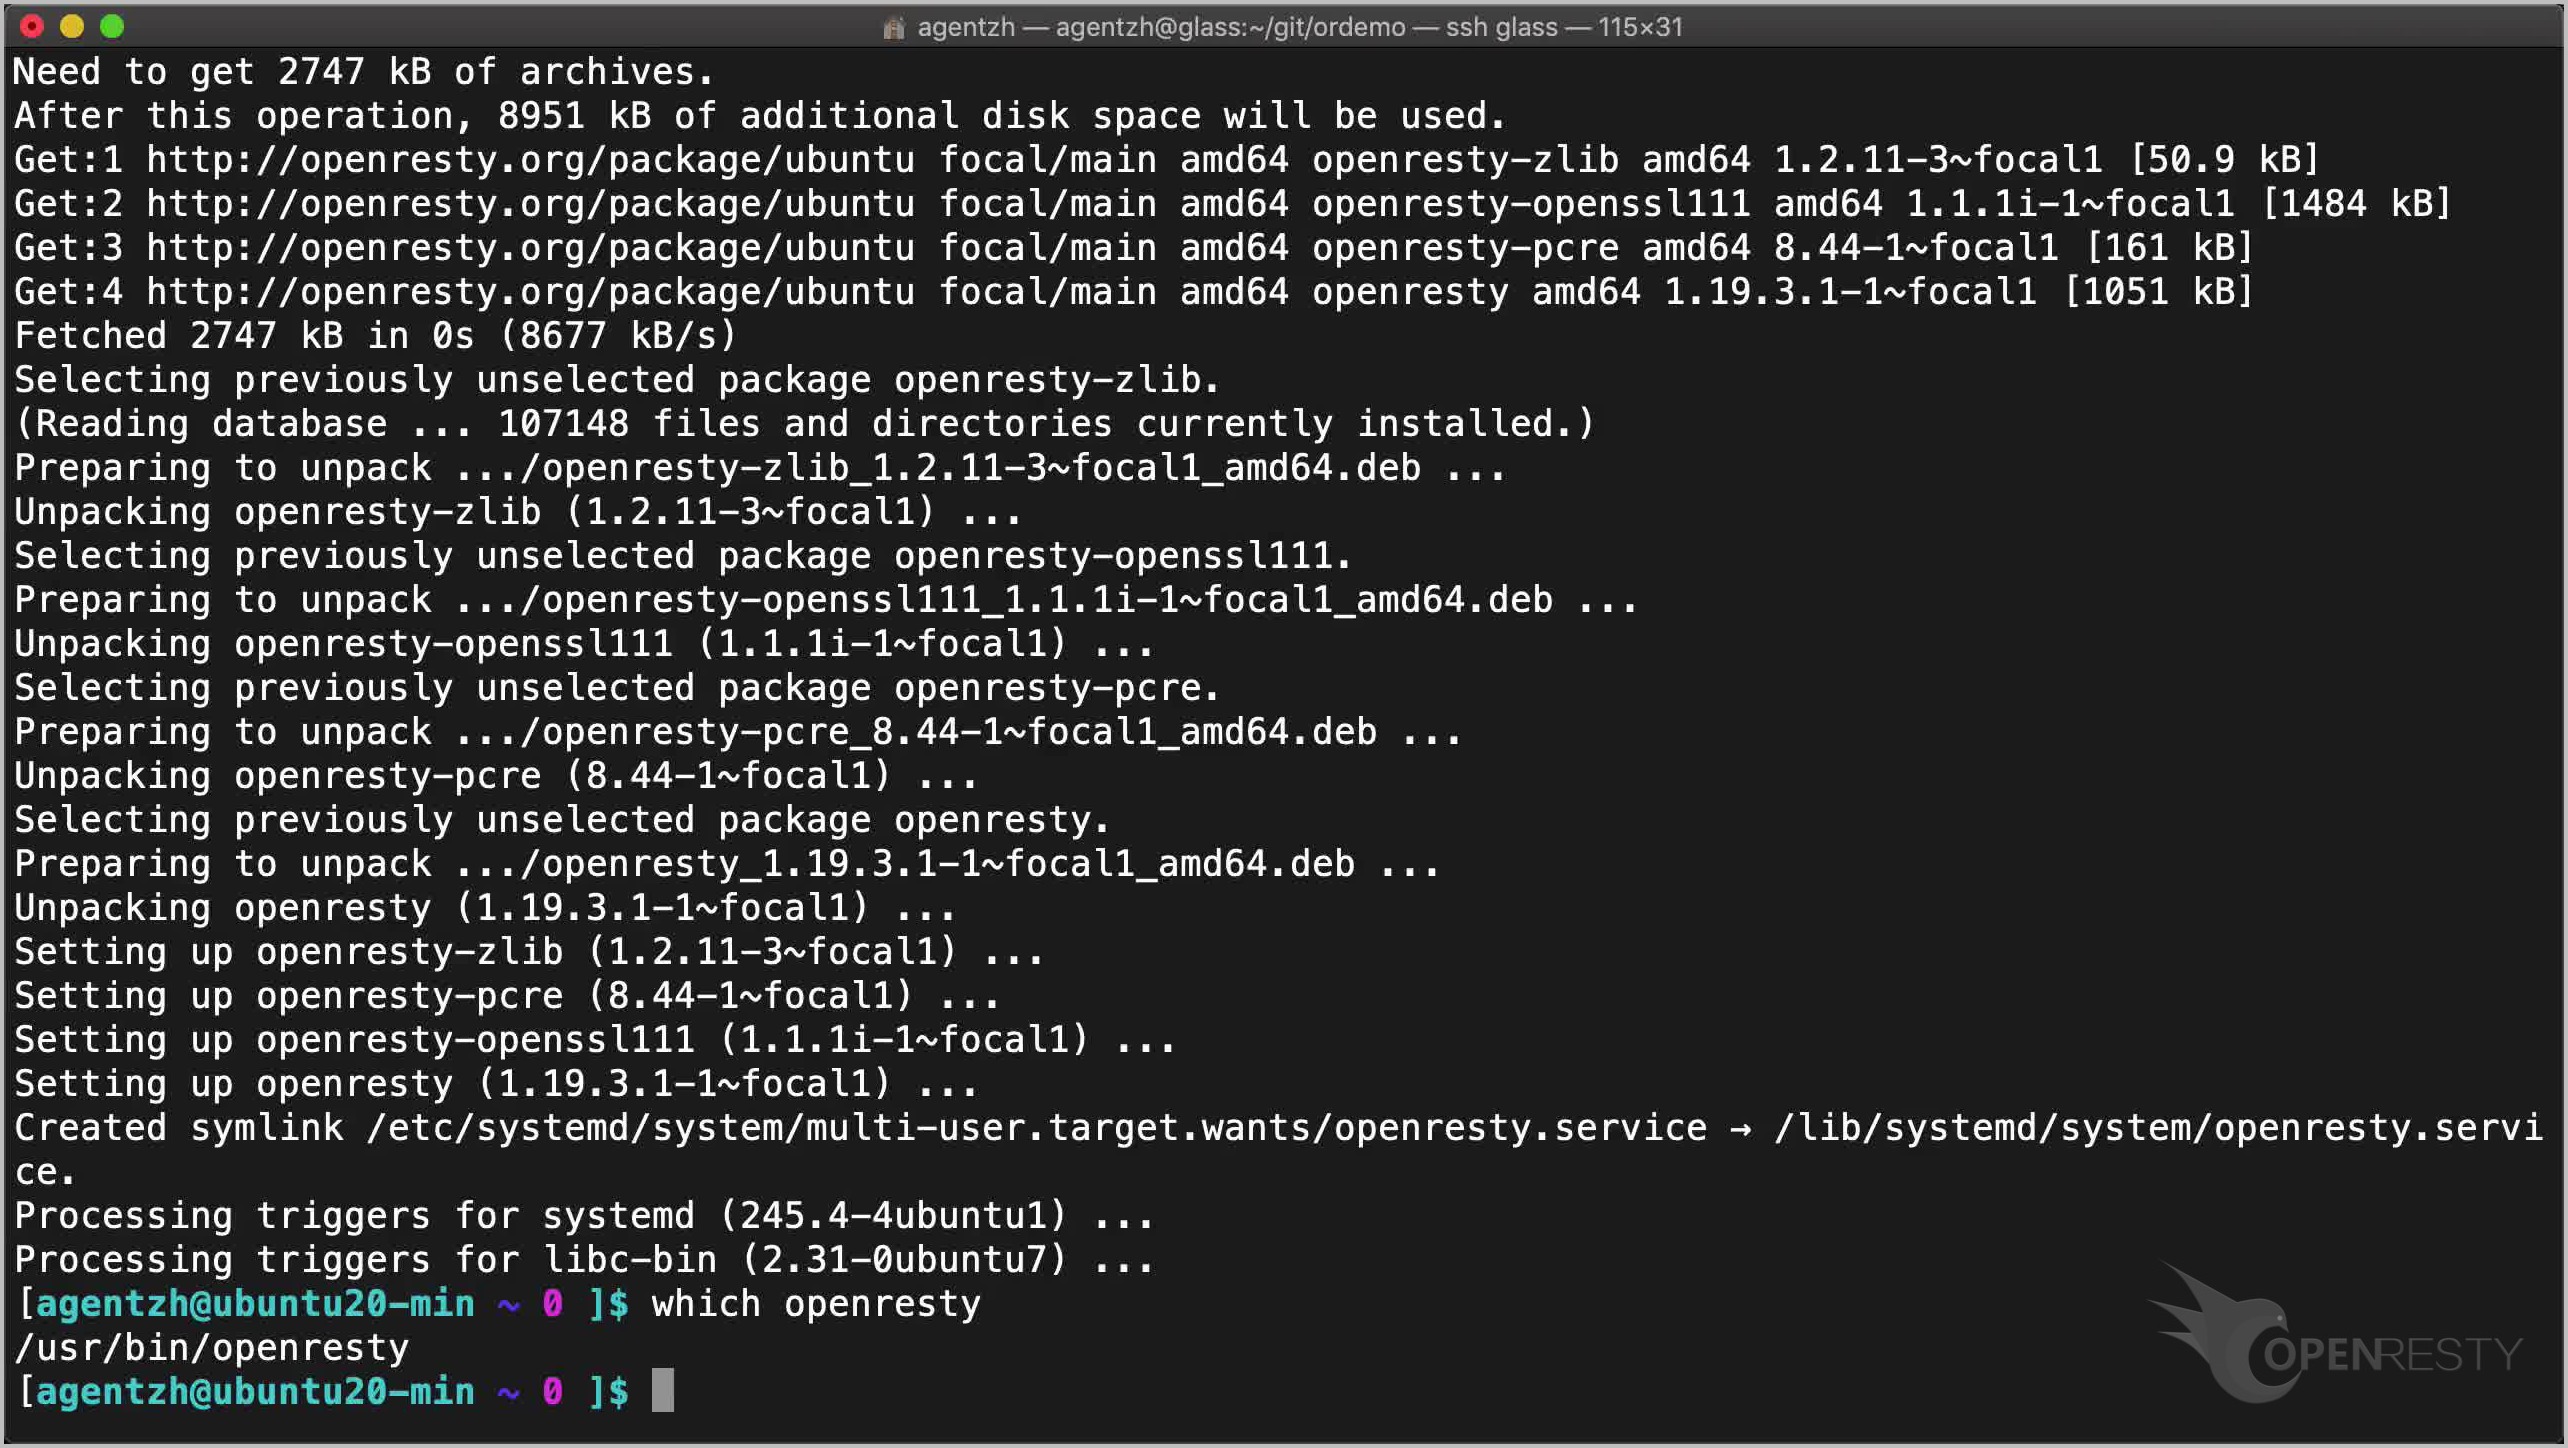
これで、メインの RPM パッケージである openresty をインストールする準備が整いました。
sudo apt-get -y install --no-install-recommends openresty
openresty 実行ファイルが利用可能かどうかを確認します。
which openresty
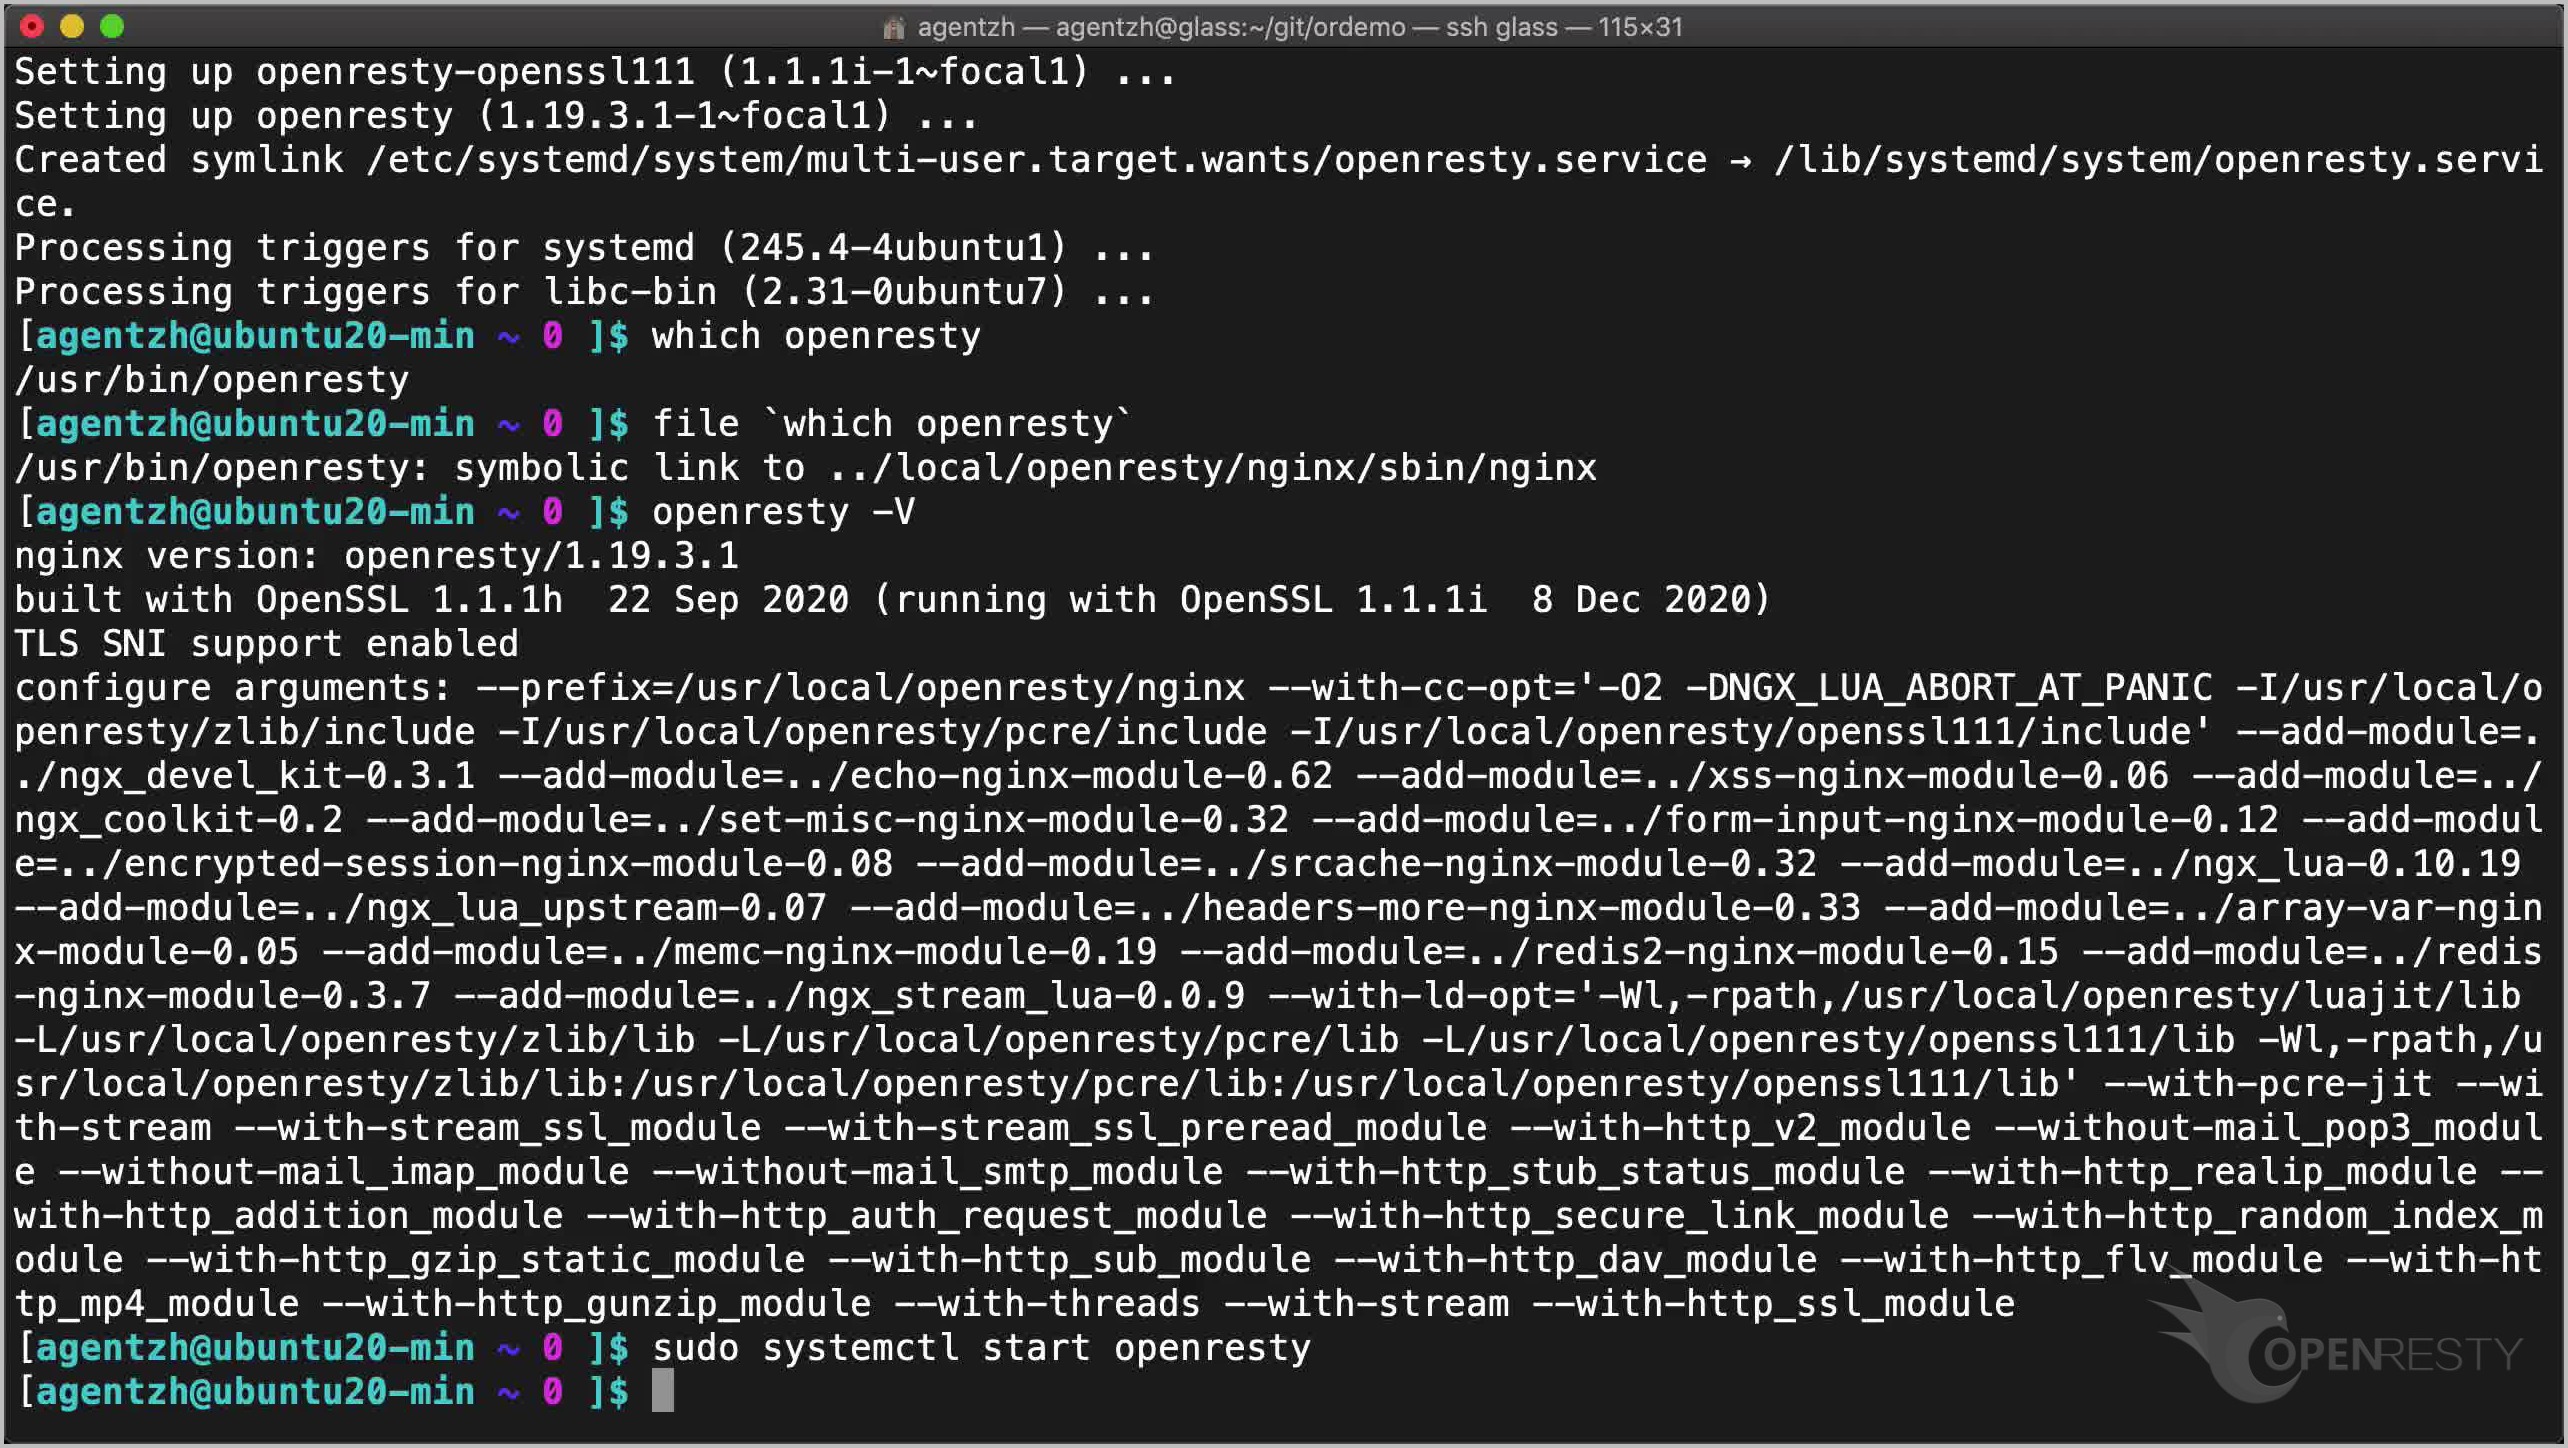
この openresty 実行ファイルはシンボリックリンクにすぎません。
file `which openresty`
そしてそのバージョンを確認します。
openresty -V
デフォルトの openresty サービスを以下のように起動できます。
sudo systemctl start openresty
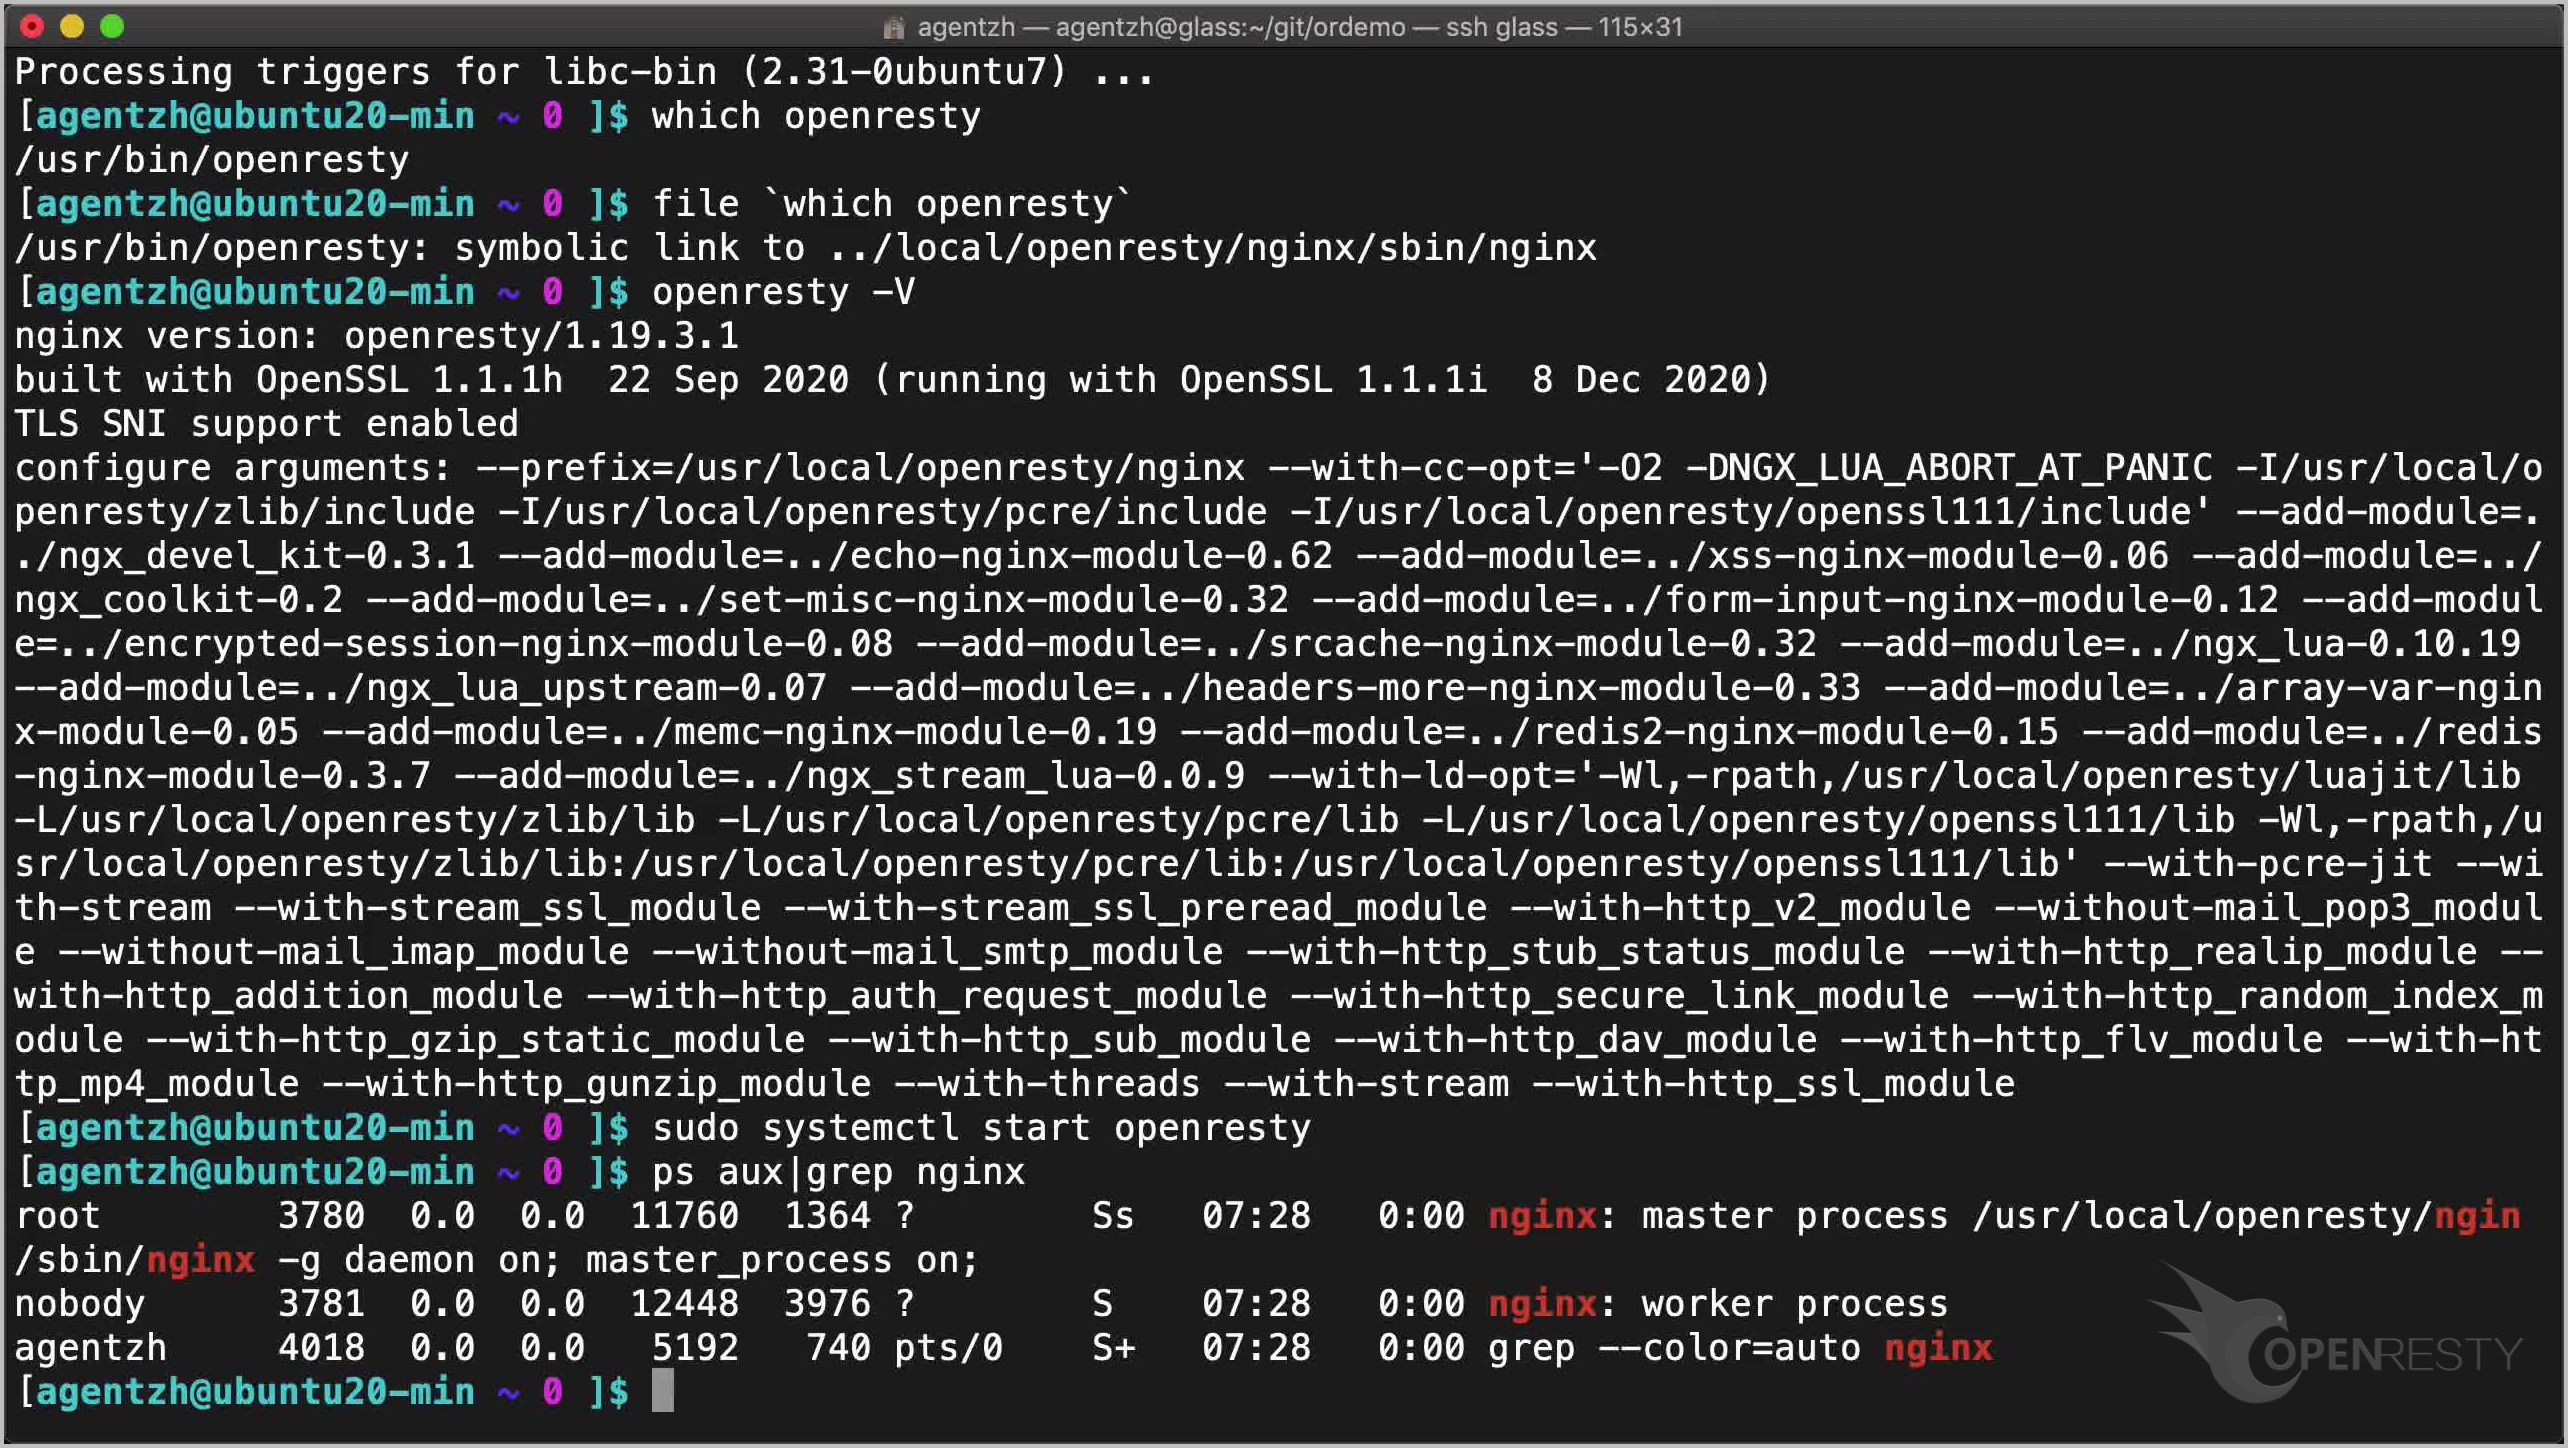
nginx プロセスが起動して実行されているかどうかを確認します。
ps aux|grep nginx
完璧です。
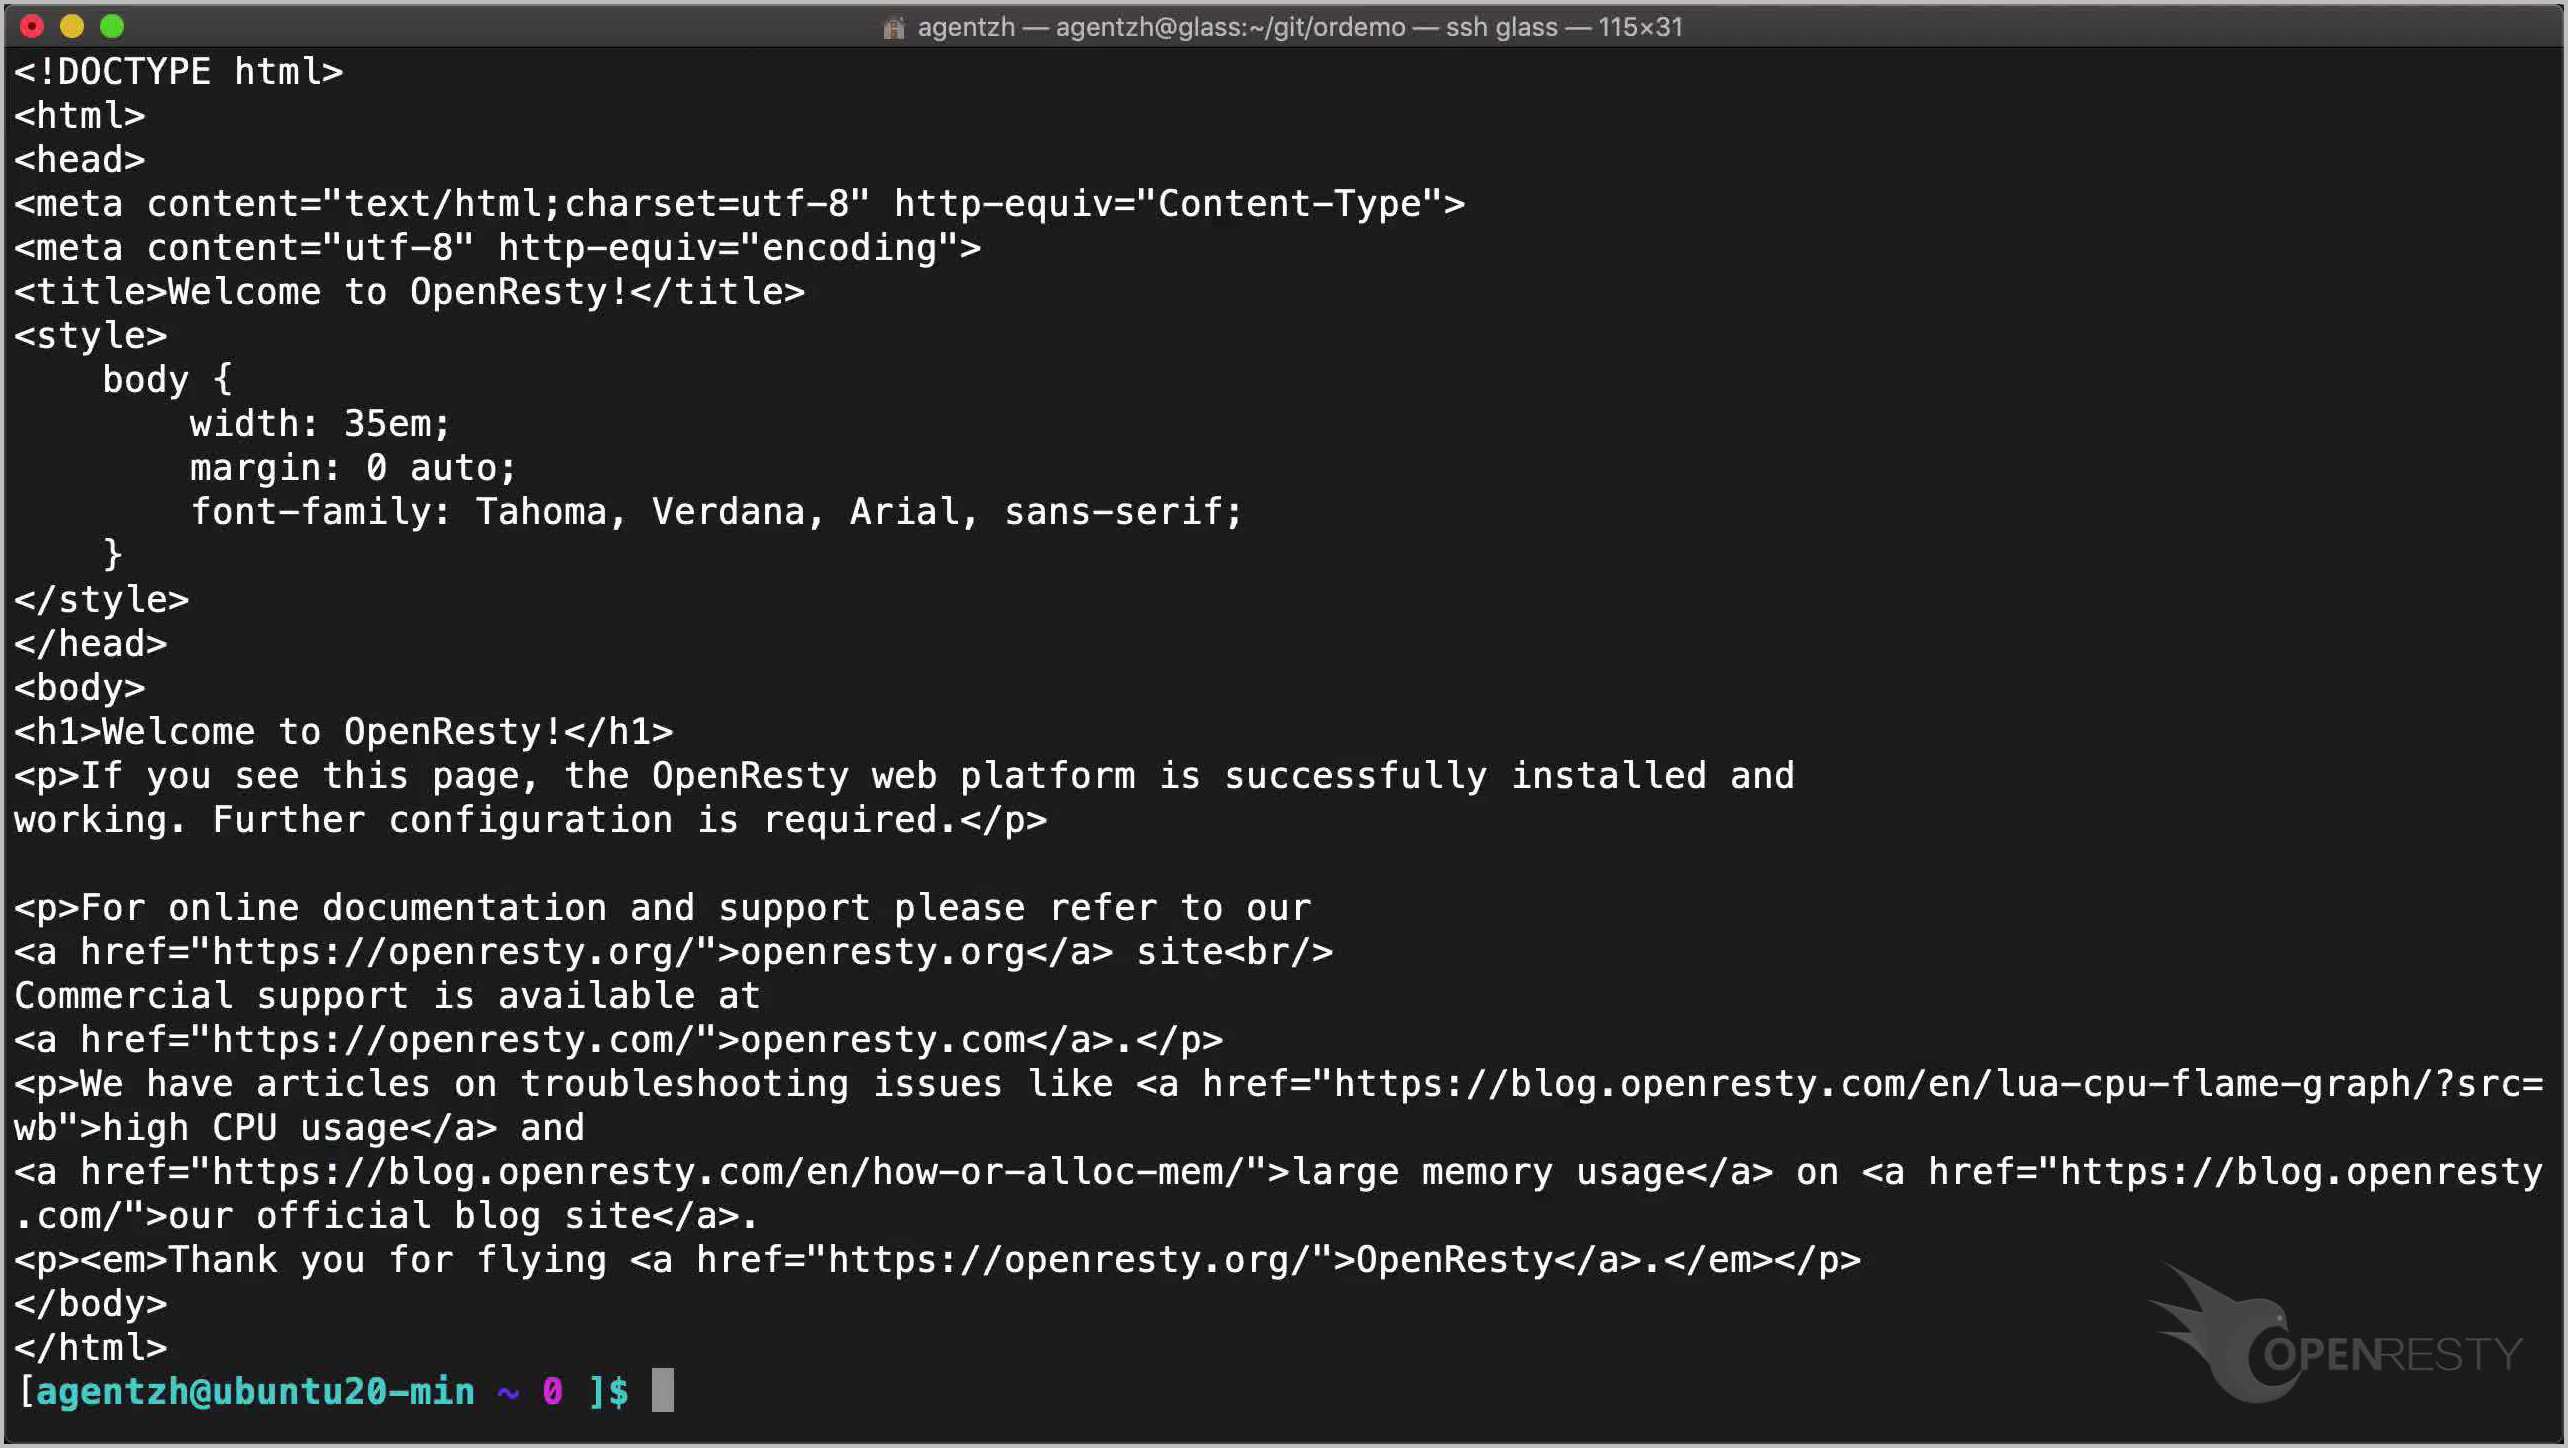
curl コマンドを使用してデフォルトのホームページをテストします。
curl 127.0.0.1/
はい、正常に動作しています。
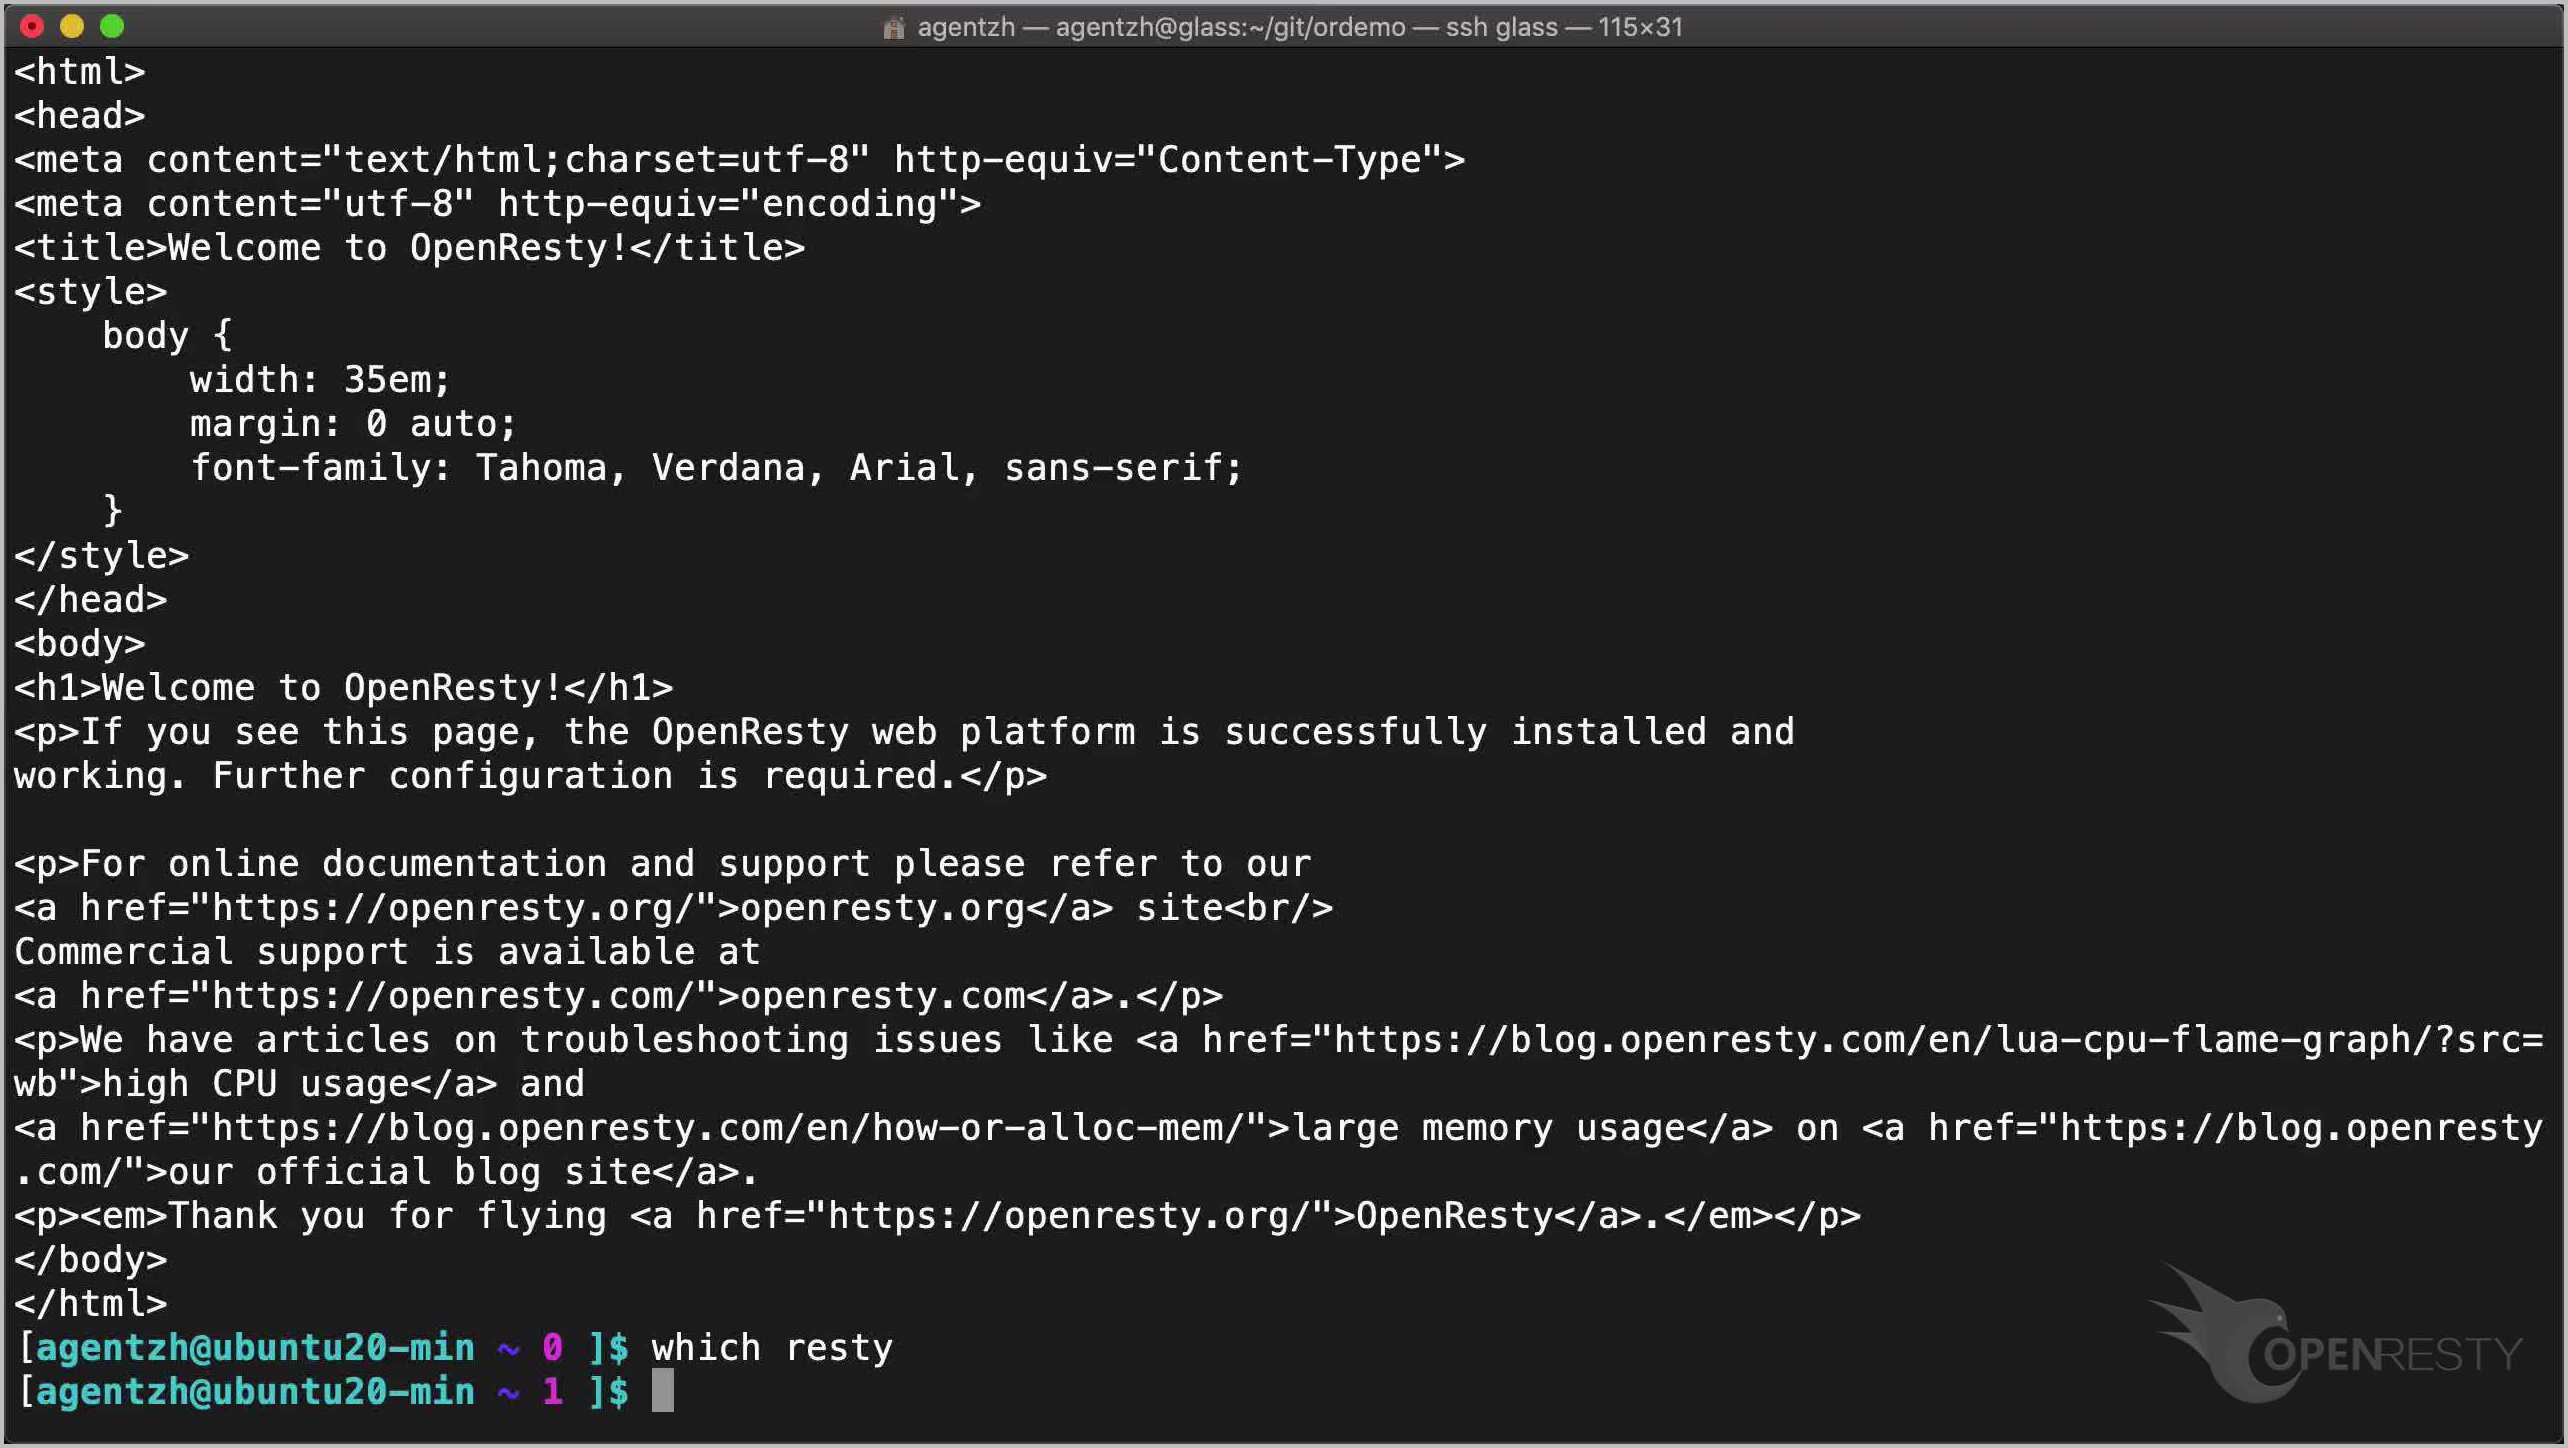
ただし、resty コマンドラインツールはまだインストールされていないことにご注意ください。
which resty
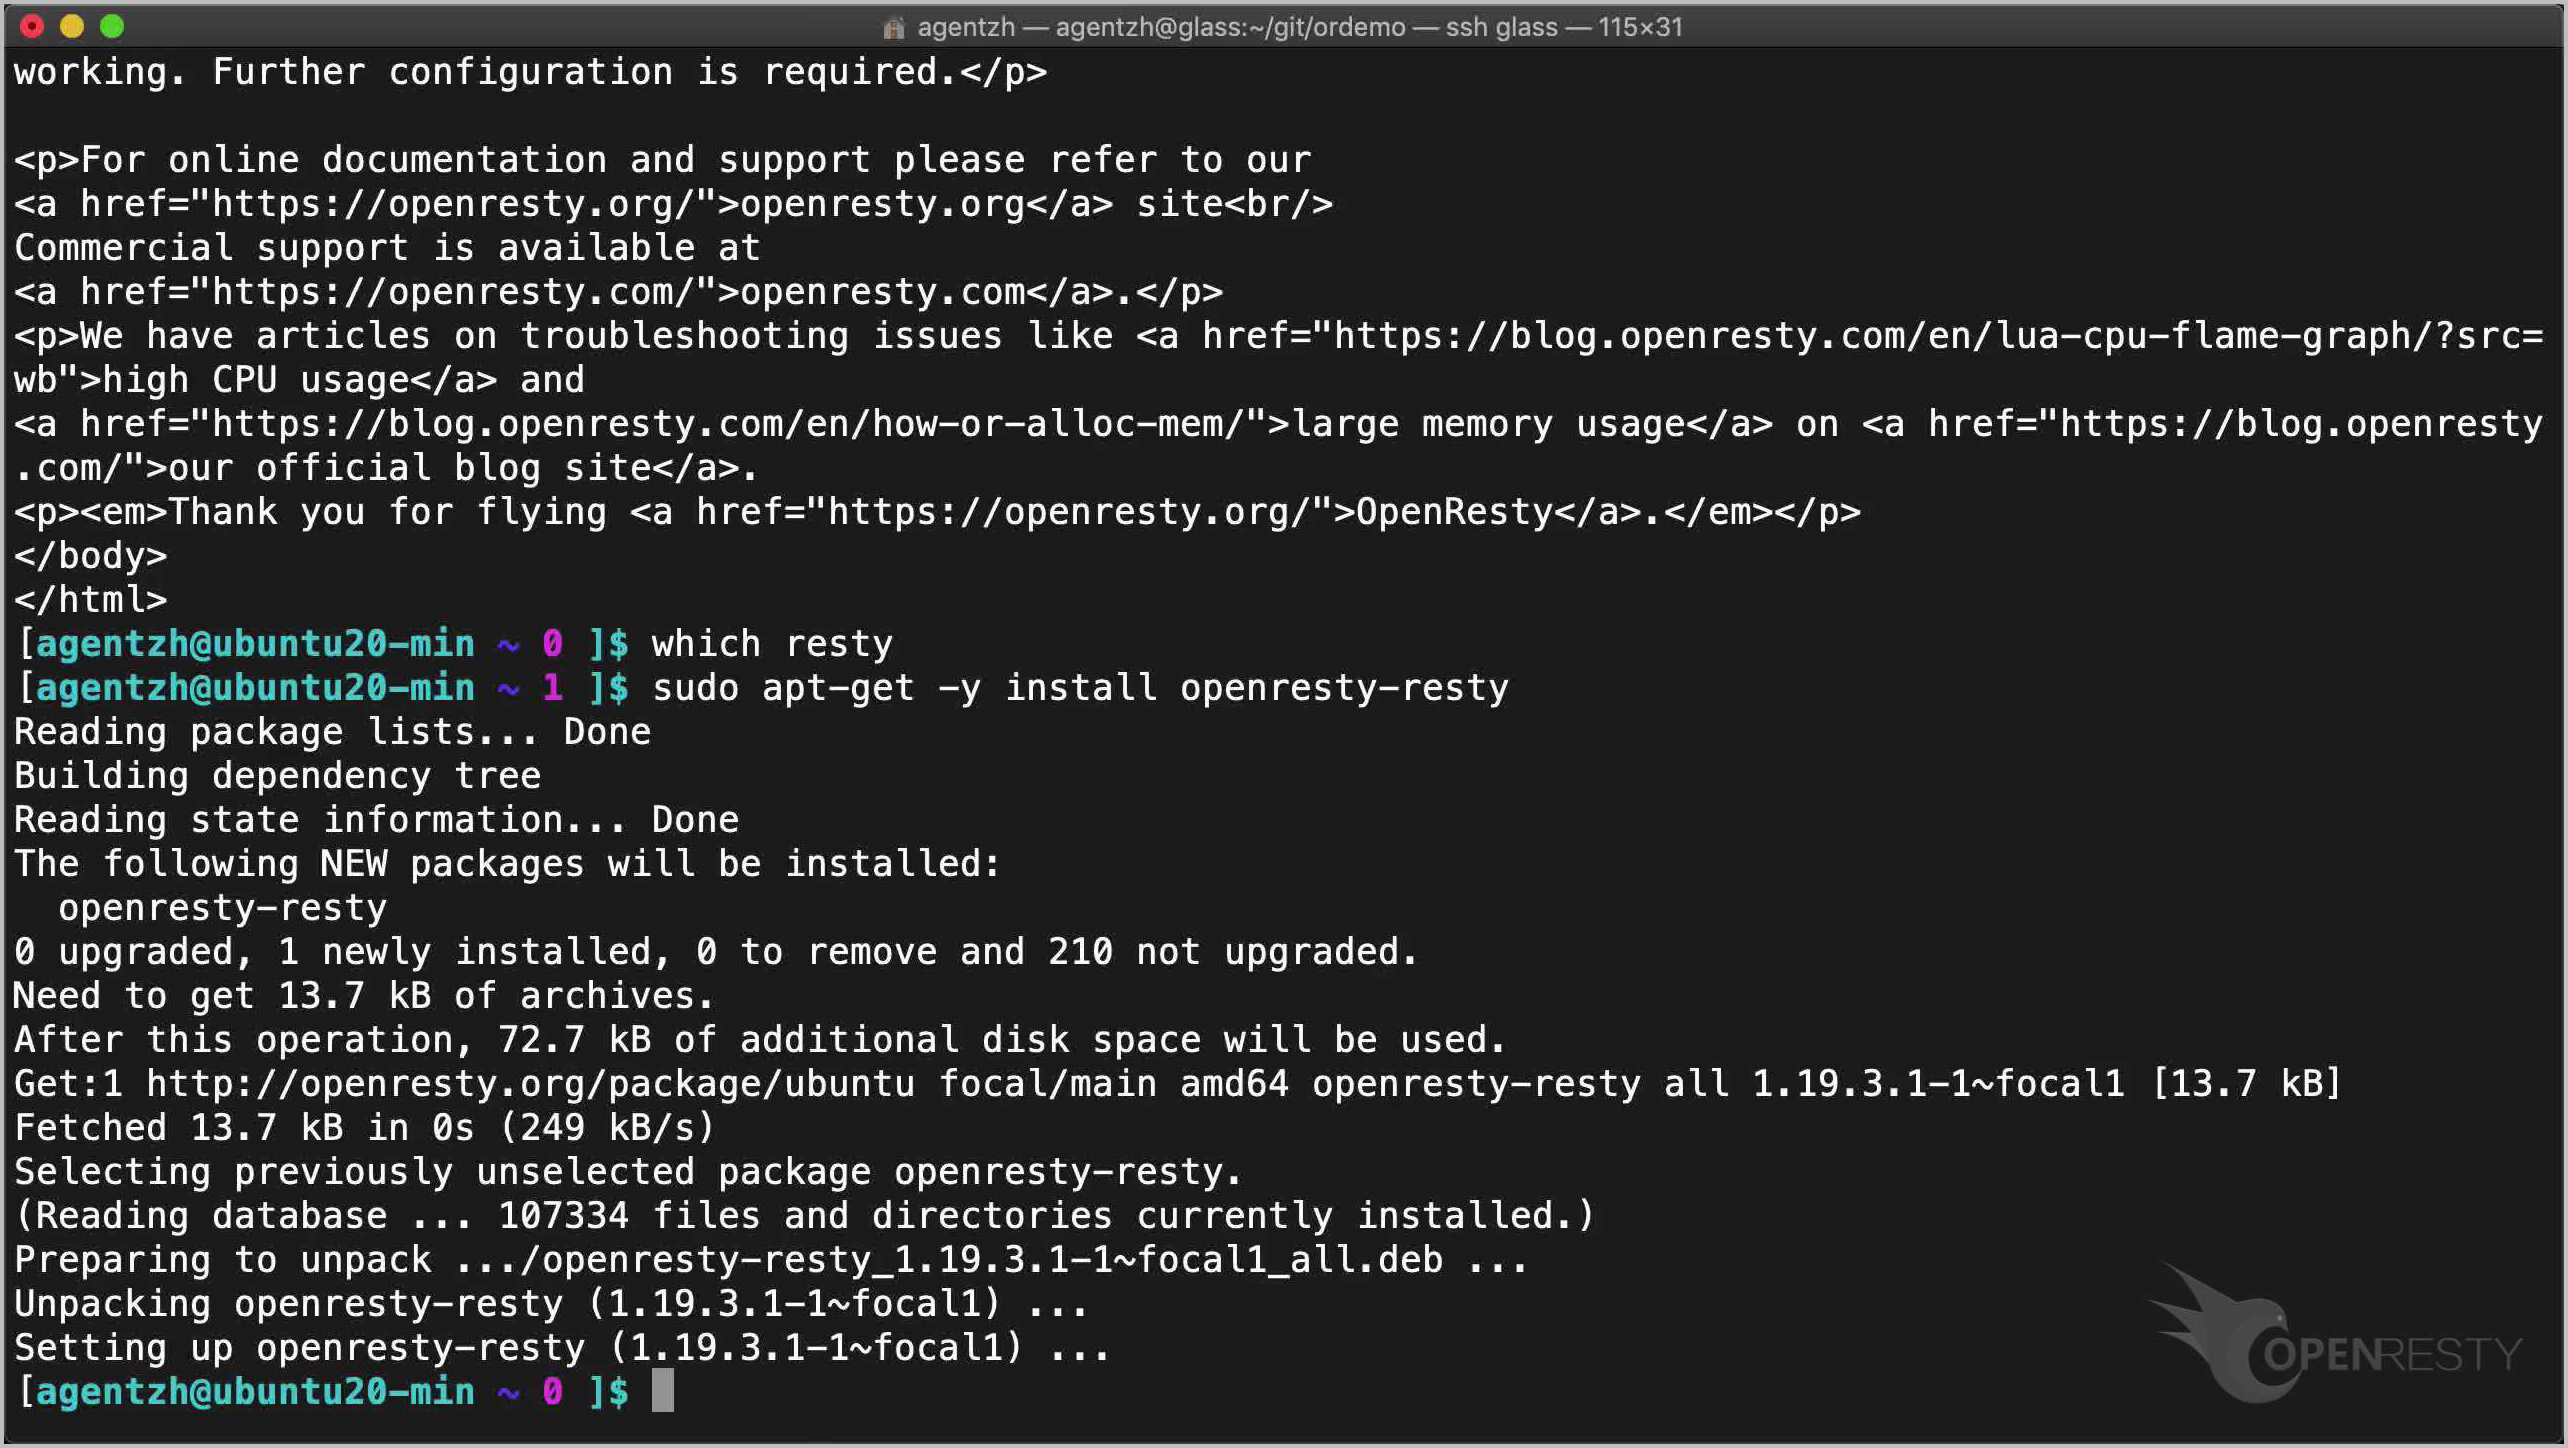
必要な場合は、同じリポジトリから openresty-resty RPM パッケージをインストールできます。
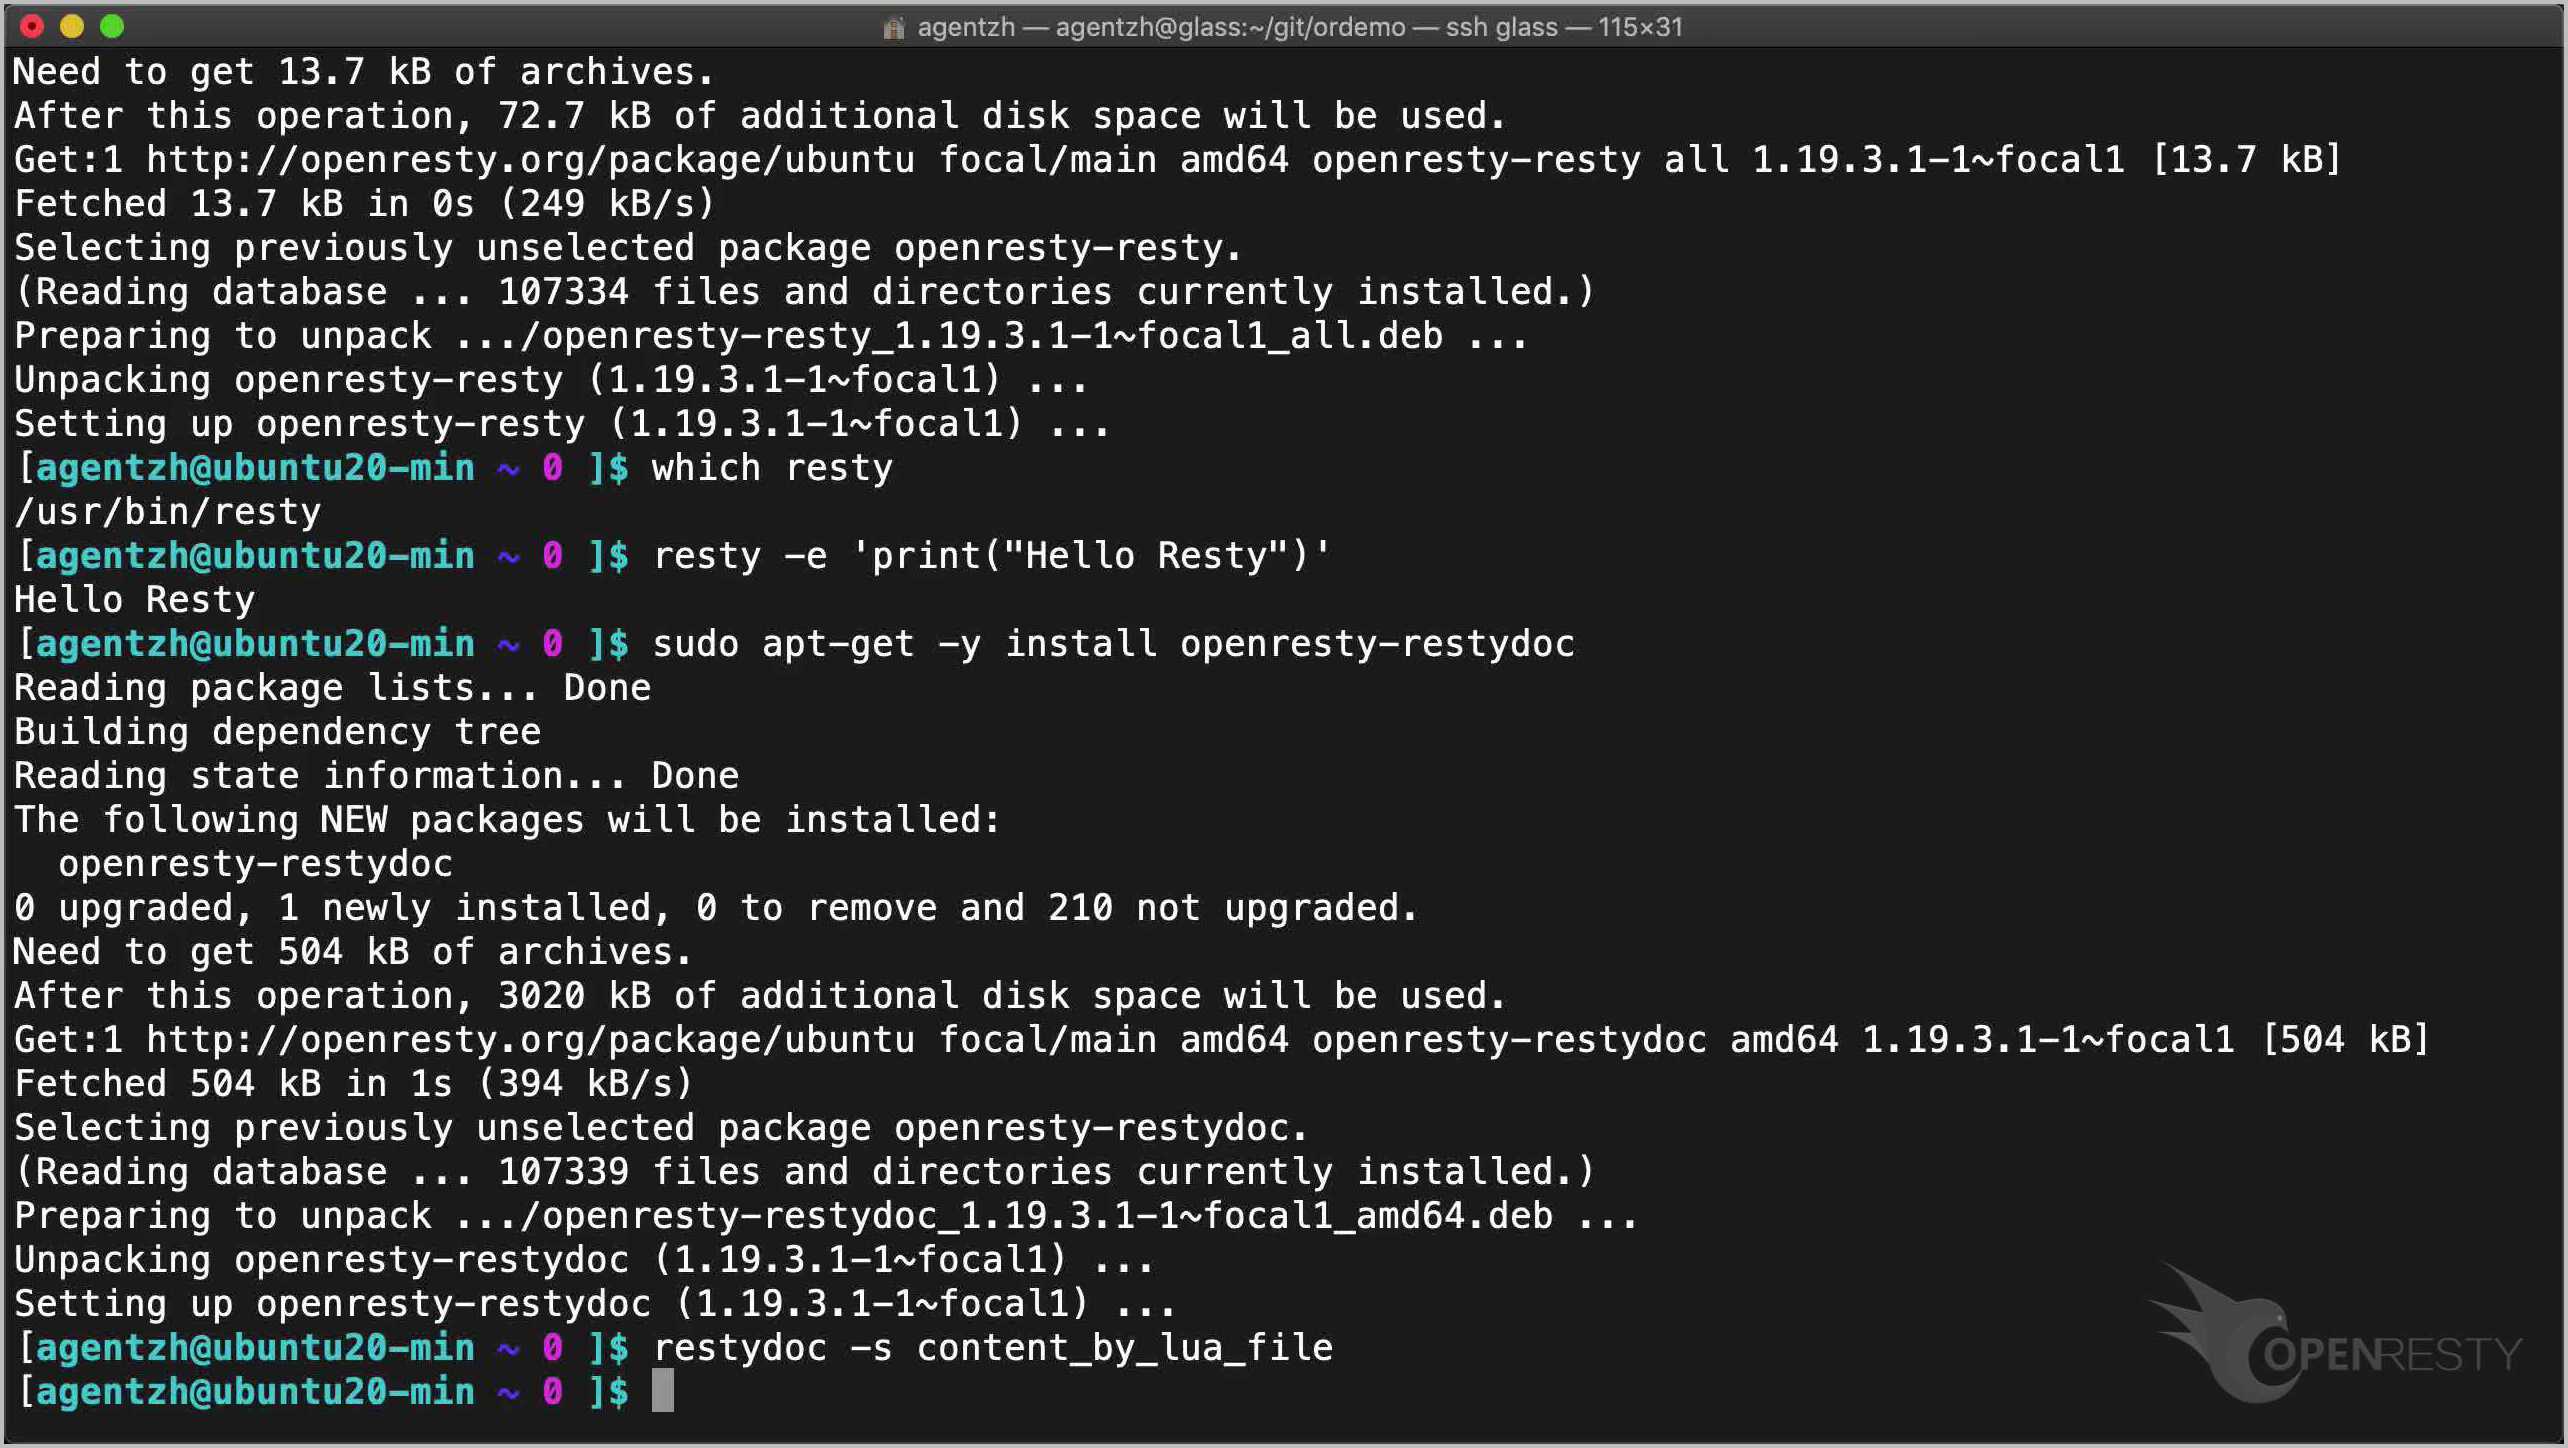
sudo apt-get -y install openresty-resty
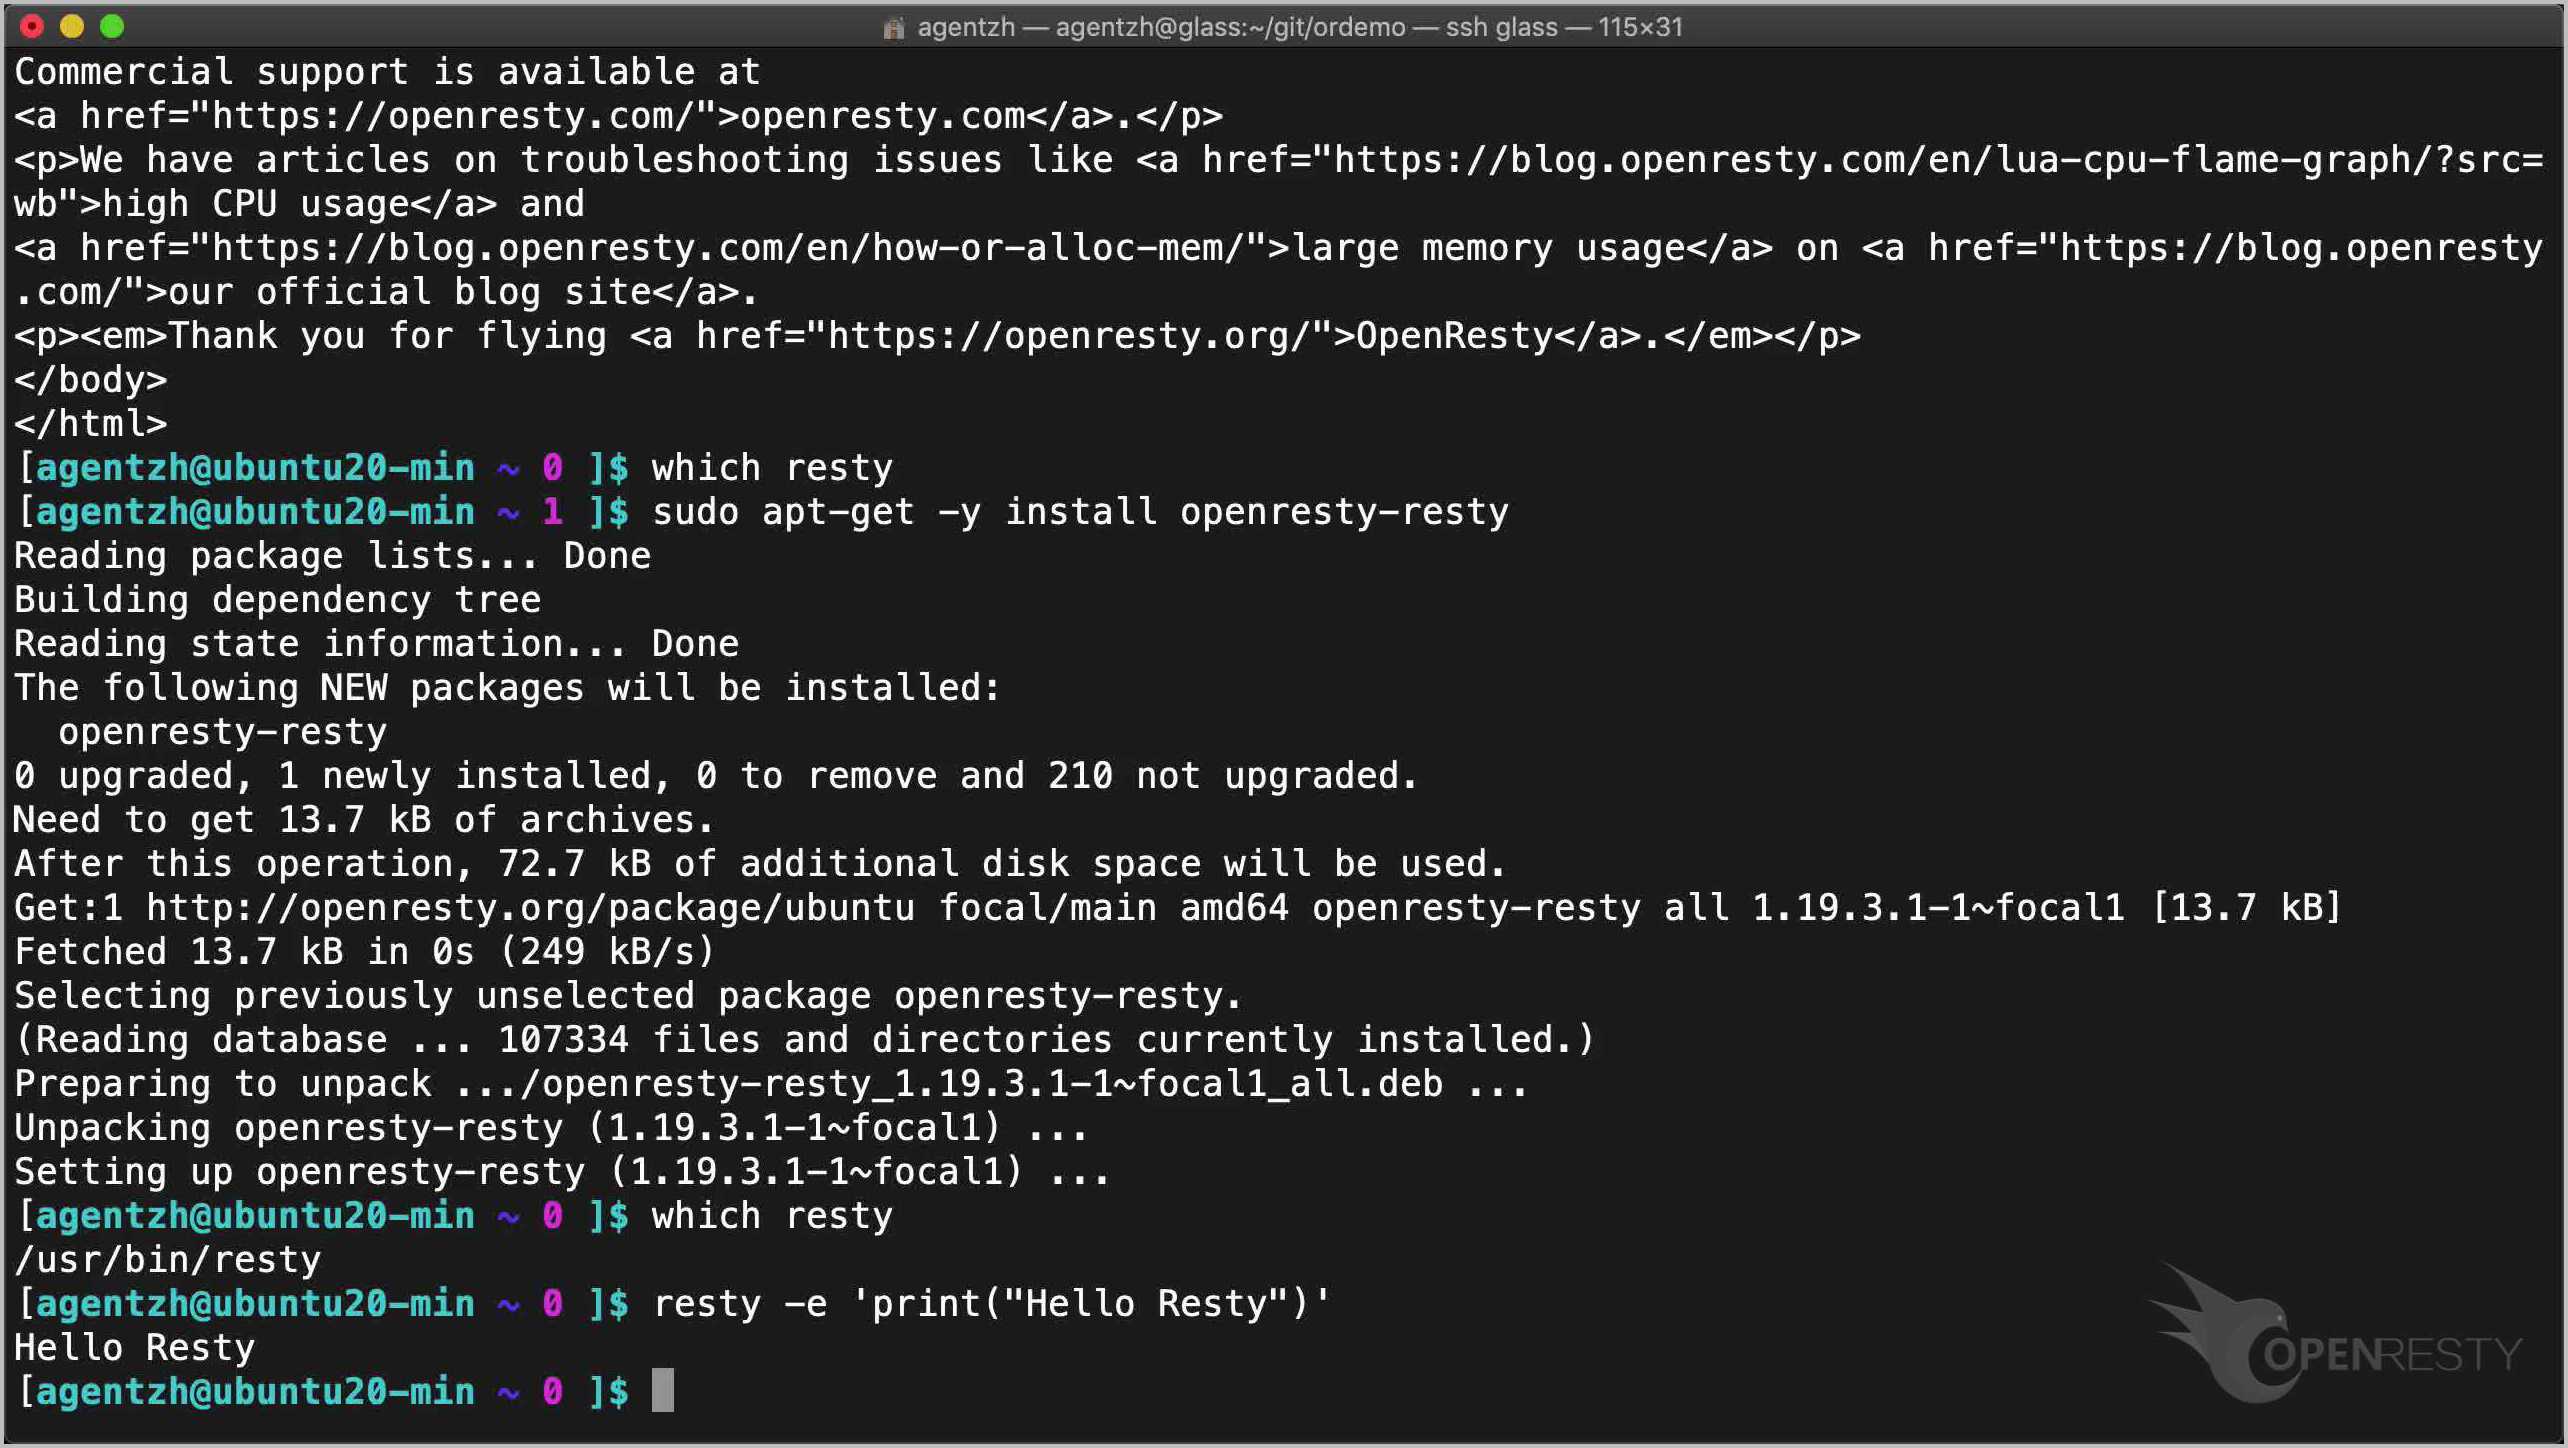
これで利用可能になるはずです。
which resty
resty -e 'print("Hello Resty")'
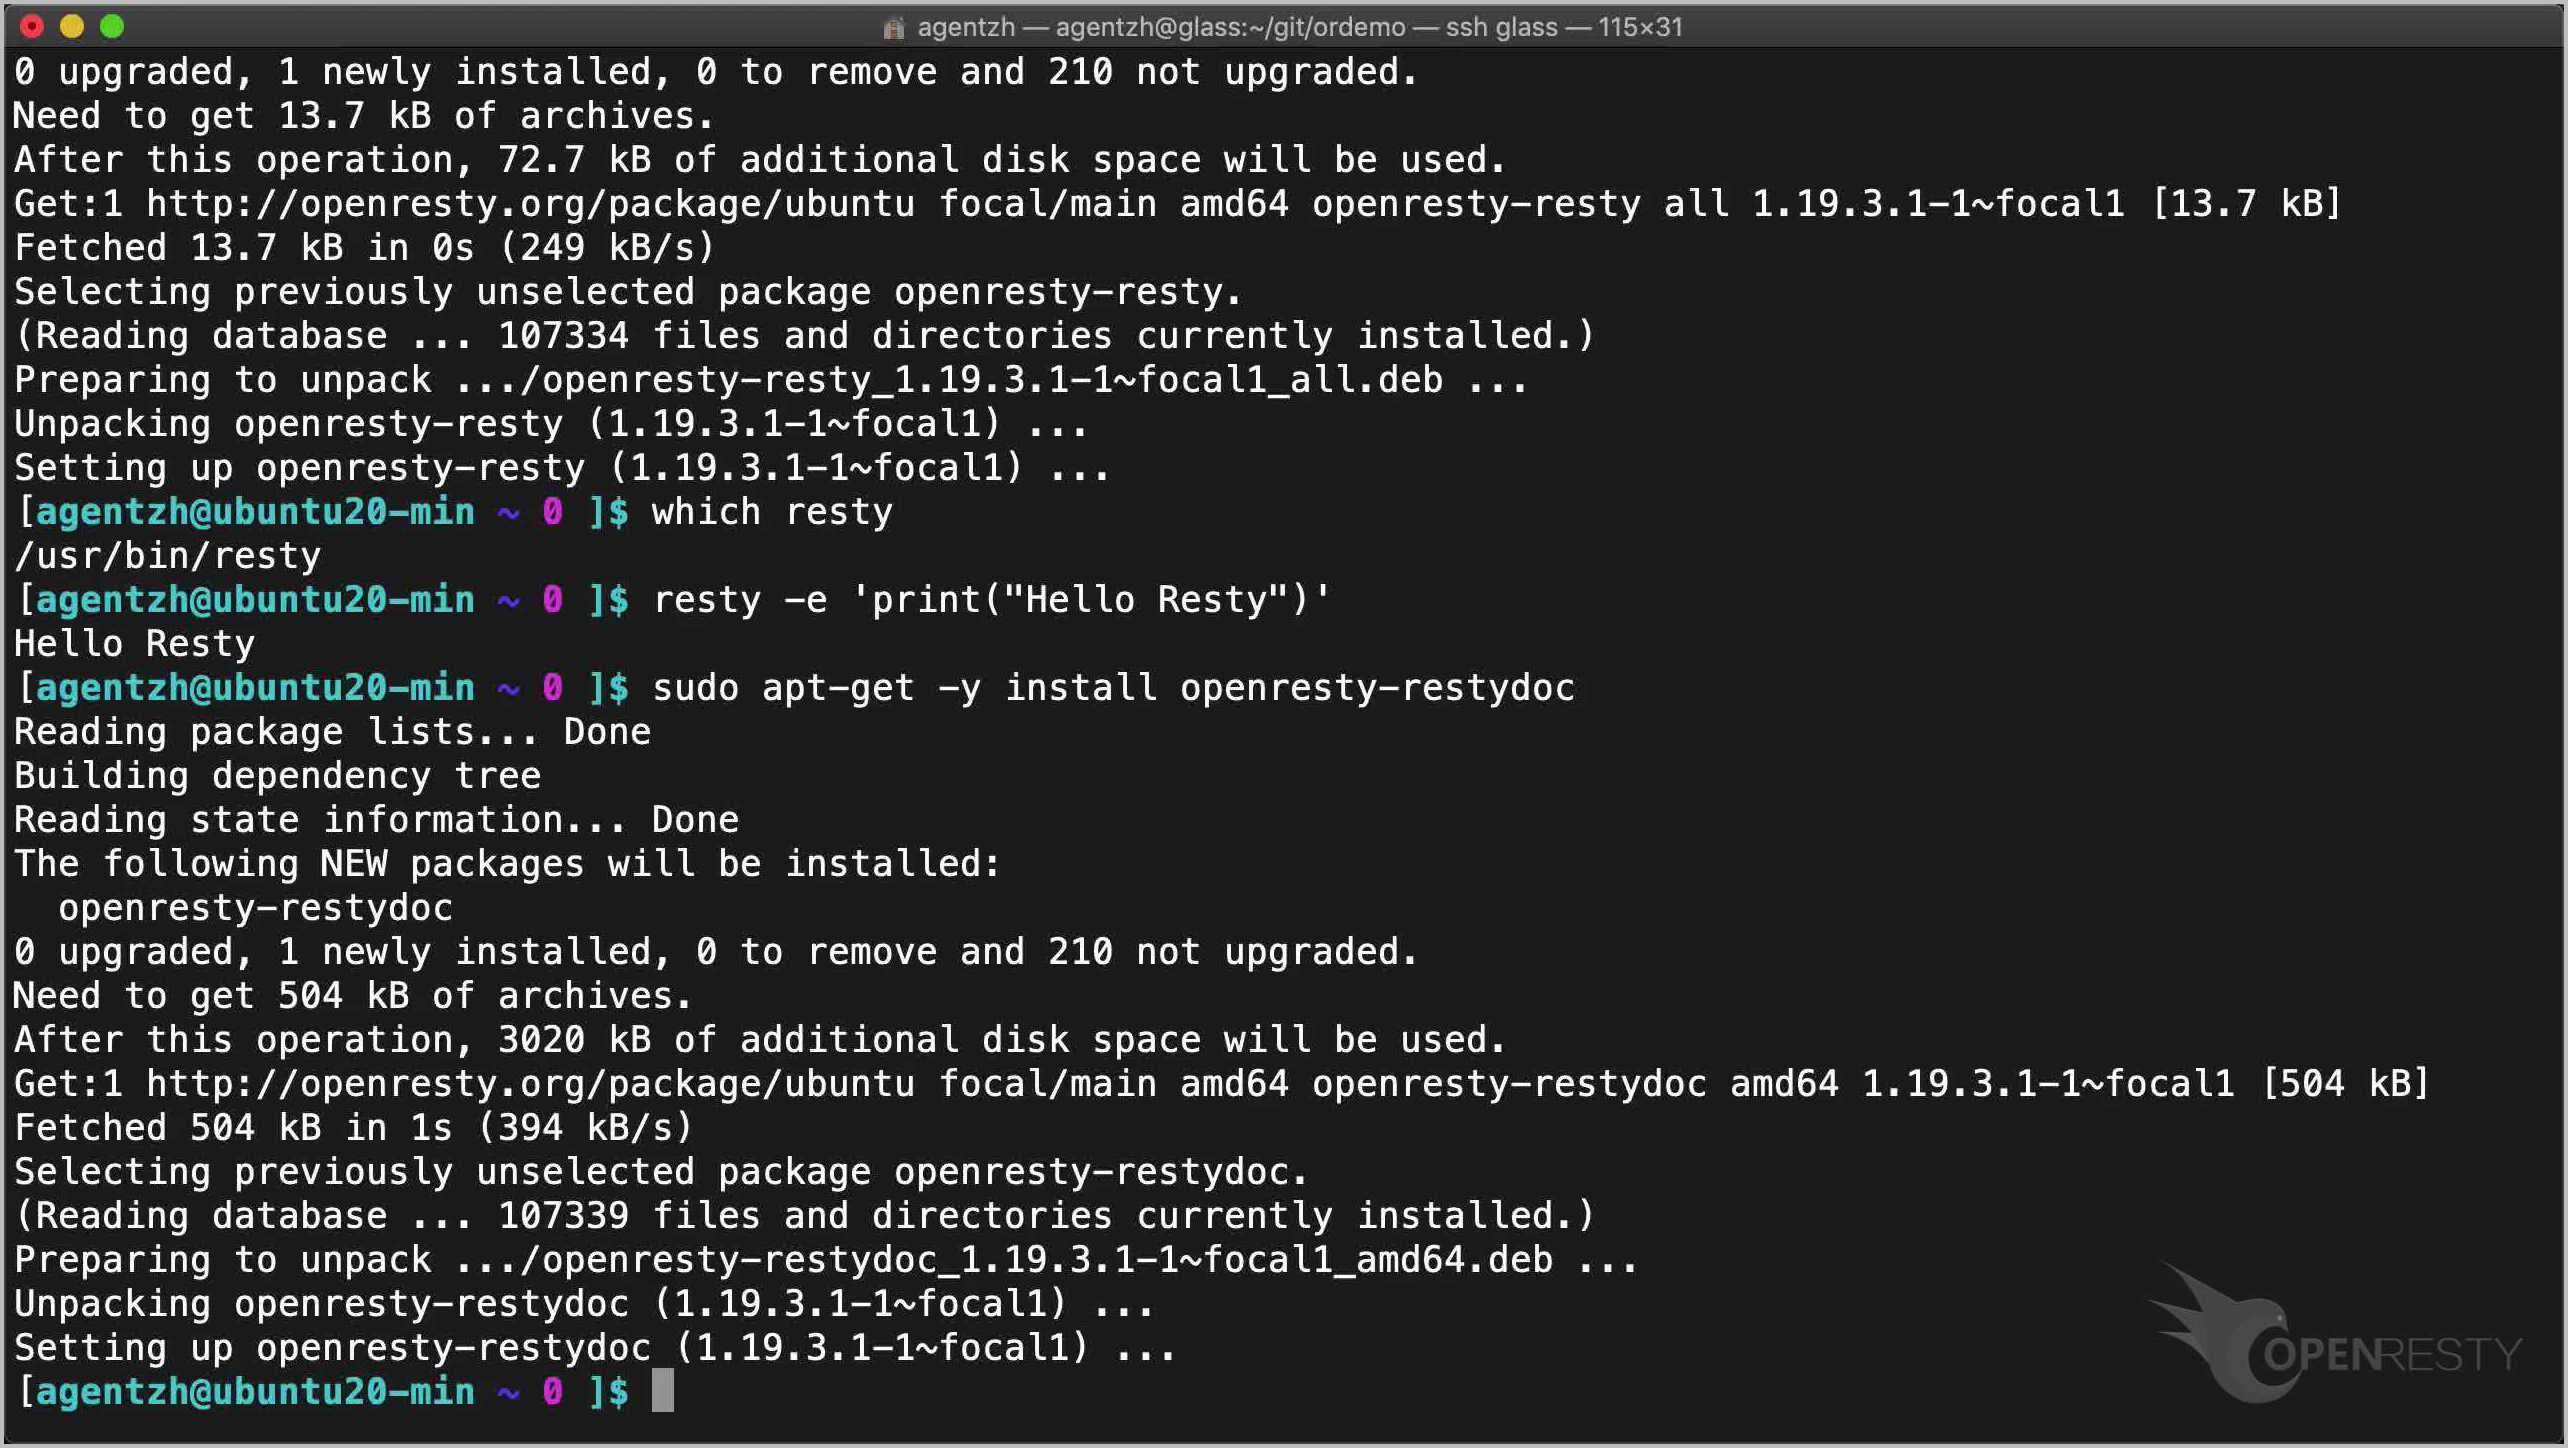
同様に、restydoc コマンドラインツールを使用したい場合は、openresty-doc パッケージをインストールする必要があります。
sudo apt-get -y install openresty-restydoc
これも利用可能になりました。
restydoc -s content_by_lua_file
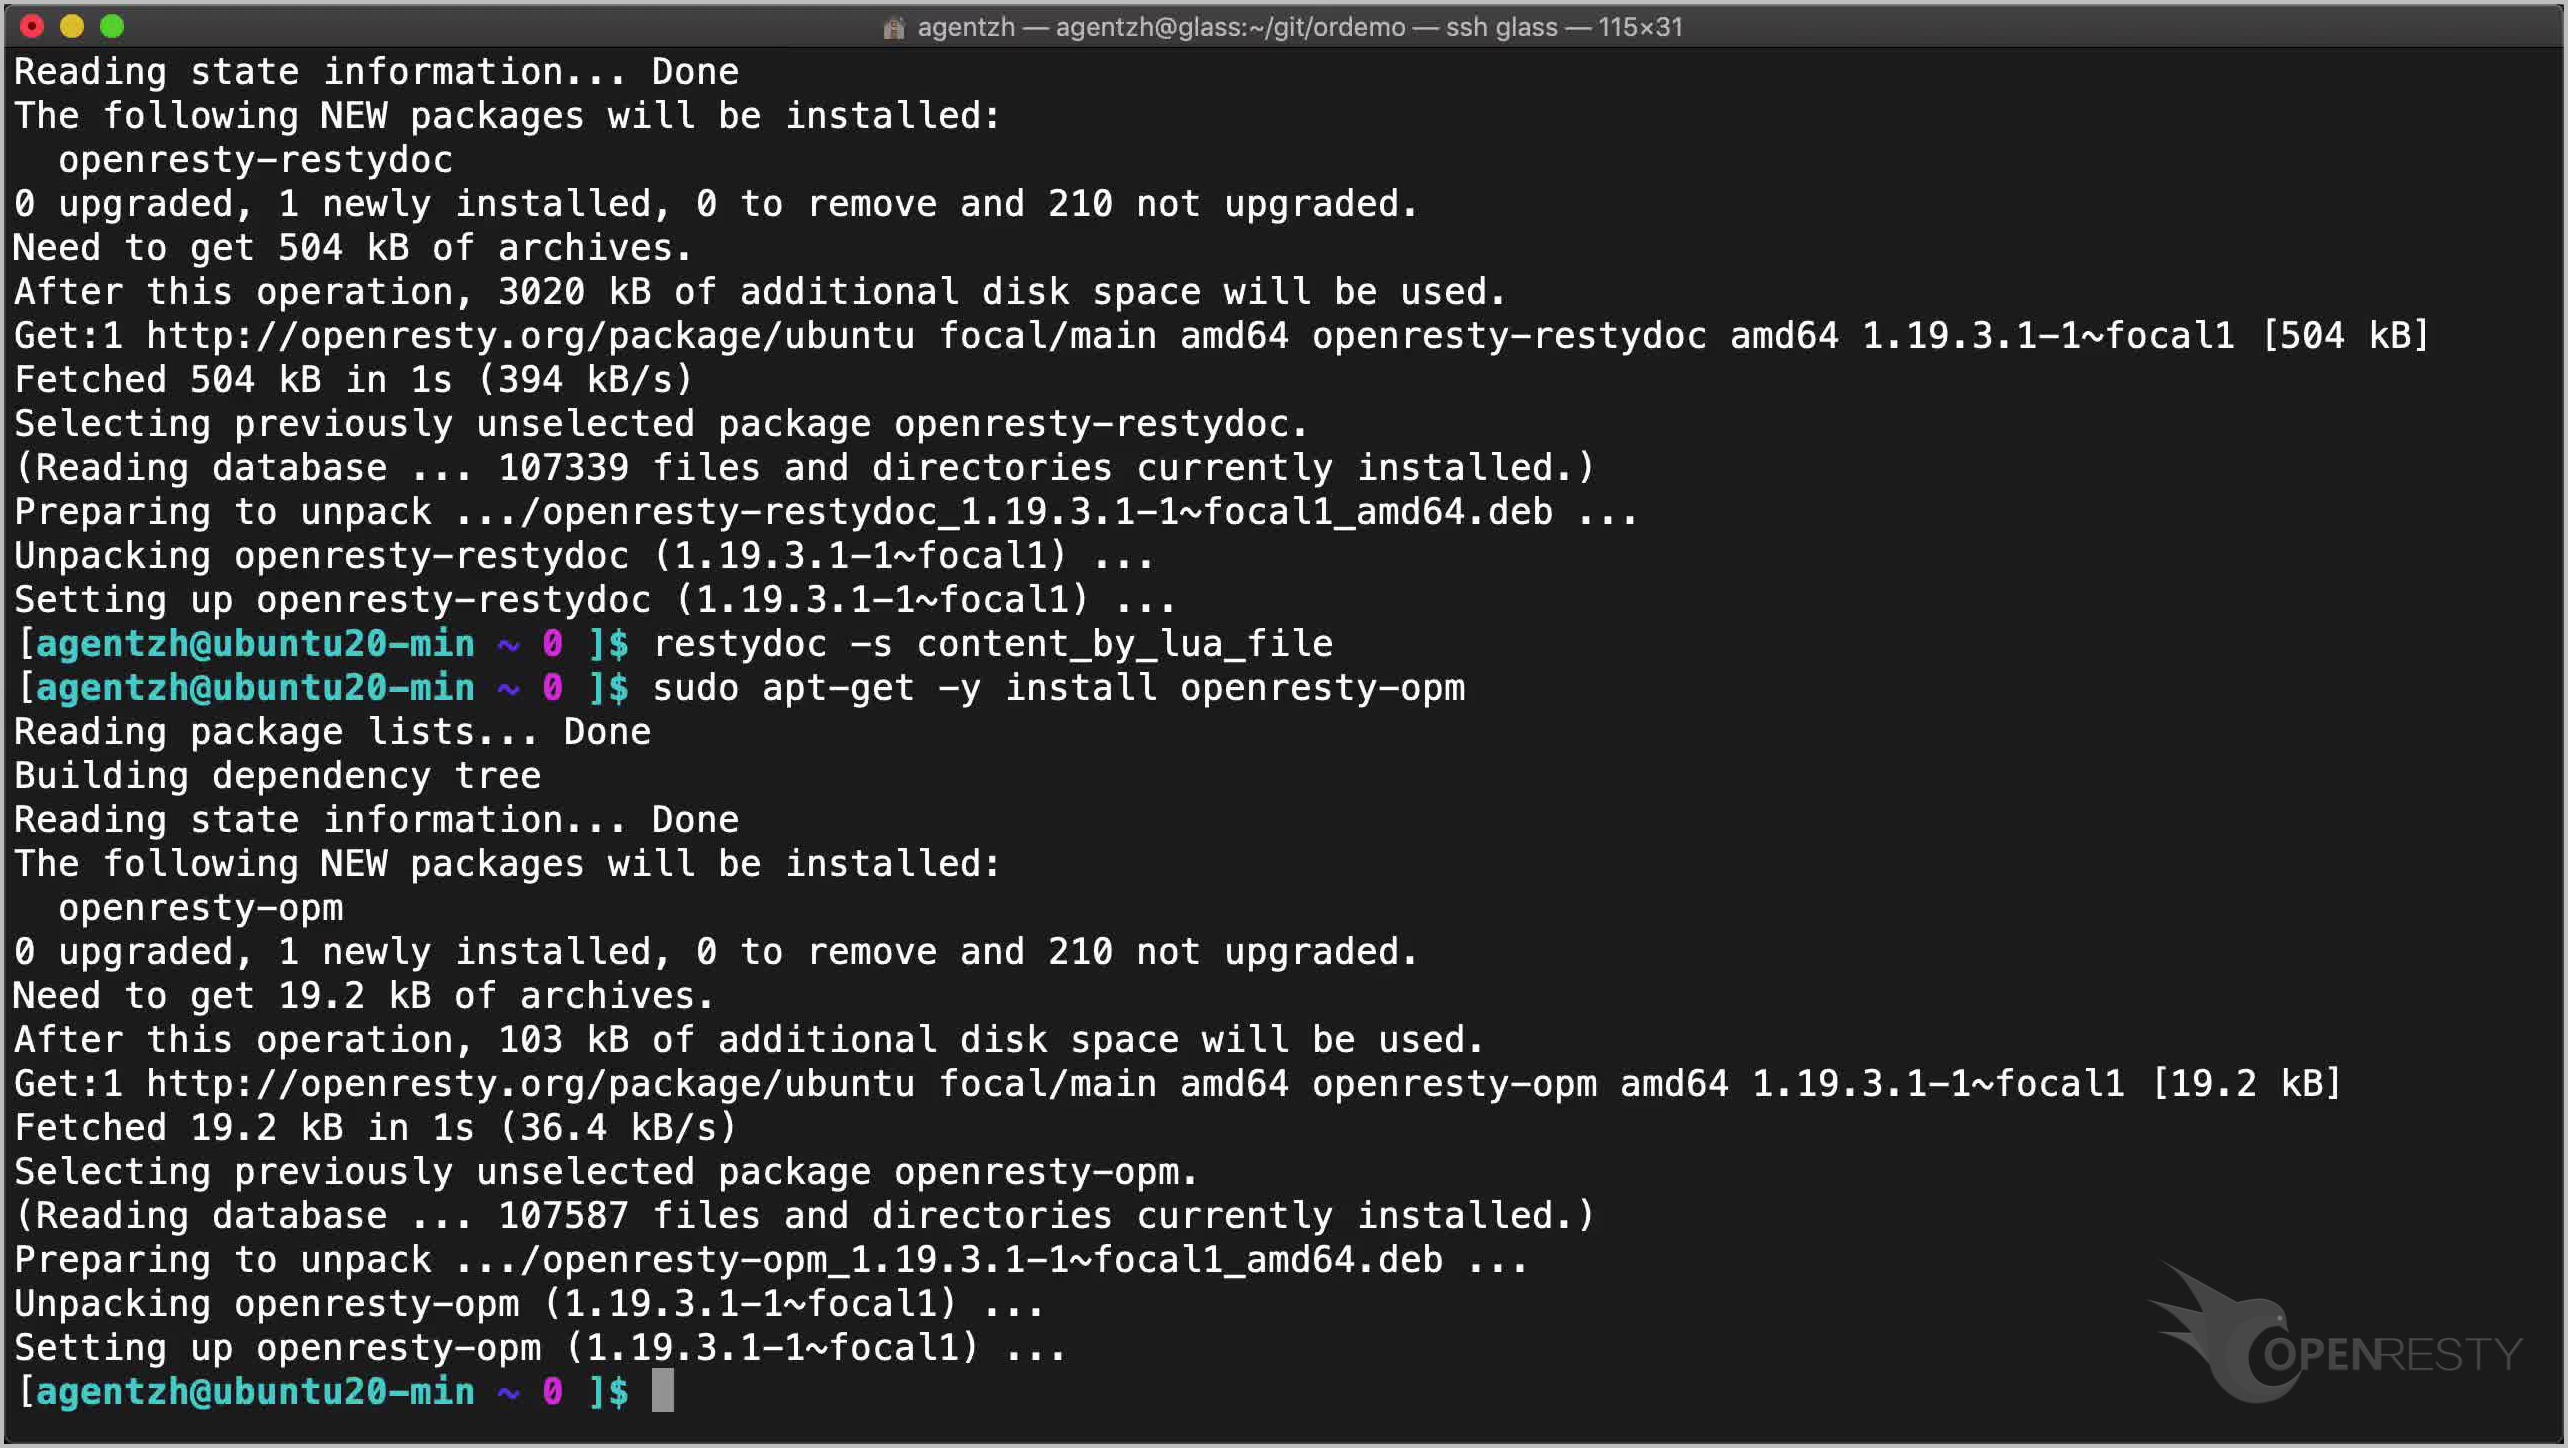
OpenResty コミュニティによって提供される追加の Lua モジュールをインストールするために、OPM もインストールできます。
sudo apt-get -y install openresty-opm
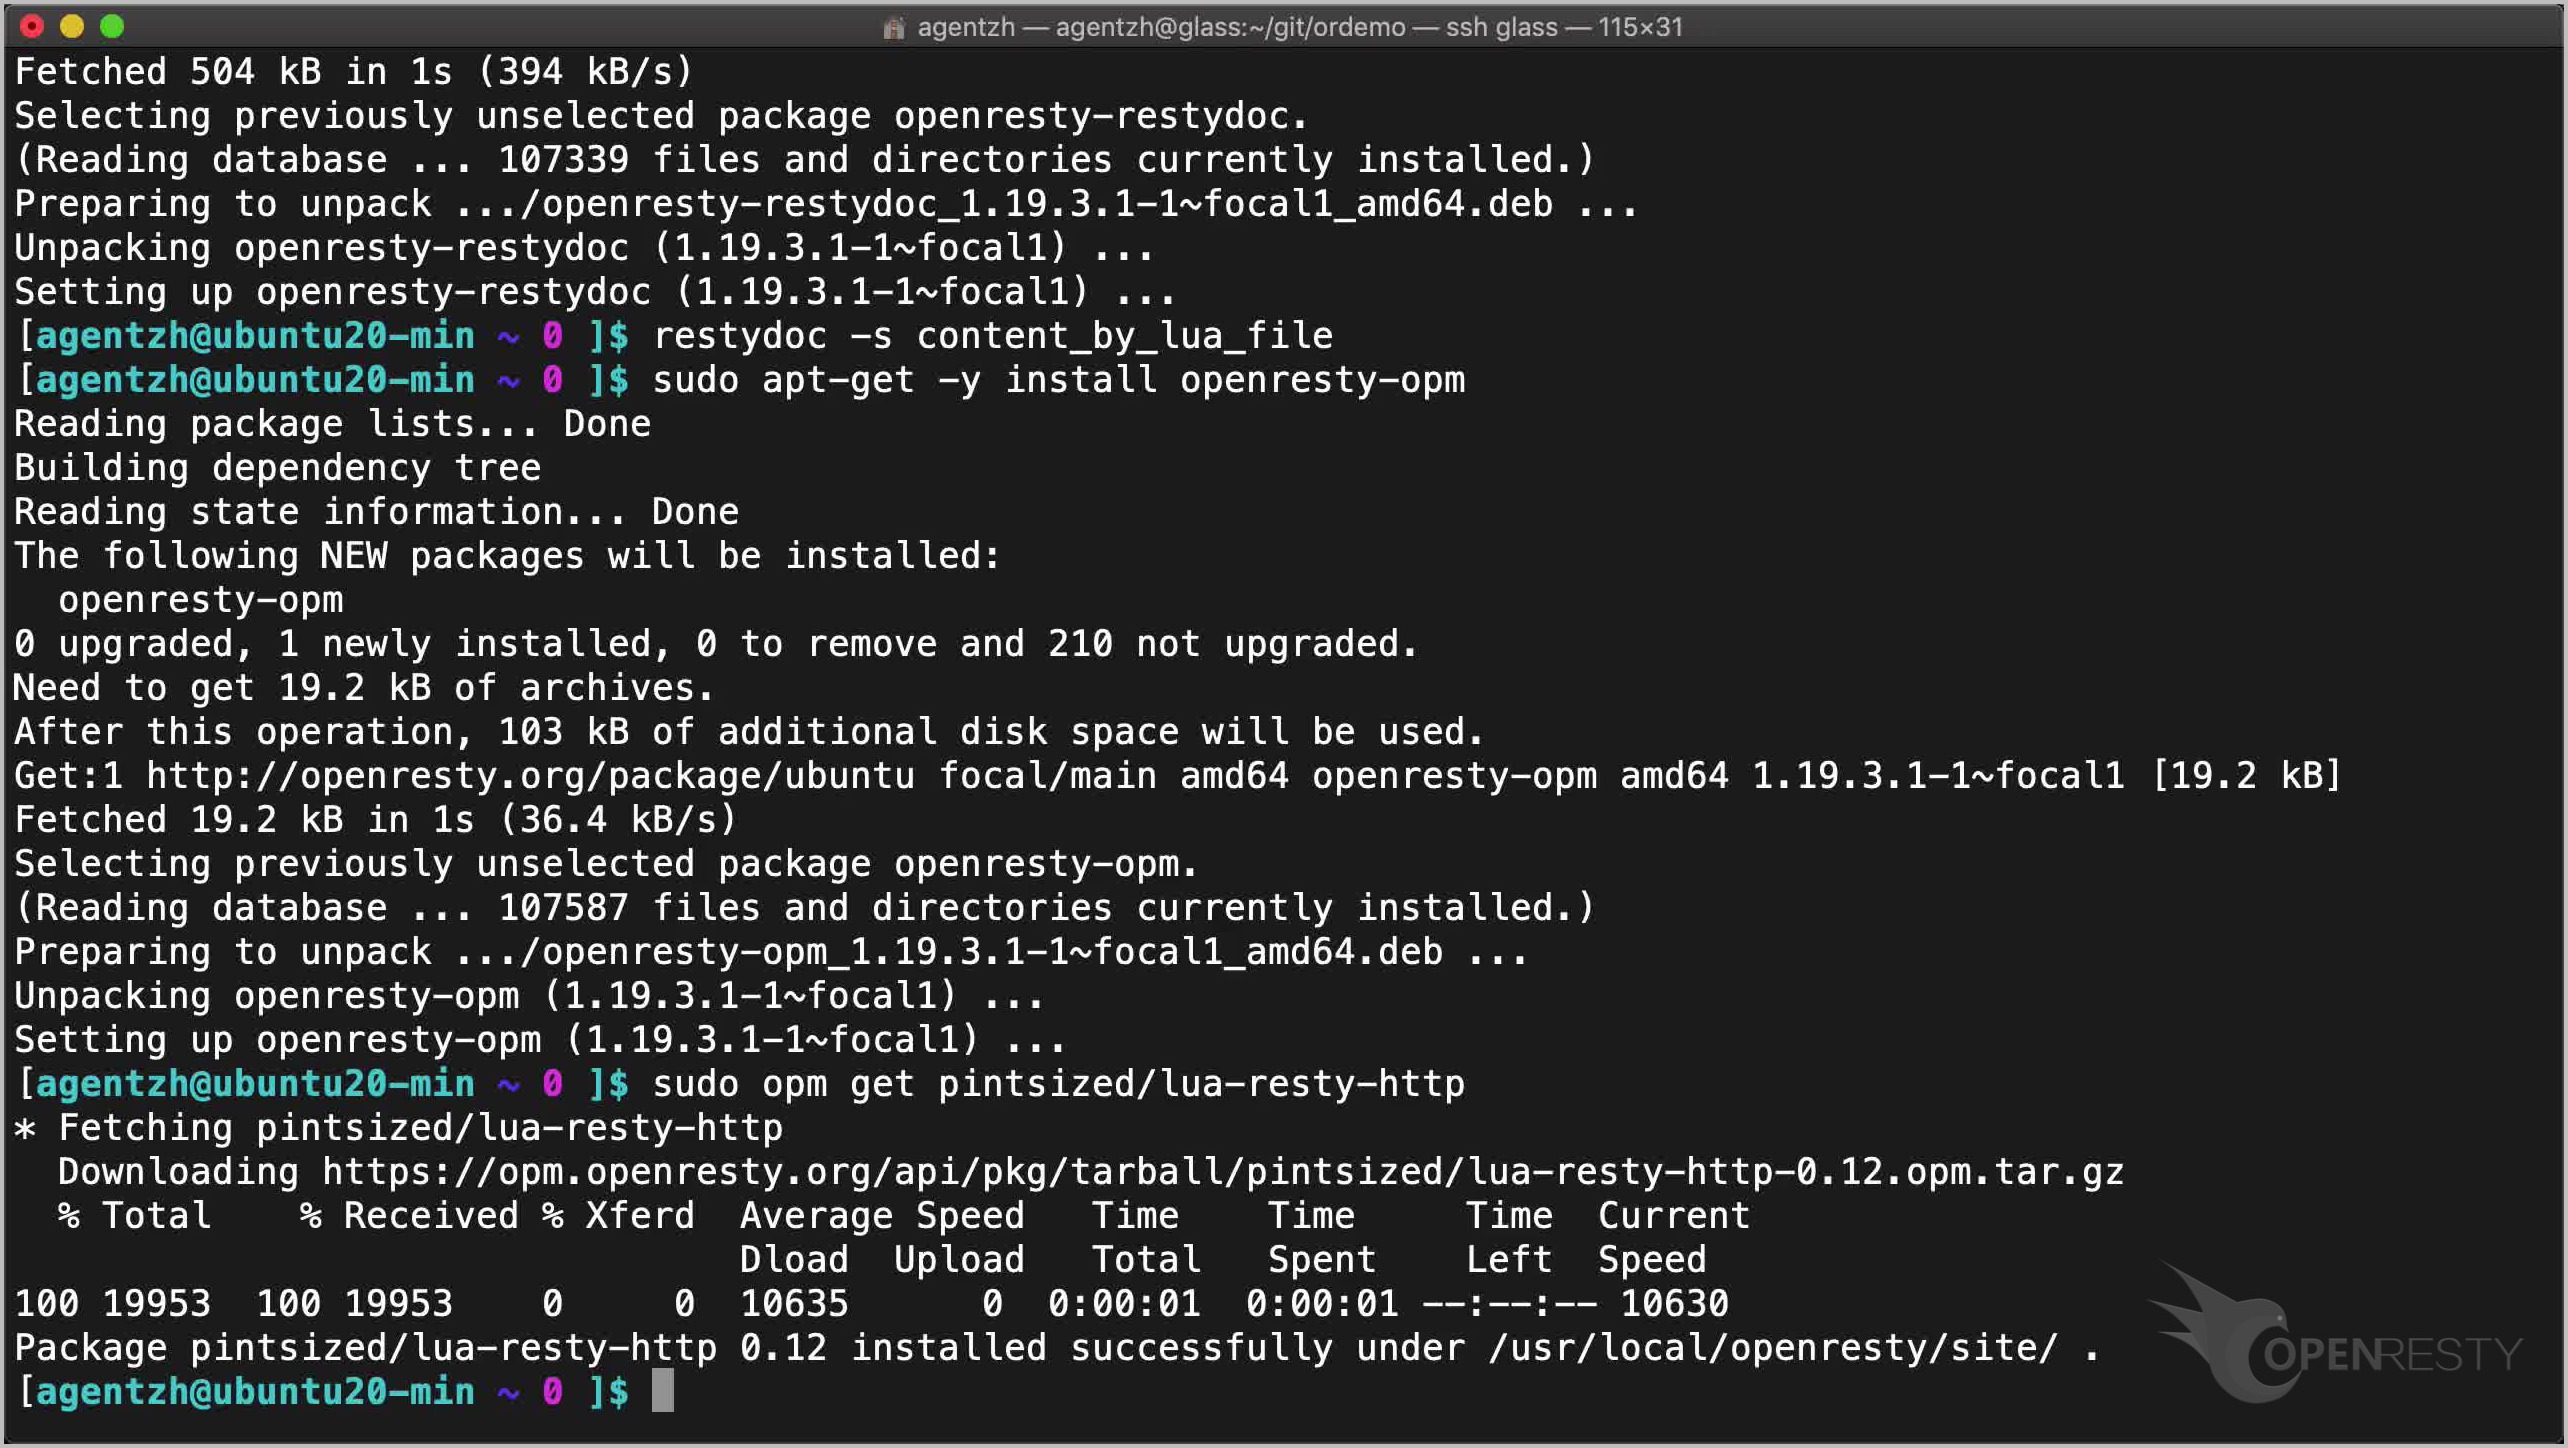
James Hurst 氏が作成した lua-resty-http ライブラリをインストールしてみましょう。
sudo opm get pintsized/lua-resty-http
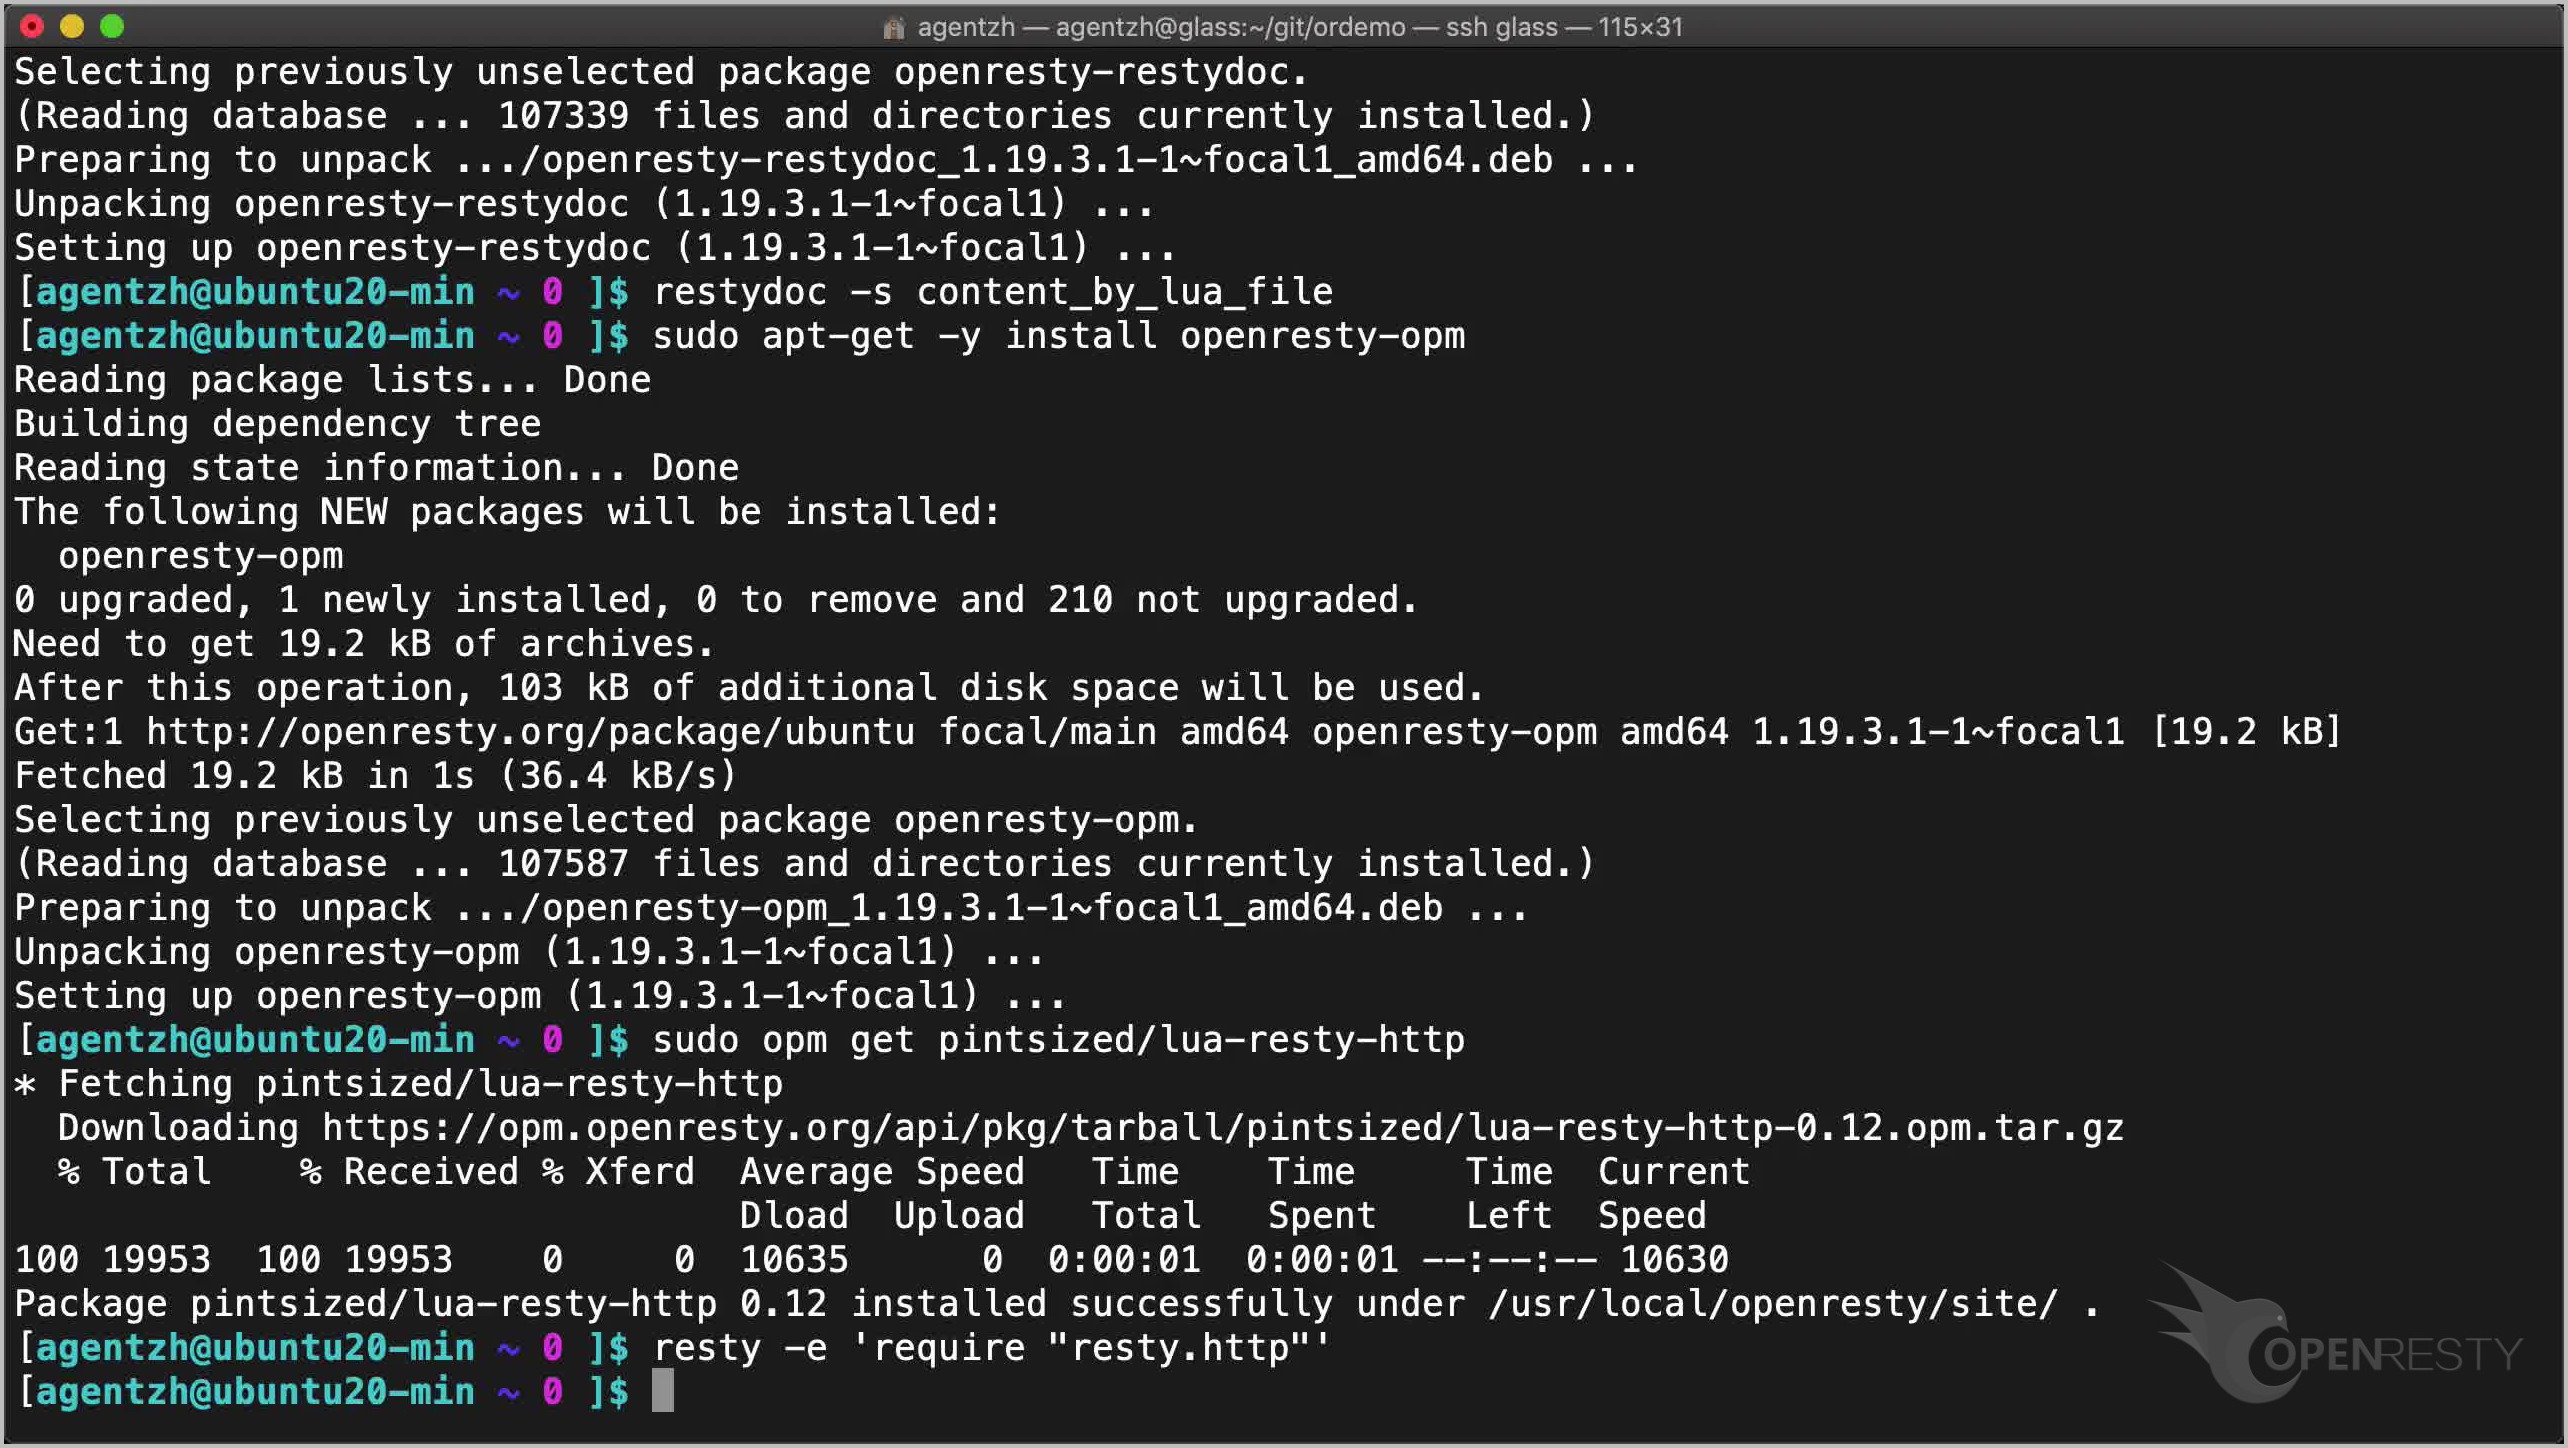
resty ツールを使用してそれをロードしてみてください。
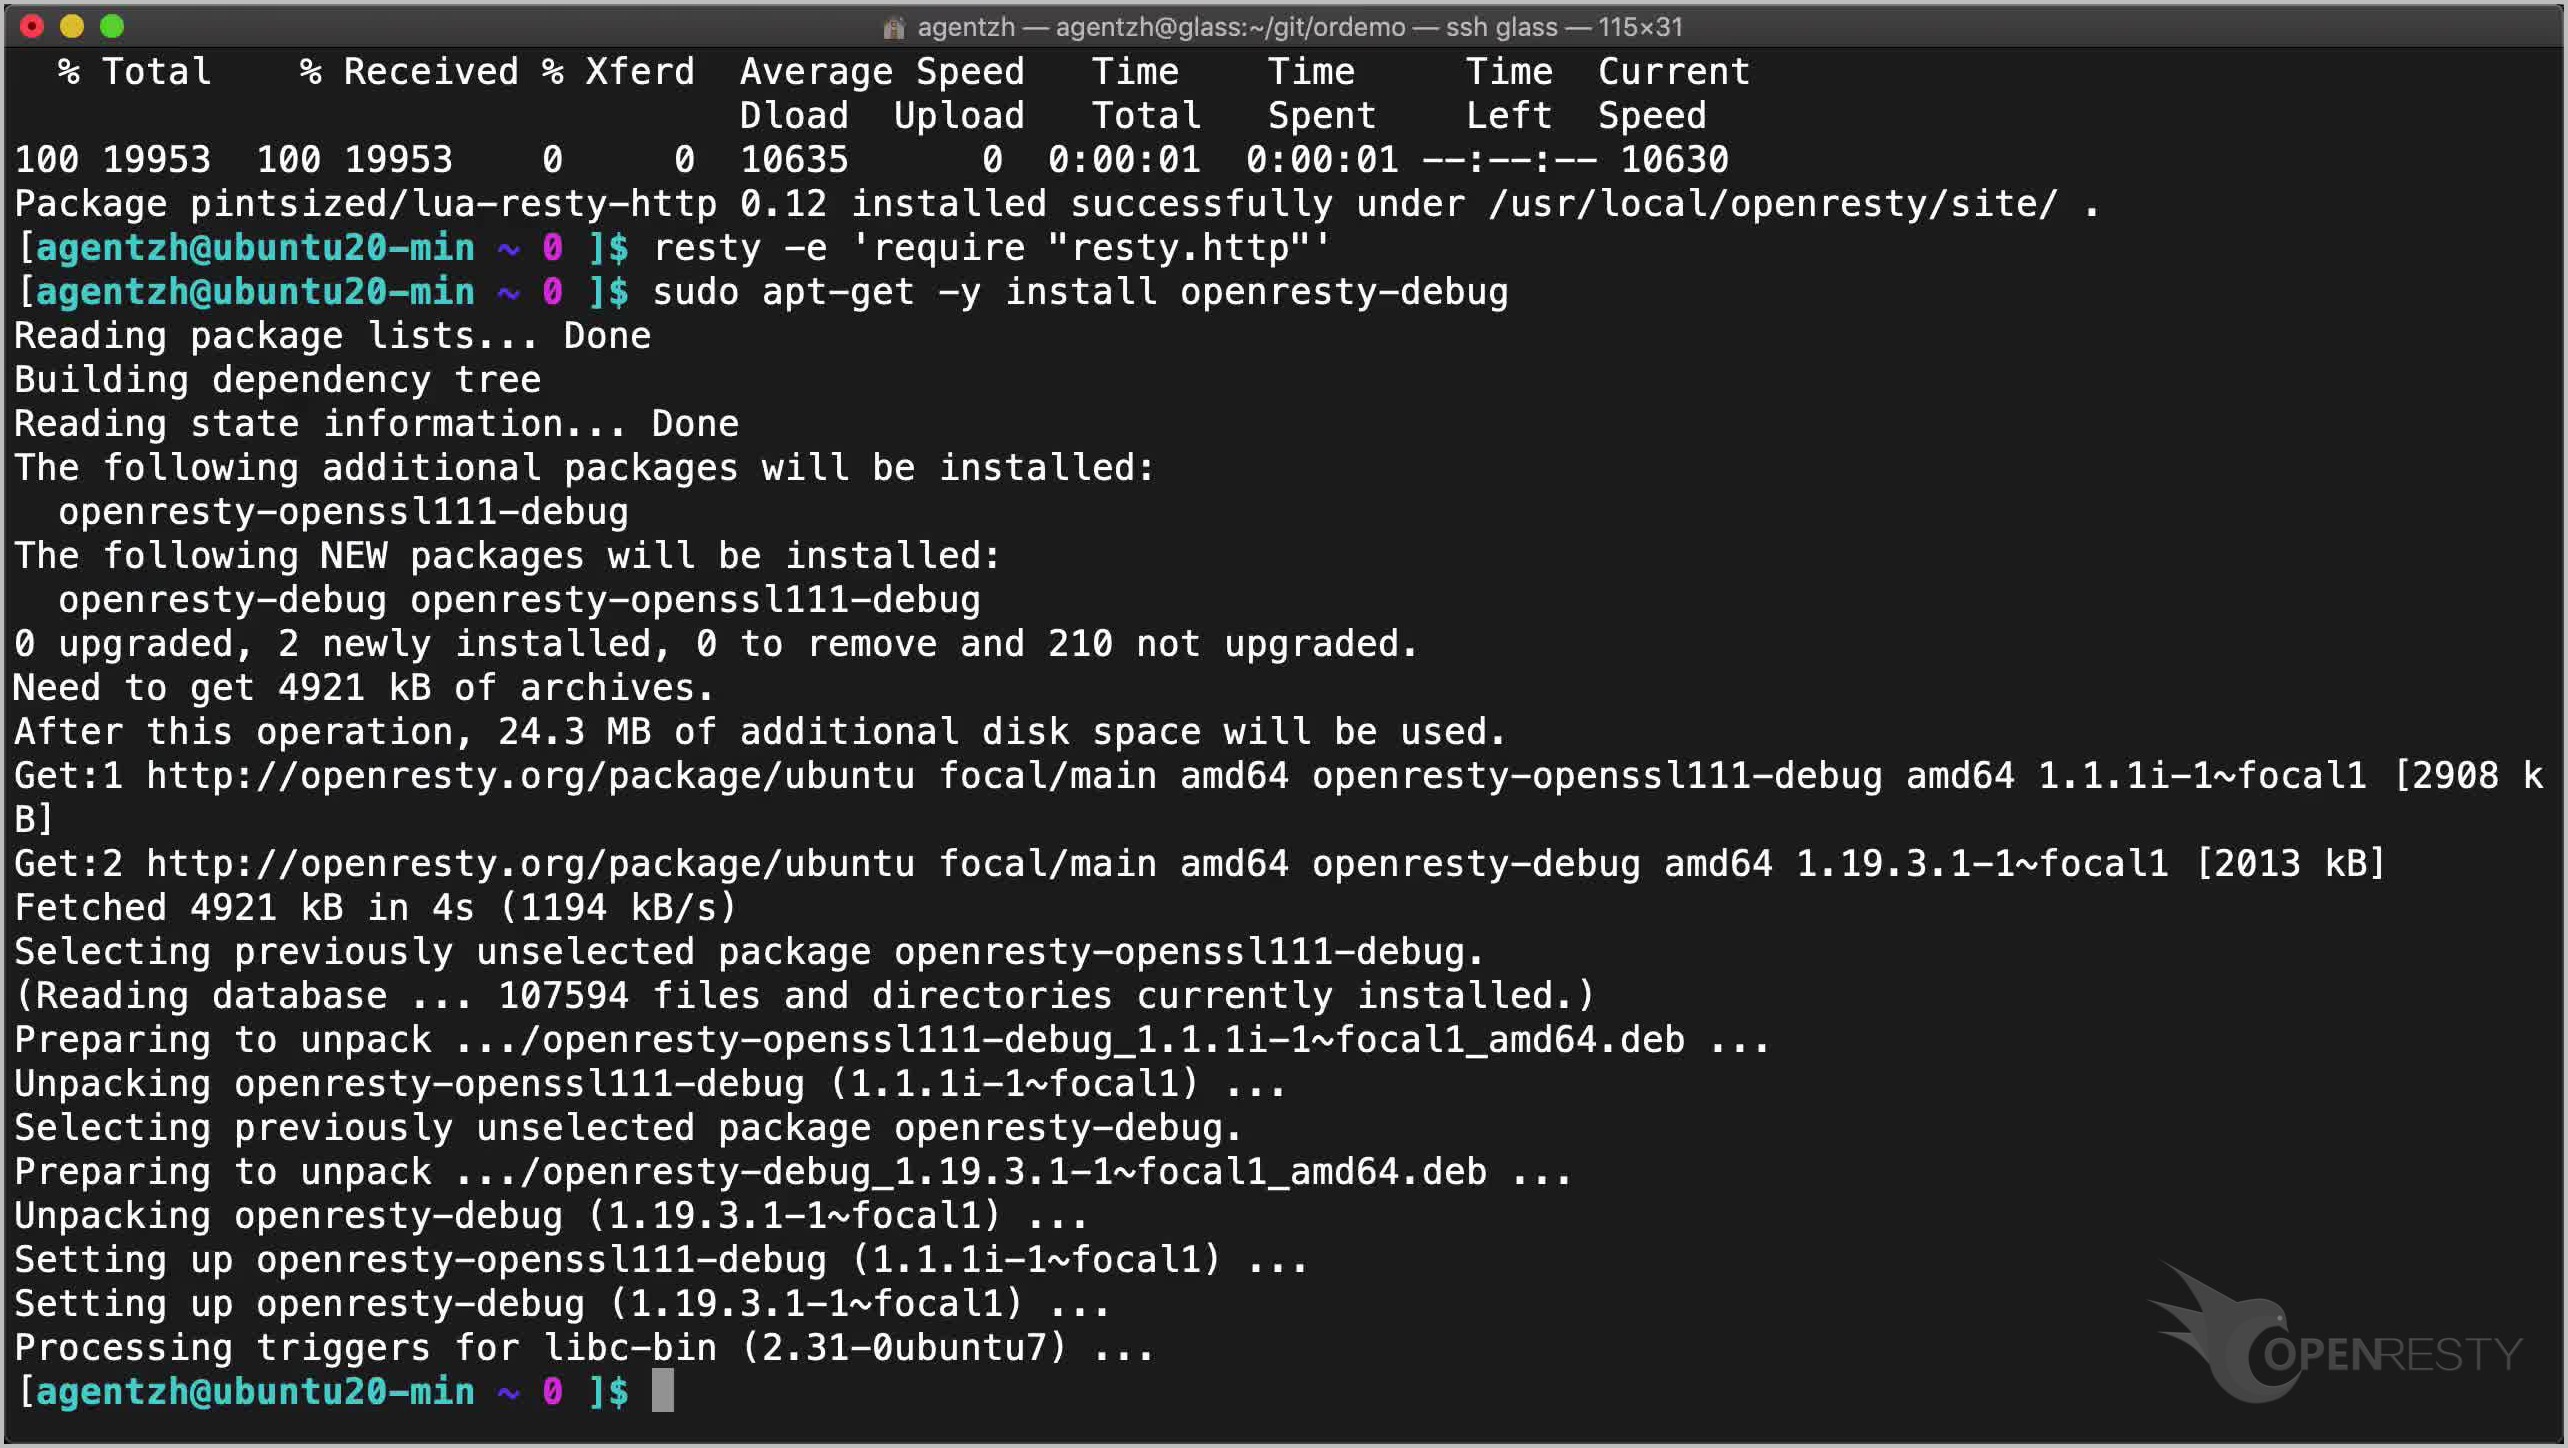
resty -e 'require "resty.http"'
成功しました!
OpenResty にはデバッグビルドもあり、デバッグログとすべての内部アサーションが有効になっています。
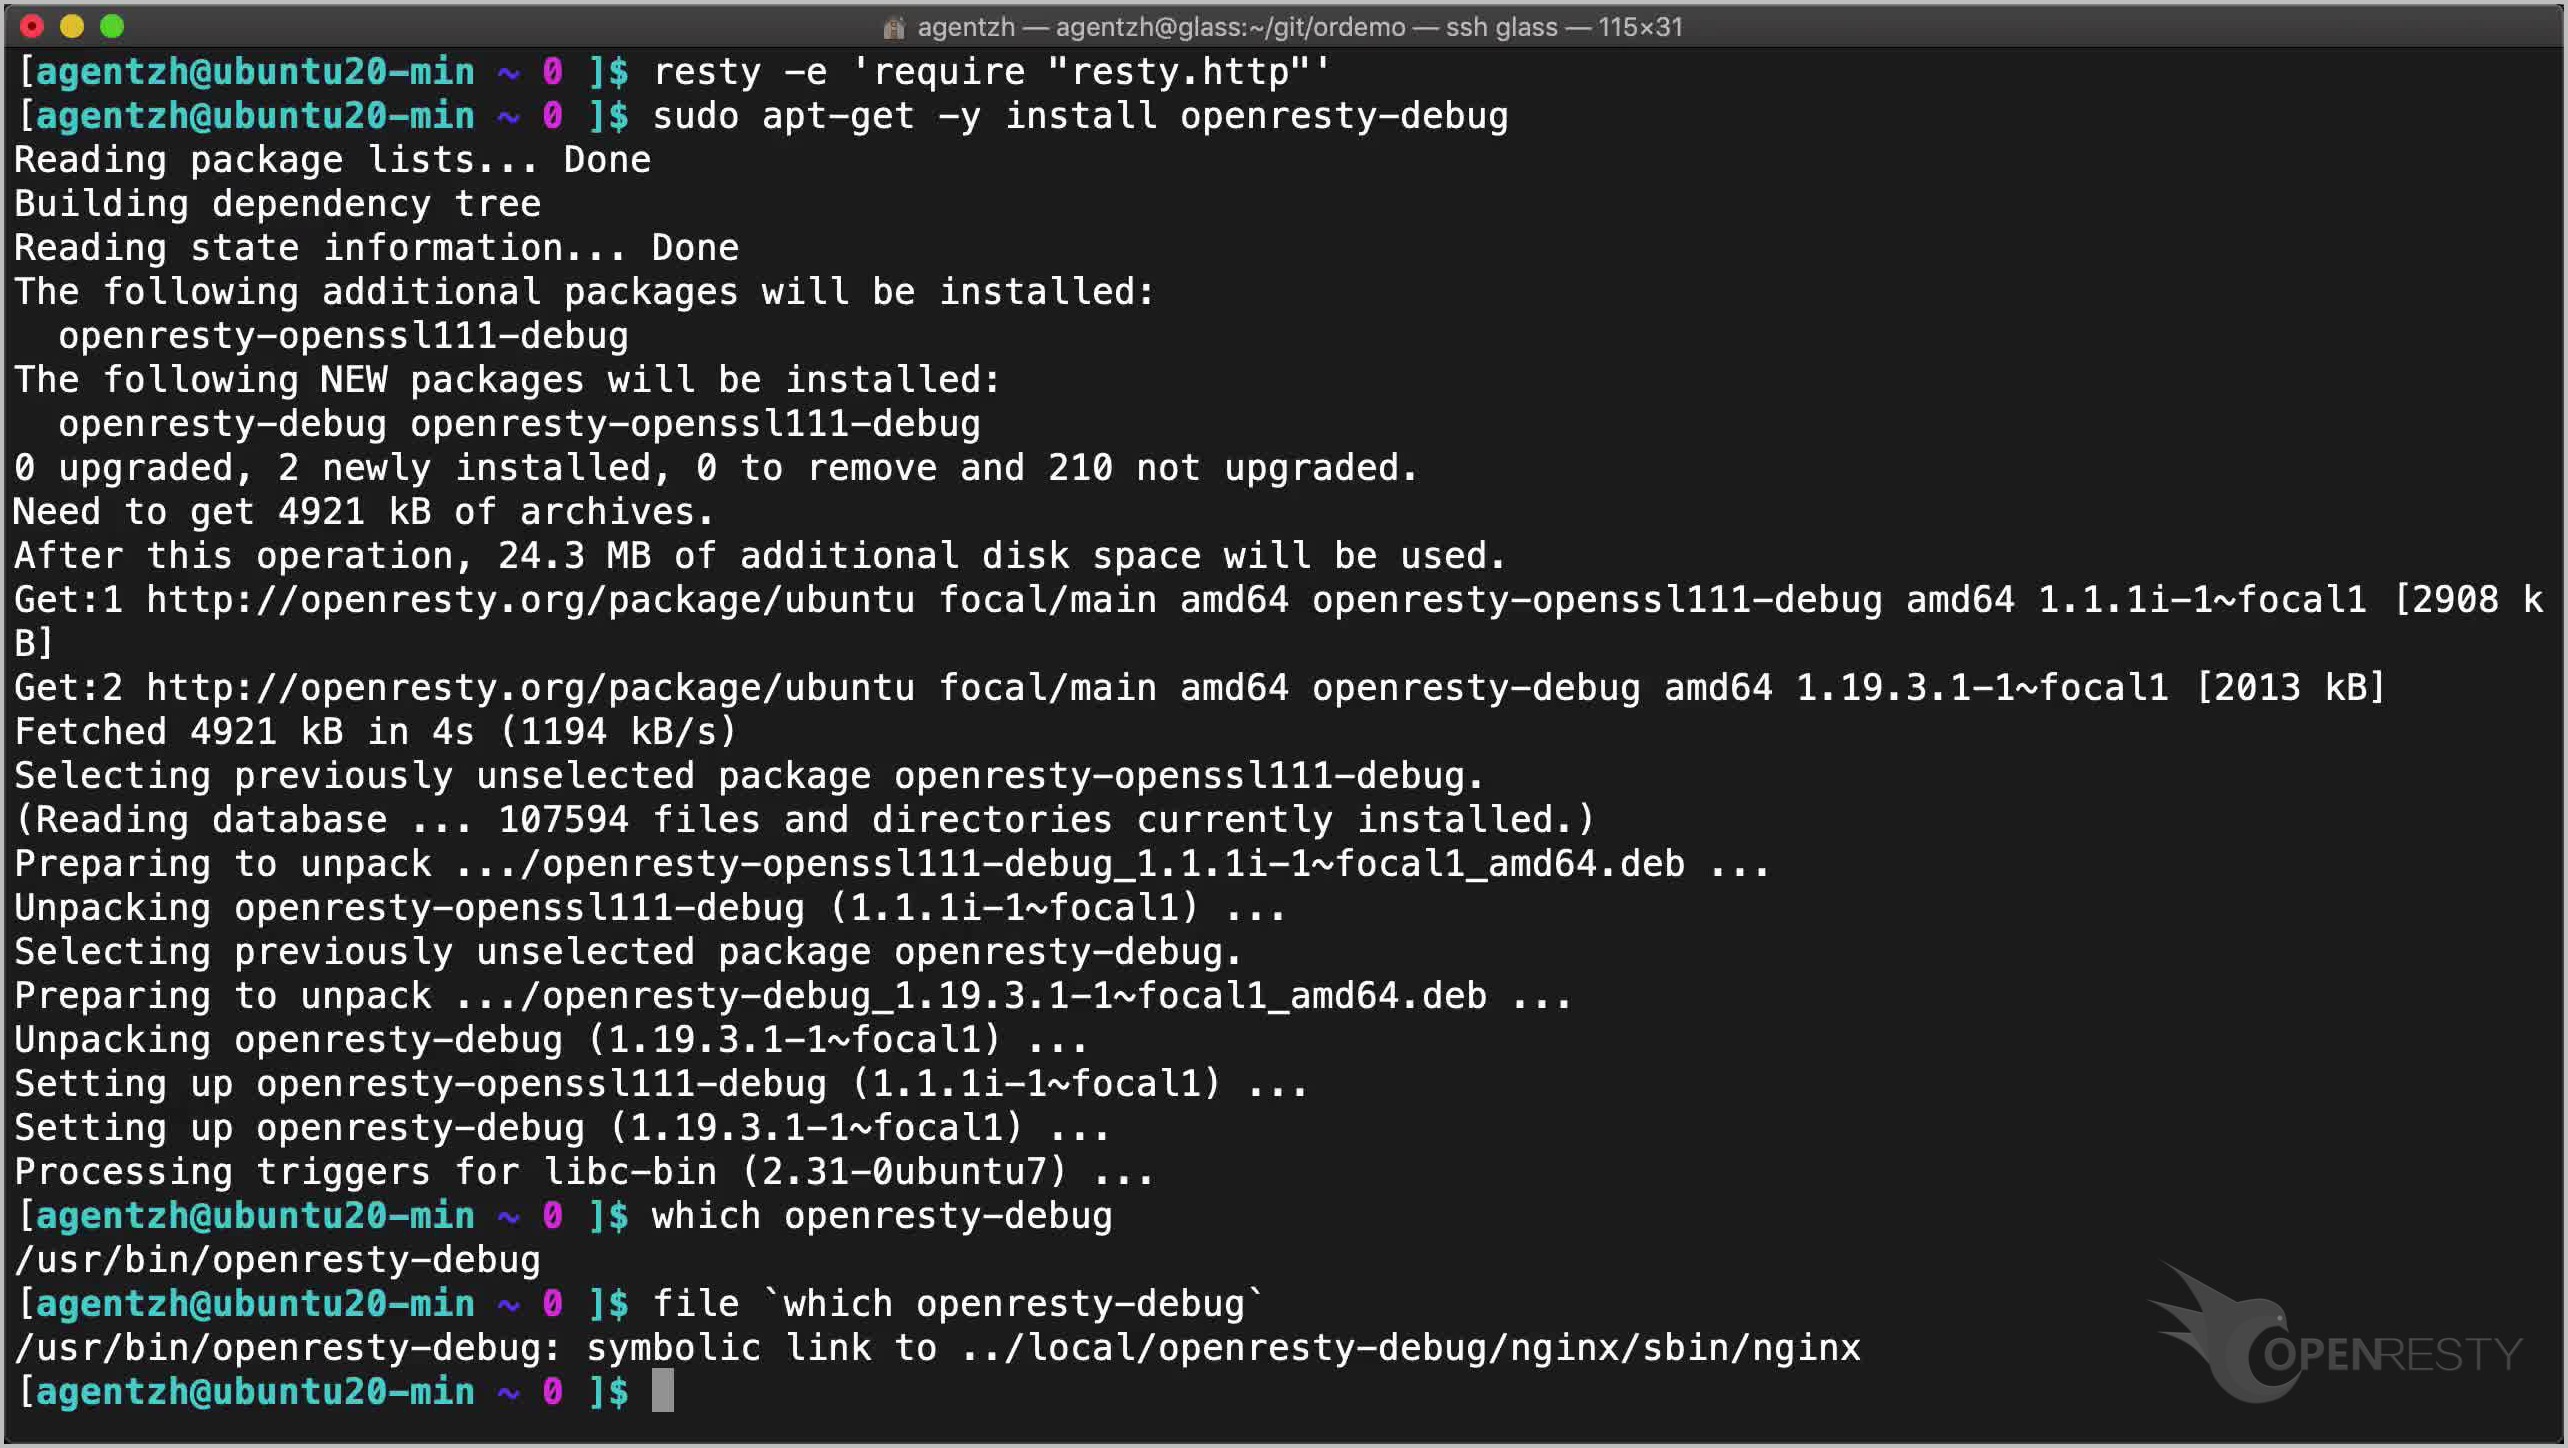
sudo apt-get -y install openresty-debug
このデバッグ版の openresty は以下のように呼び出すことができます。
which openresty-debug
この openresty-debug 実行ファイルもシンボリックリンクです。
file `which openresty-debug`
リリース版よりもはるかに遅いため、本番環境では使用しないでください。
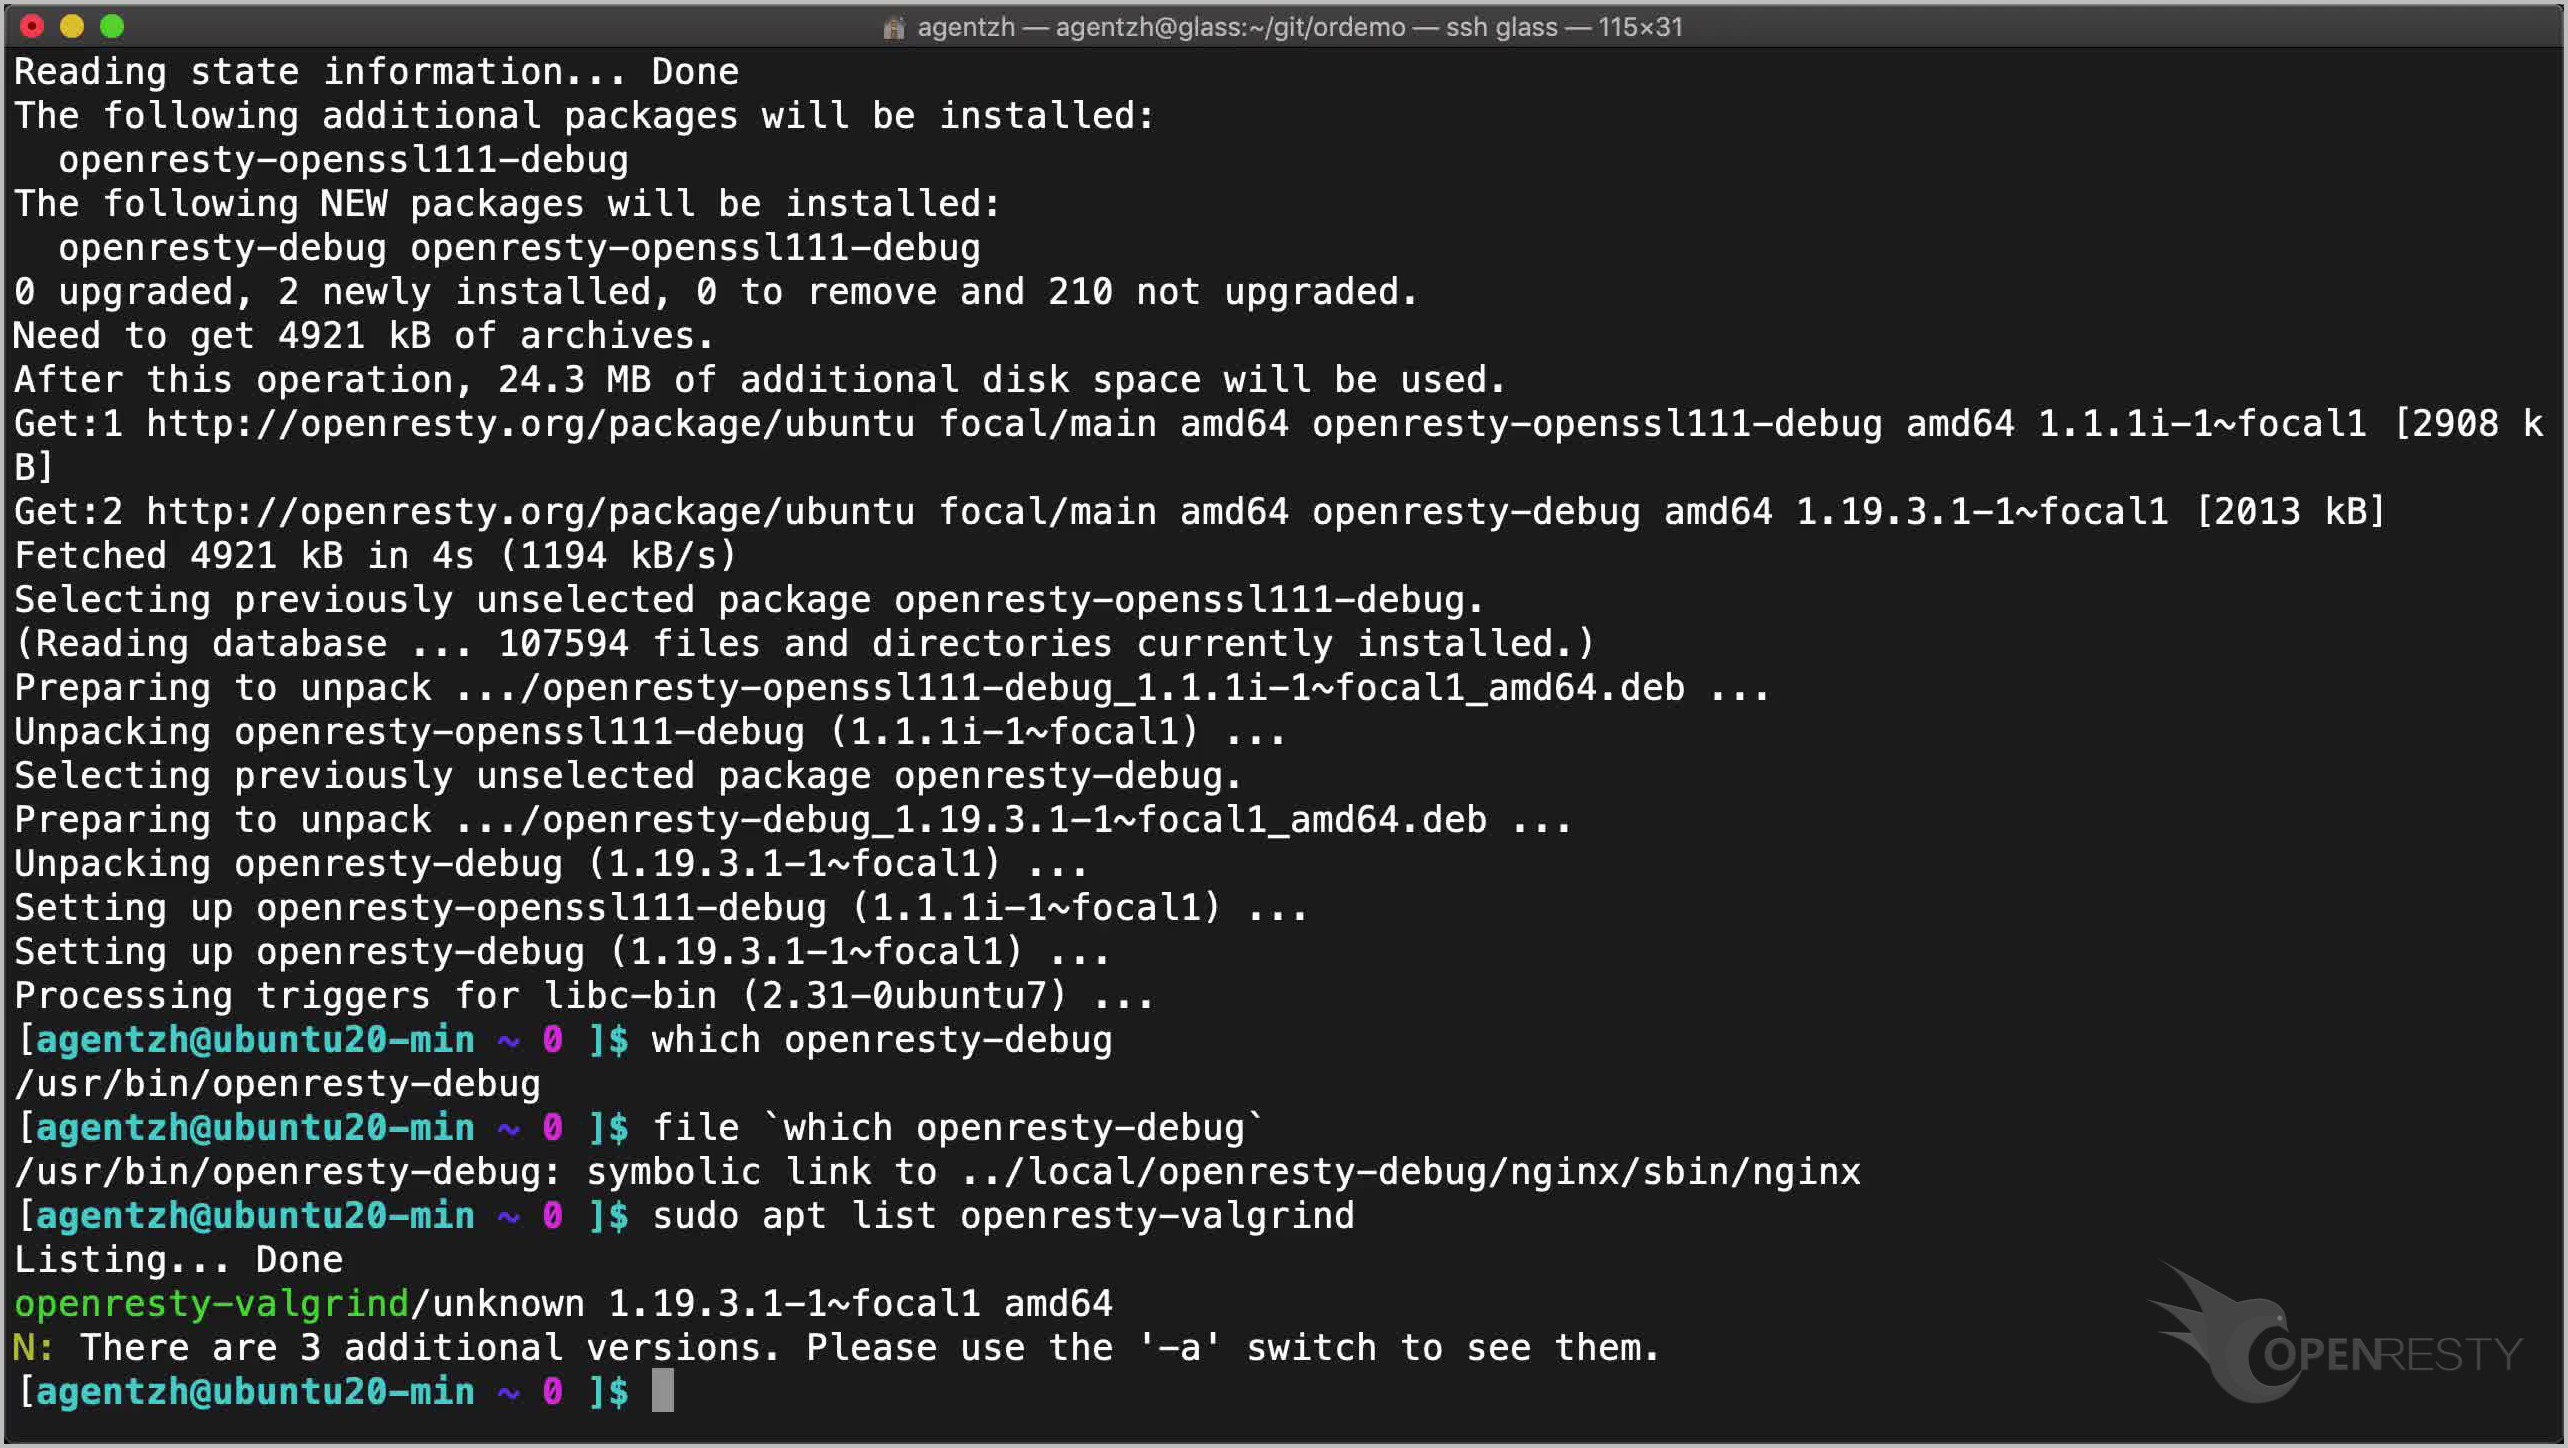
さらに、Valgrind を使用してメモリの問題をチェックできる特別なビルドもあります。
sudo apt list openresty-valgrind
メモリの問題をデバッグする必要がある場合は、これらを試してみてください。これらについては、後のチュートリアルで詳しく説明する予定です。
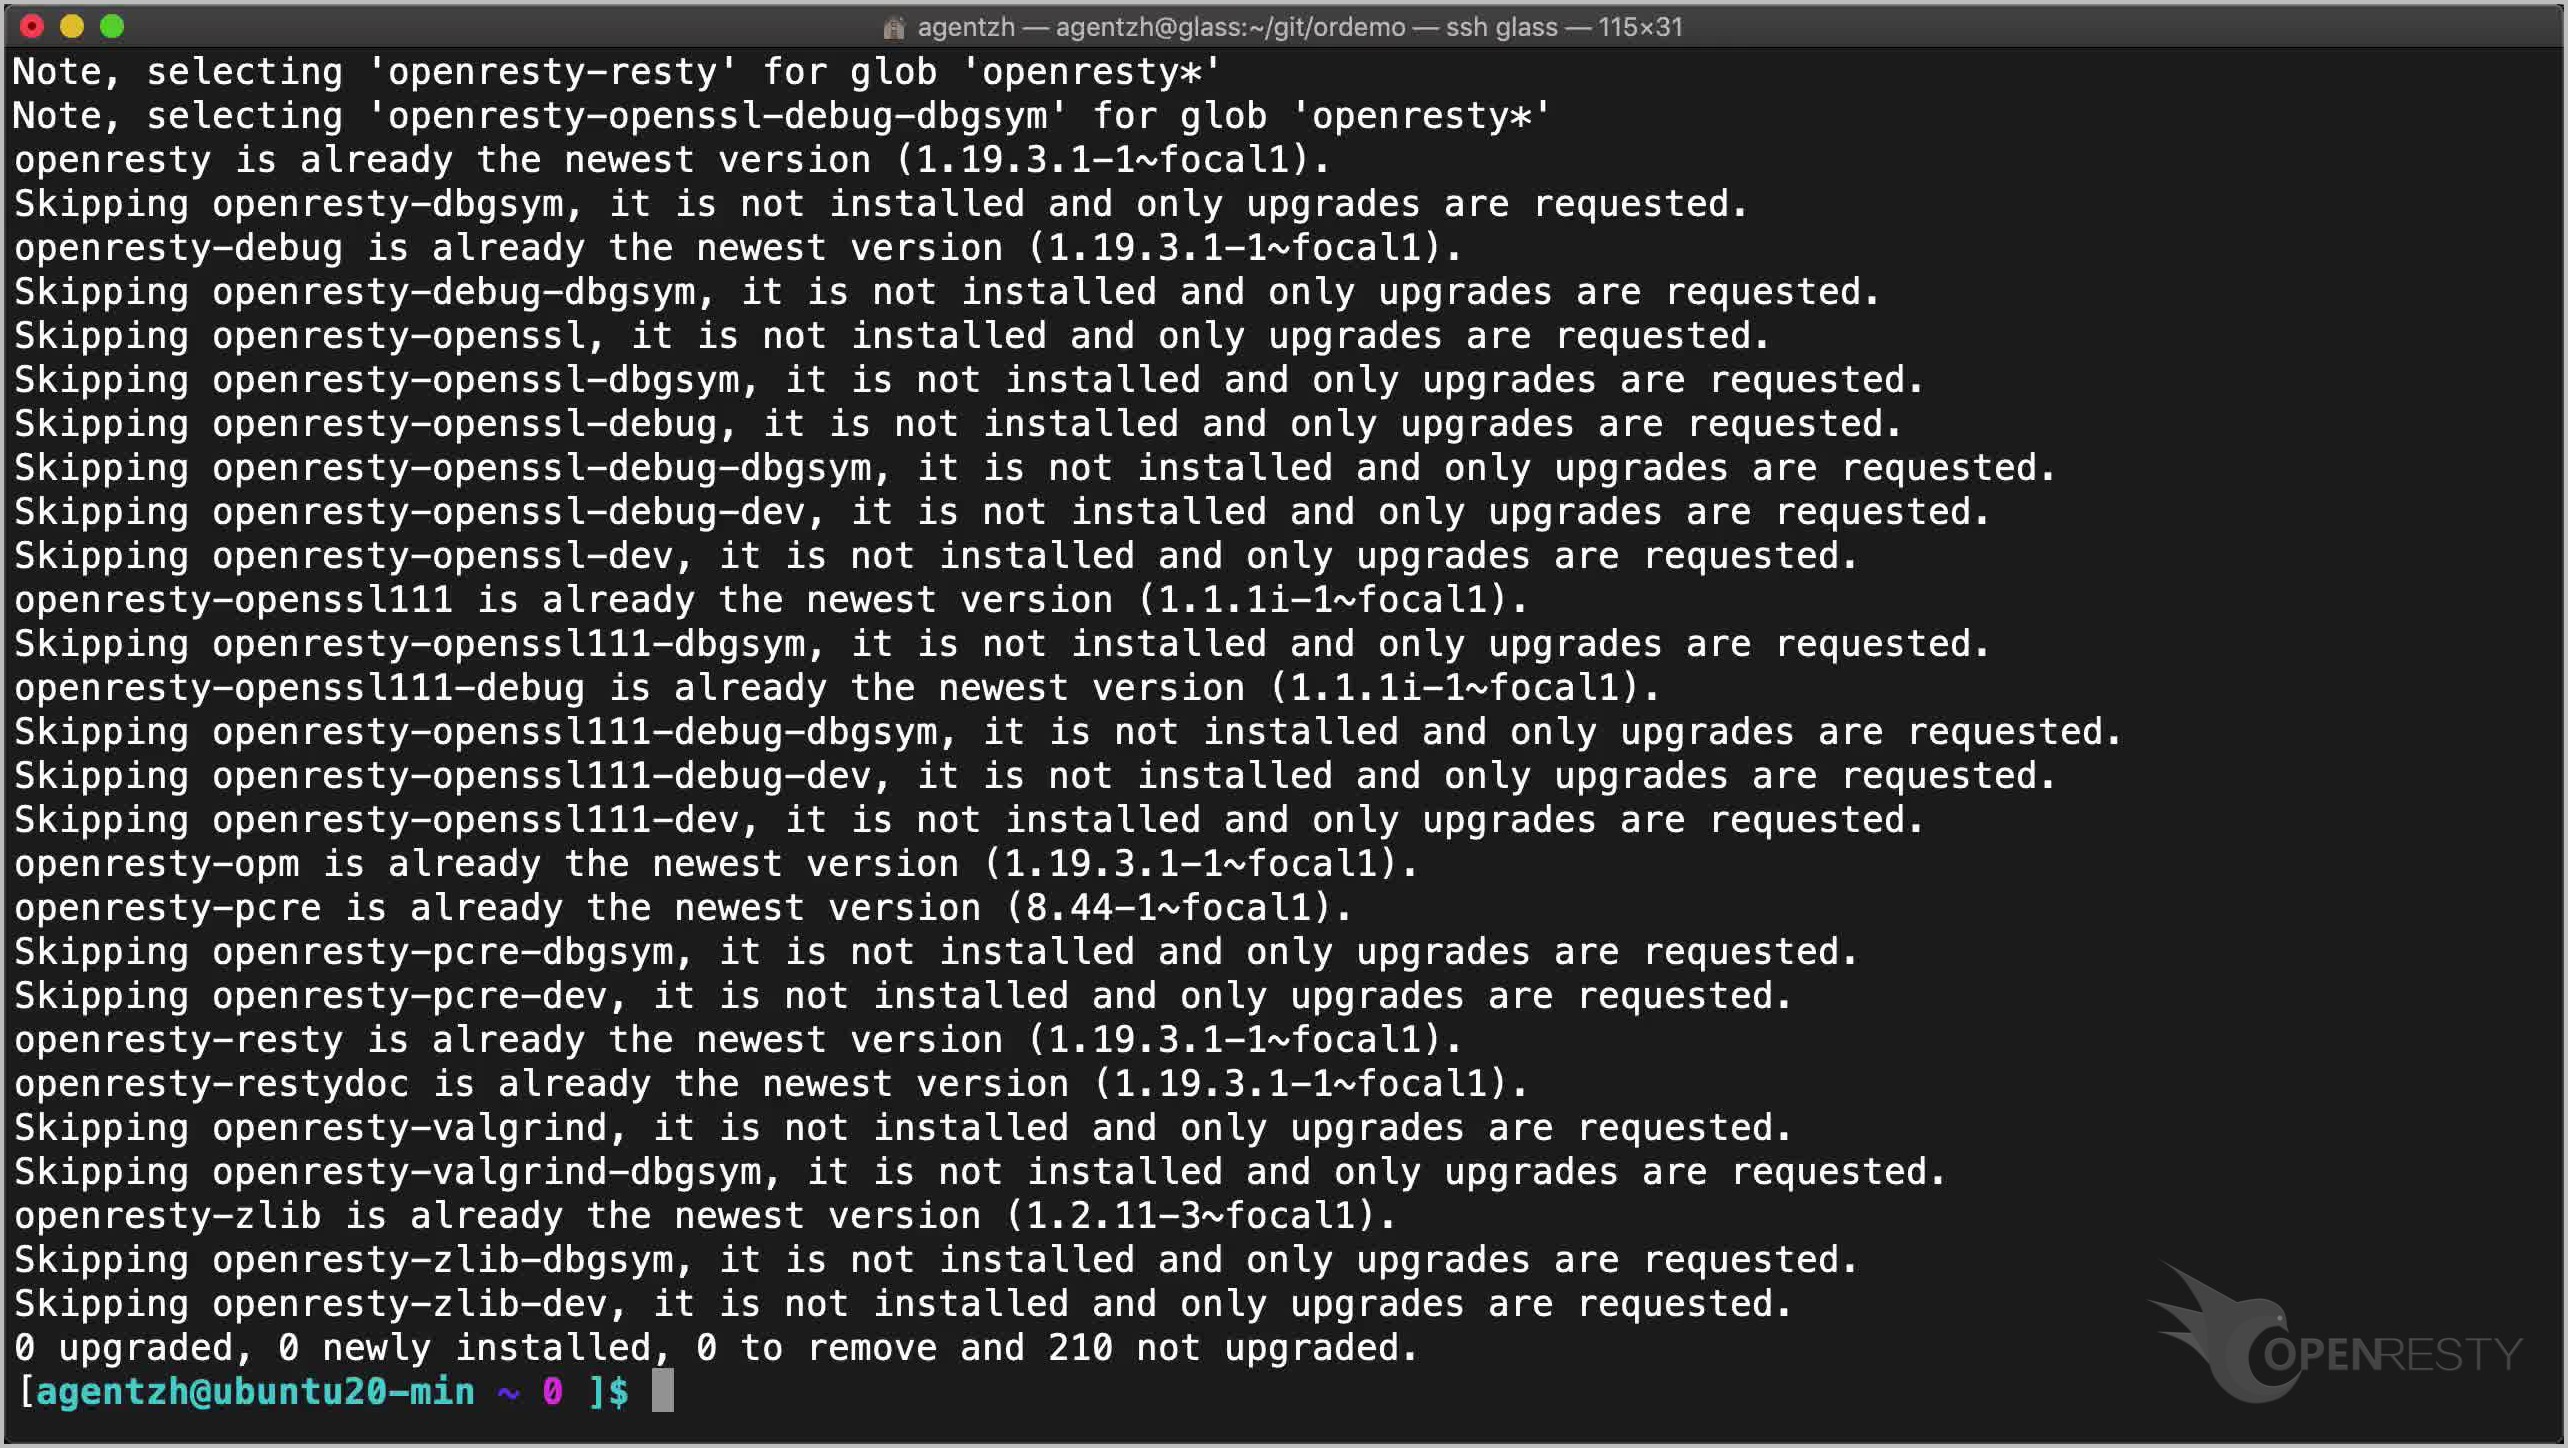
OpenResty パッケージを最新バージョンにアップグレードするには、以下のコマンドを実行するだけです。
sudo apt-get update
sudo apt-get --only-upgrade -y install 'openresty*'
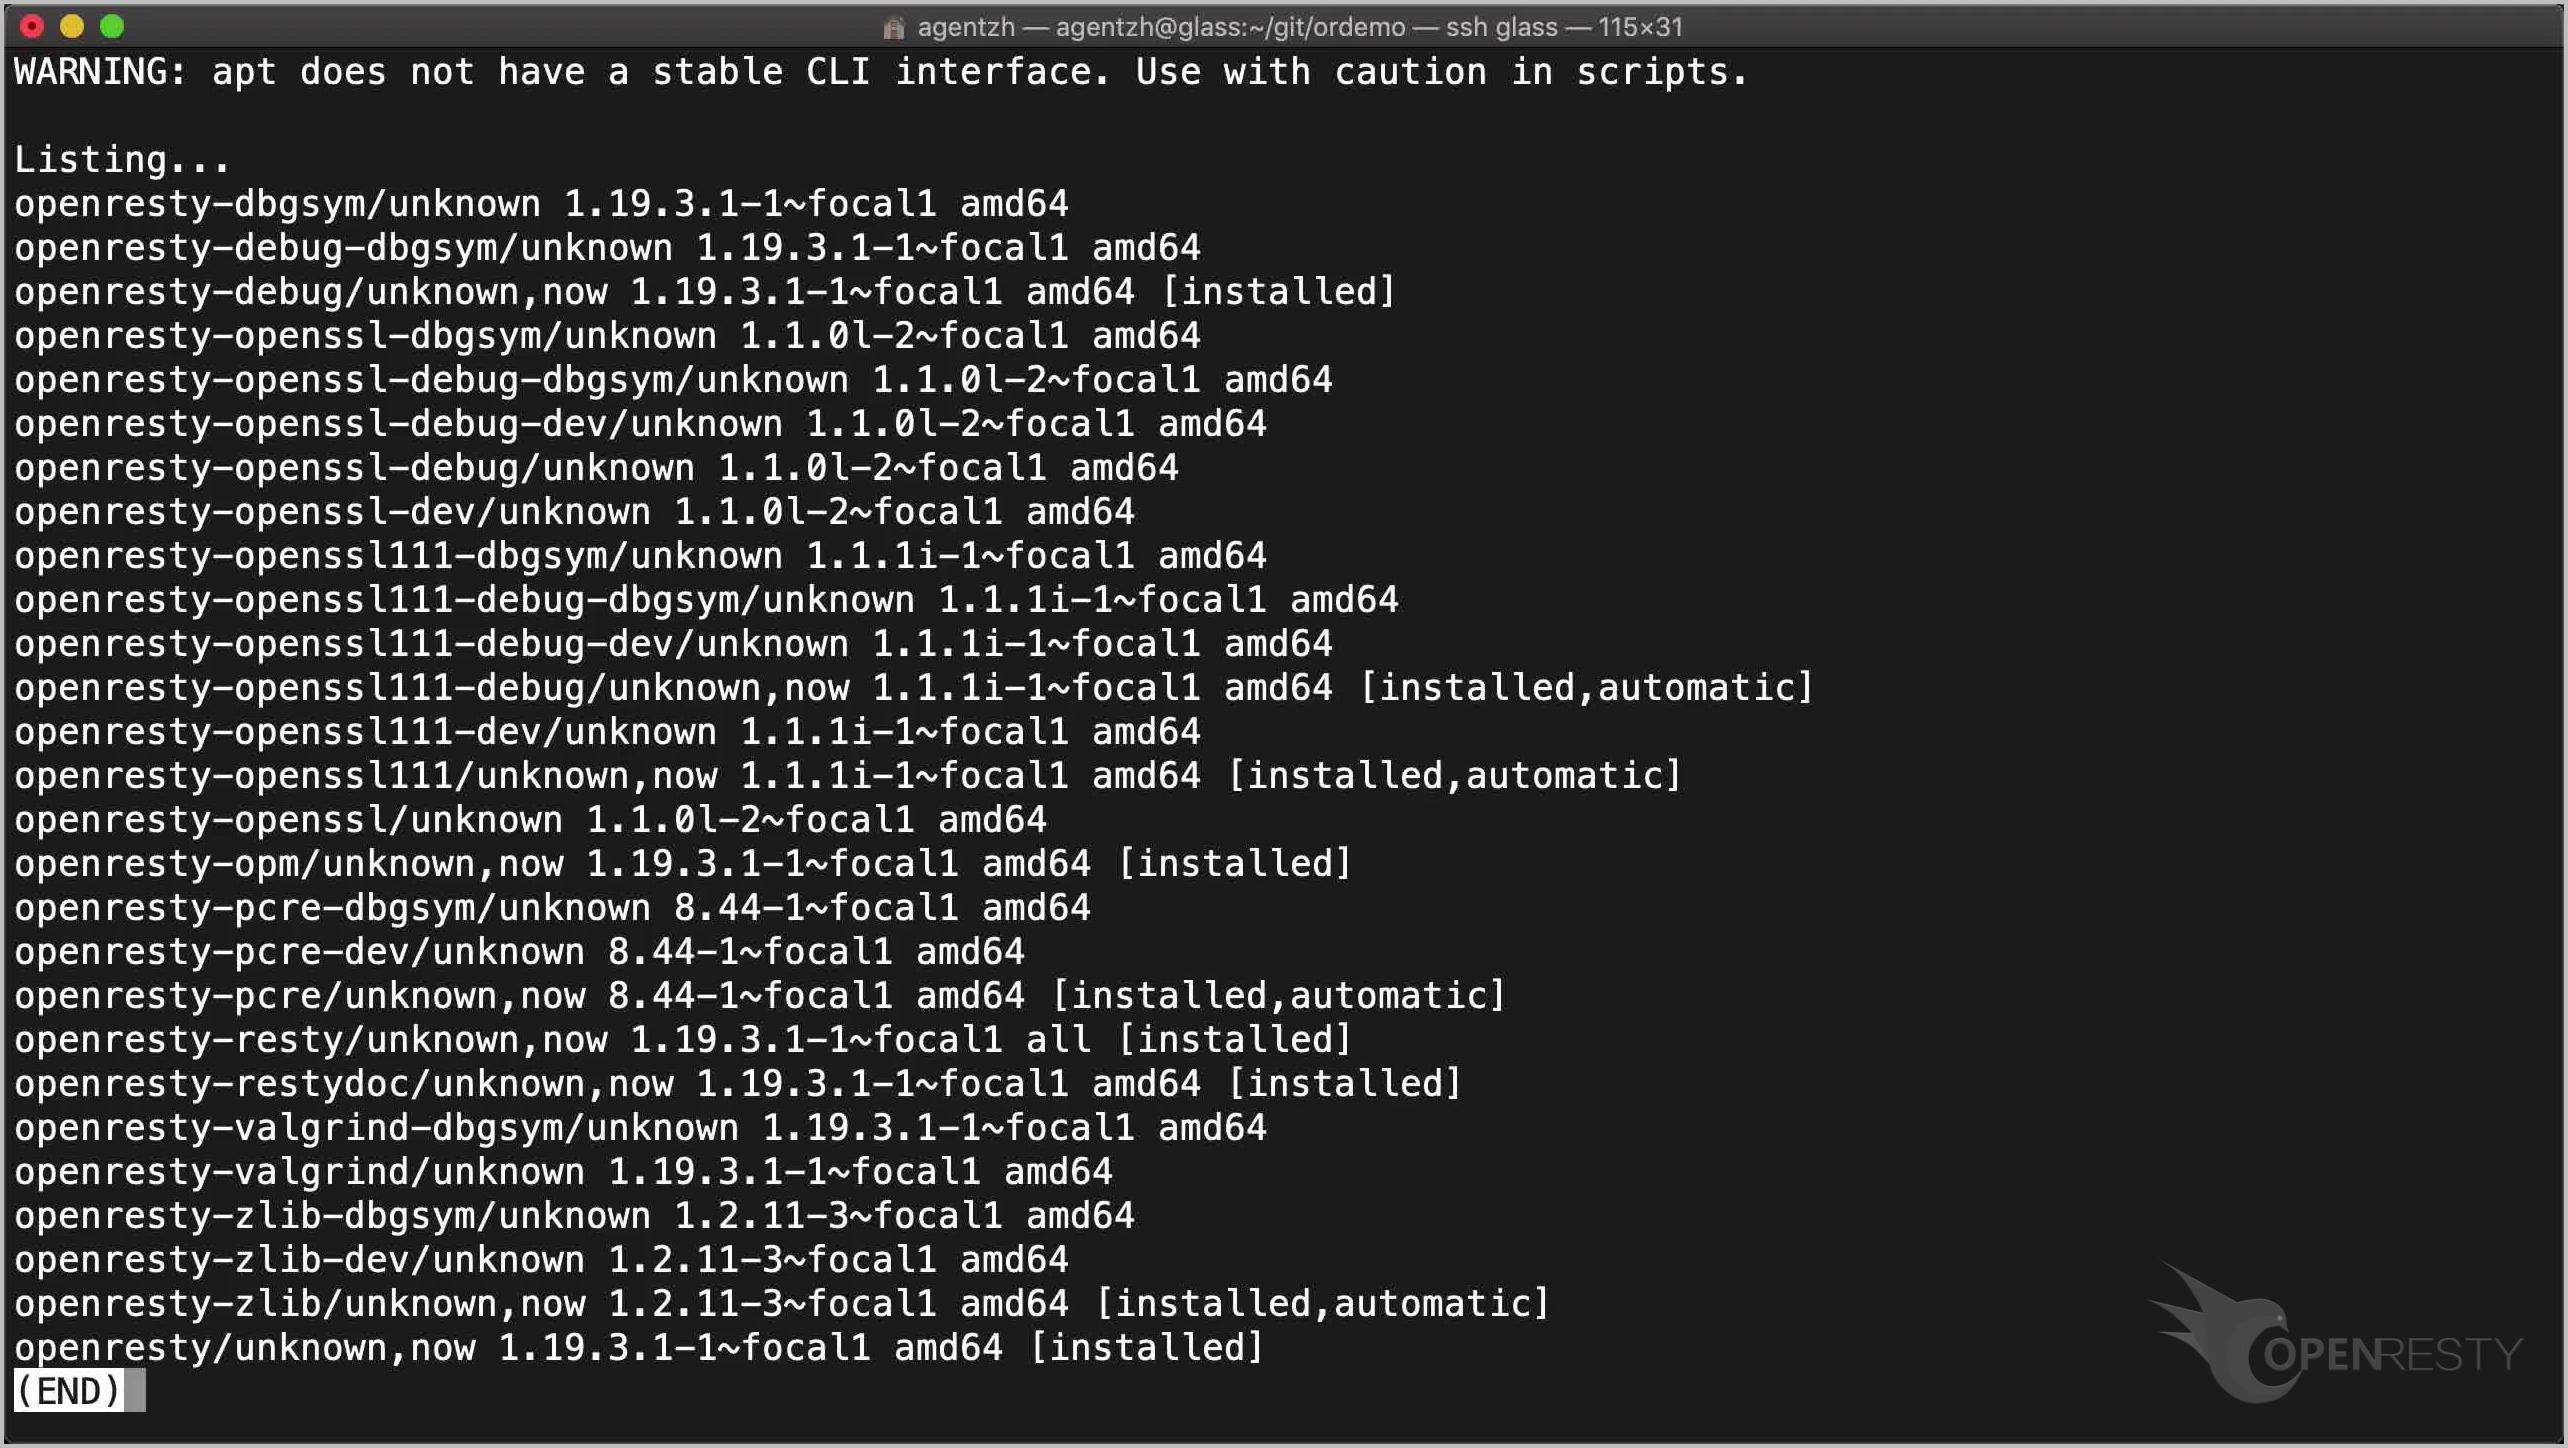
以下のコマンドで、Openresty リポジトリで利用可能なすべてのパッケージを確認します。
apt list 'openresty*' | less
ここには多くのバイナリパッケージがあります。
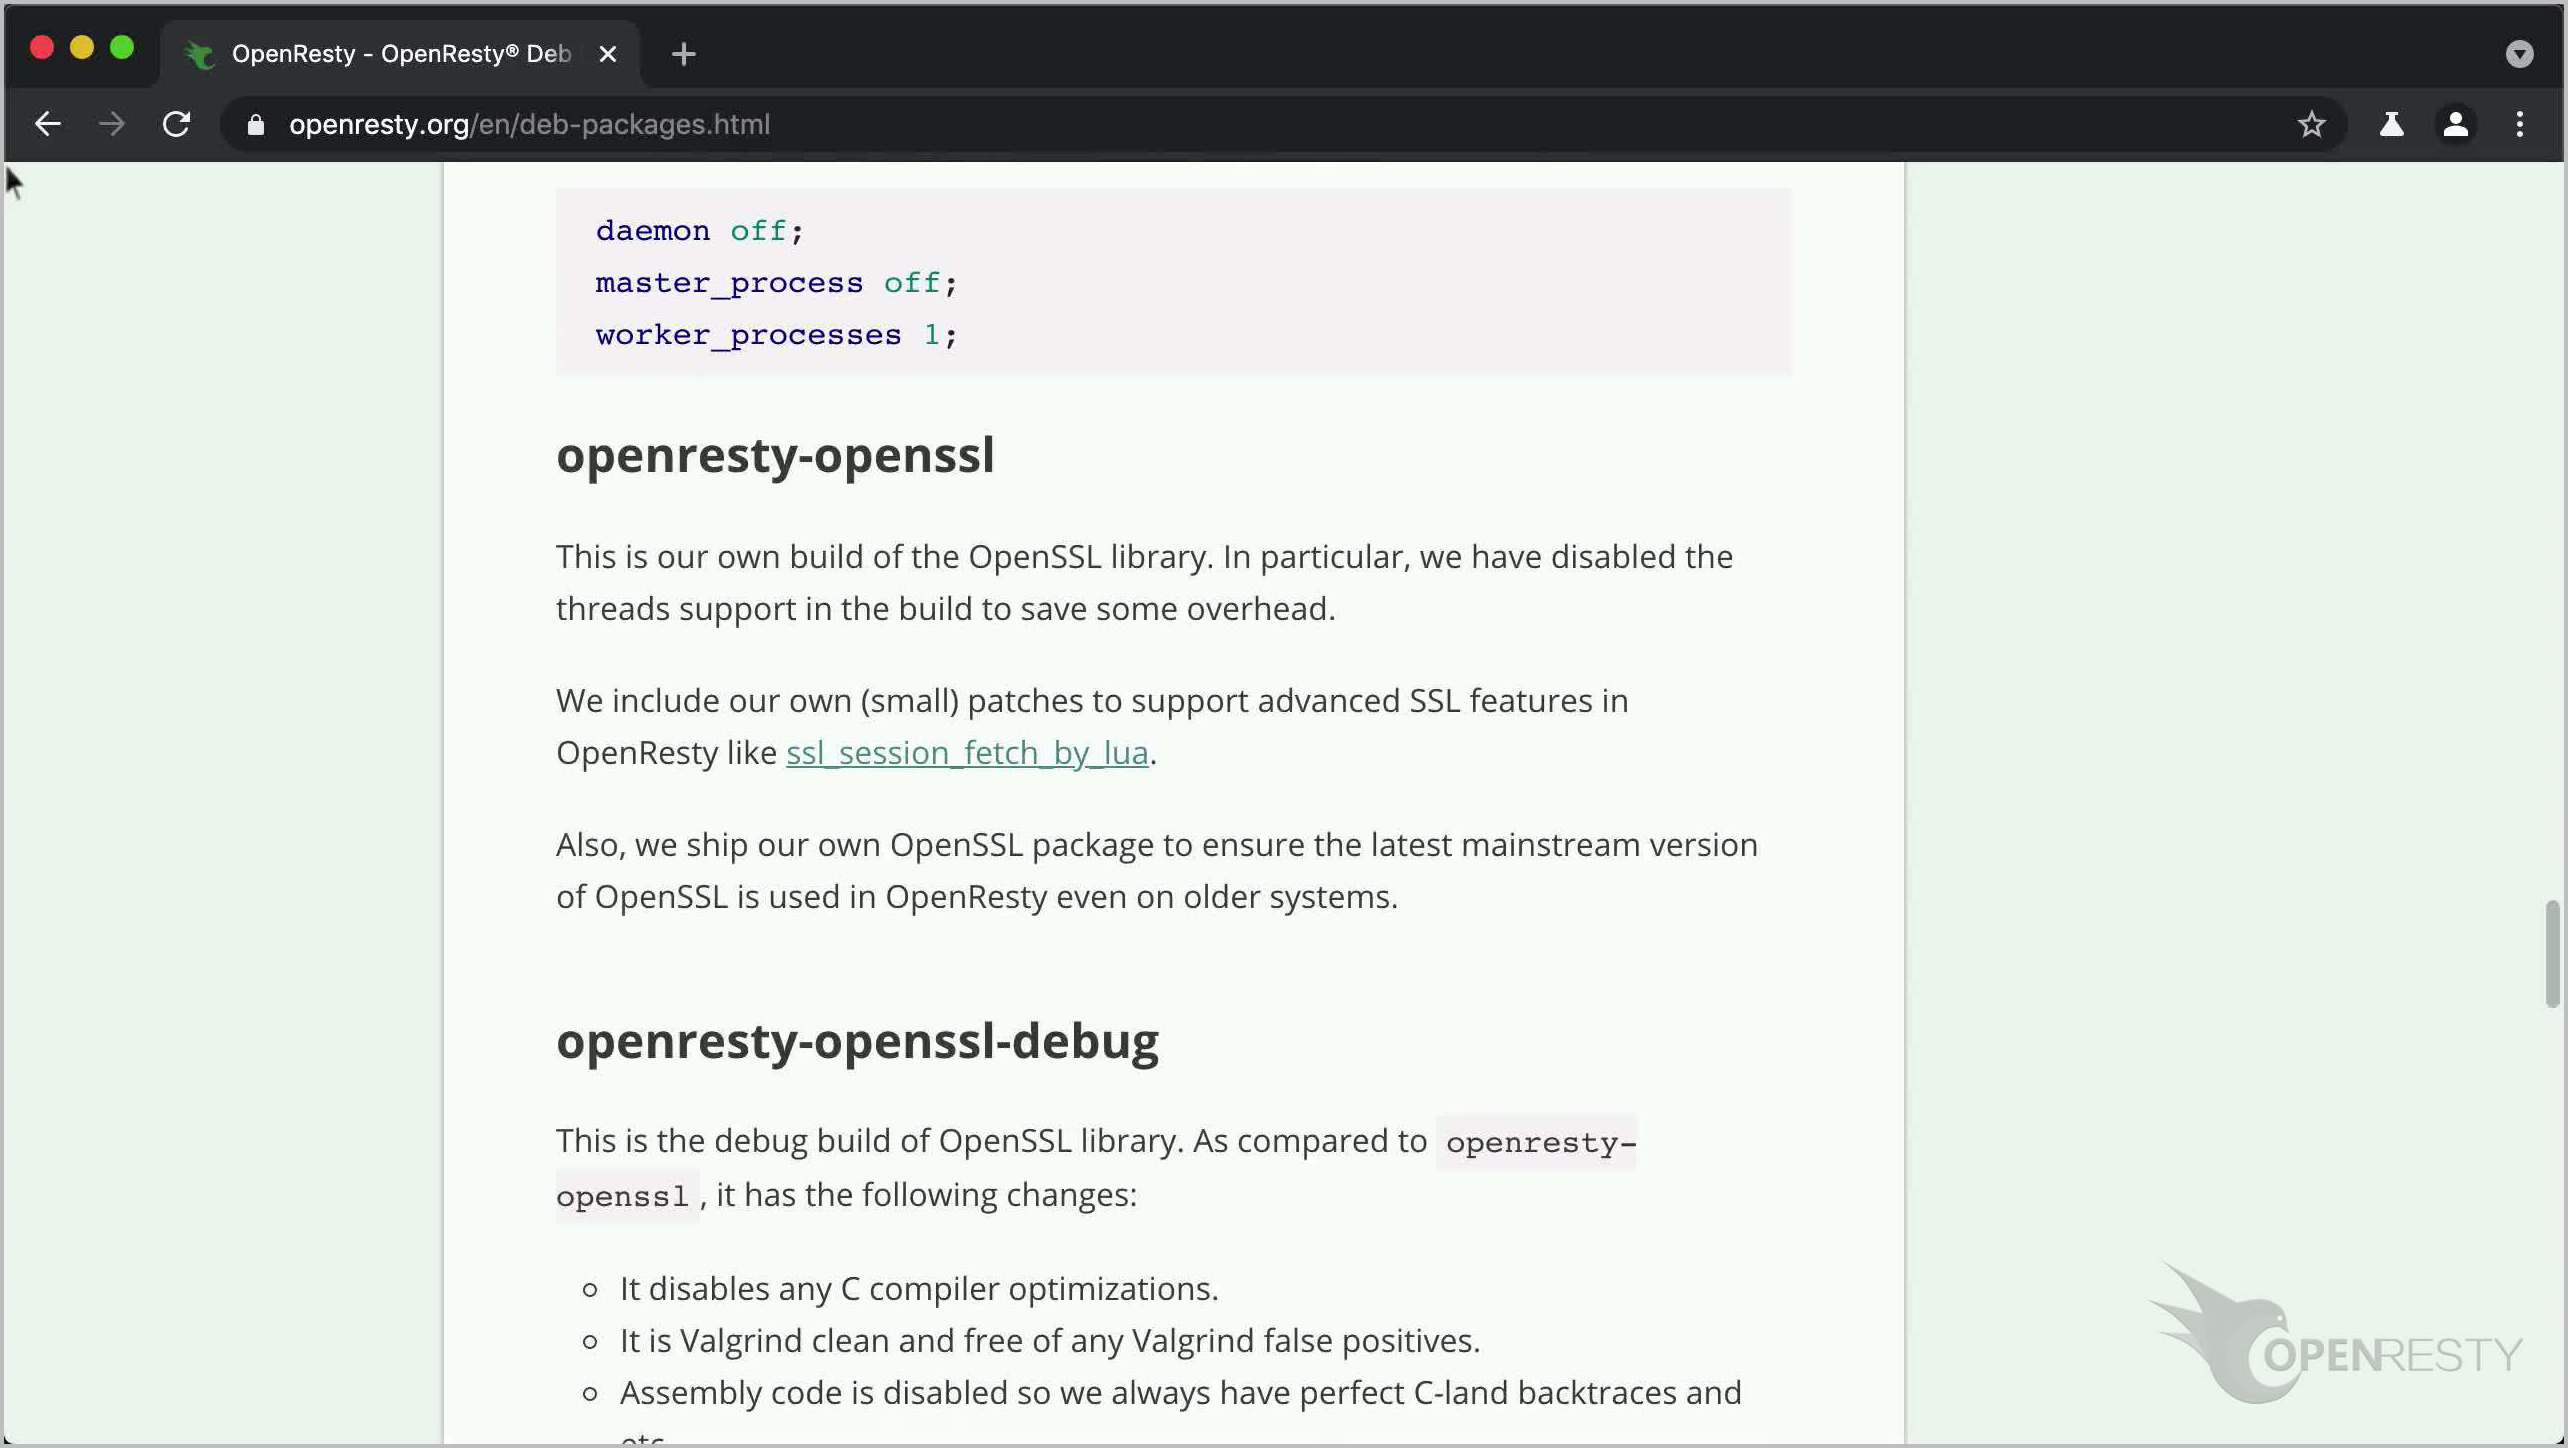
これらの Deb パッケージの詳細なドキュメントは、https://openresty.org/en/deb-packages.html で見つけることができます。ユーザーが選択できる多くのパッケージがあります。
本日はここまでです。お楽しみください!
著者について
章亦春(Zhang Yichun)は、オープンソースの OpenResty® プロジェクトの創始者であり、OpenResty Inc. の CEO および創業者です。
章亦春(GitHub ID: agentzh)は中国江蘇省生まれで、現在は米国ベイエリアに在住しております。彼は中国における初期のオープンソース技術と文化の提唱者およびリーダーの一人であり、Cloudflare、Yahoo!、Alibaba など、国際的に有名なハイテク企業に勤務した経験があります。「エッジコンピューティング」、「動的トレーシング」、「機械プログラミング」 の先駆者であり、22 年以上のプログラミング経験と 16 年以上のオープンソース経験を持っております。世界中で 4000 万以上のドメイン名を持つユーザーを抱えるオープンソースプロジェクトのリーダーとして、彼は OpenResty® オープンソースプロジェクトをベースに、米国シリコンバレーの中心部にハイテク企業 OpenResty Inc. を設立いたしました。同社の主力製品である OpenResty XRay動的トレーシング技術を利用した非侵襲的な障害分析および排除ツール)と OpenResty XRay(マイクロサービスおよび分散トラフィックに最適化された多機能
翻訳
英語版の原文と日本語訳版(本文)をご用意しております。読者の皆様による他の言語への翻訳版も歓迎いたします。全文翻訳で省略がなければ、採用を検討させていただきます。心より感謝申し上げます!


